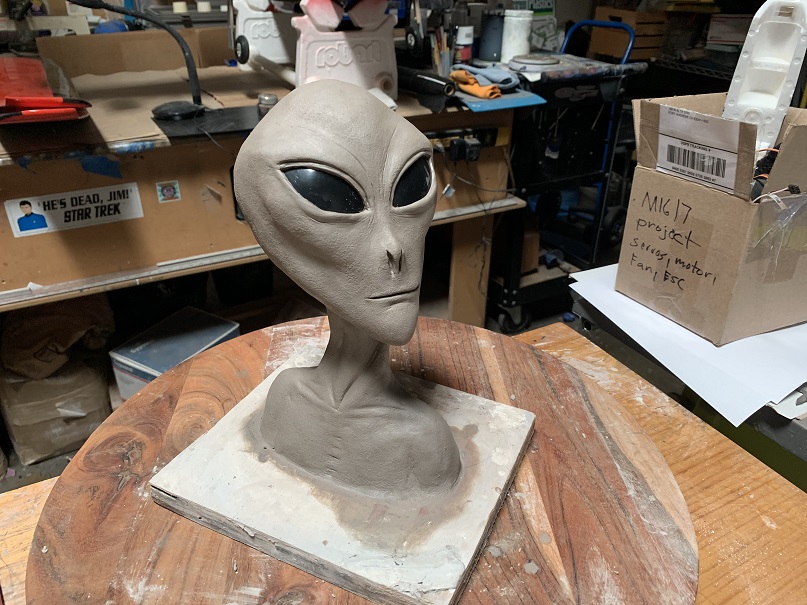
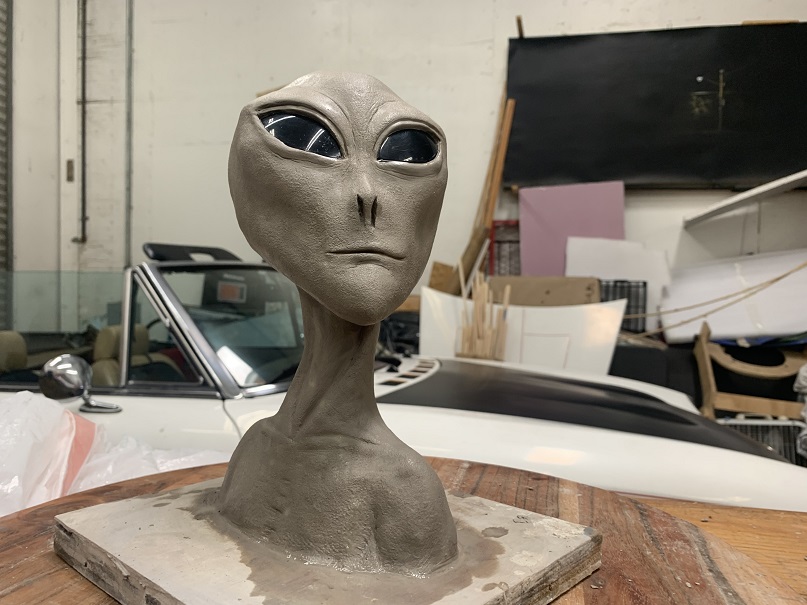
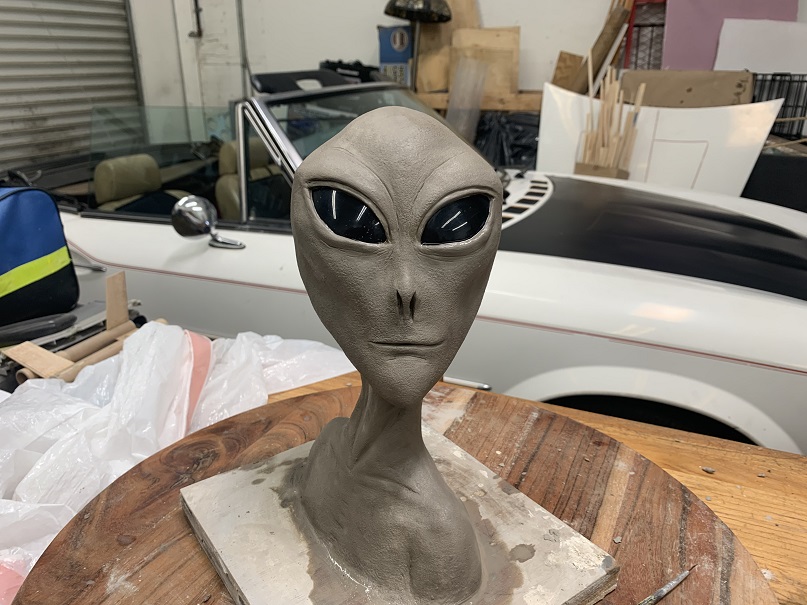
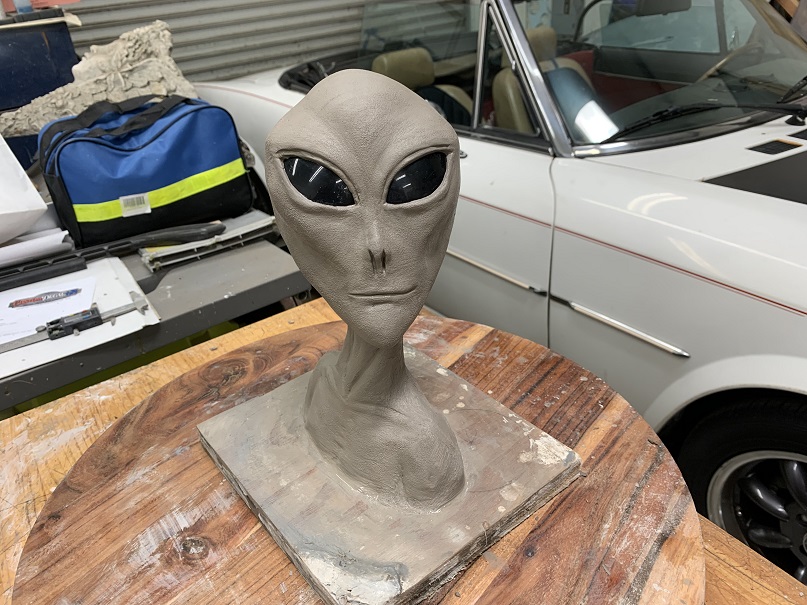
Yesterday at the studio it was time to start the detailing and finishing on this communion bust. Maybe because I have new readers I should point out why this is all being done.
As many of you know about me, I have been involved in the phenomenon of UAPs and non-human intelligence since my early childhood.
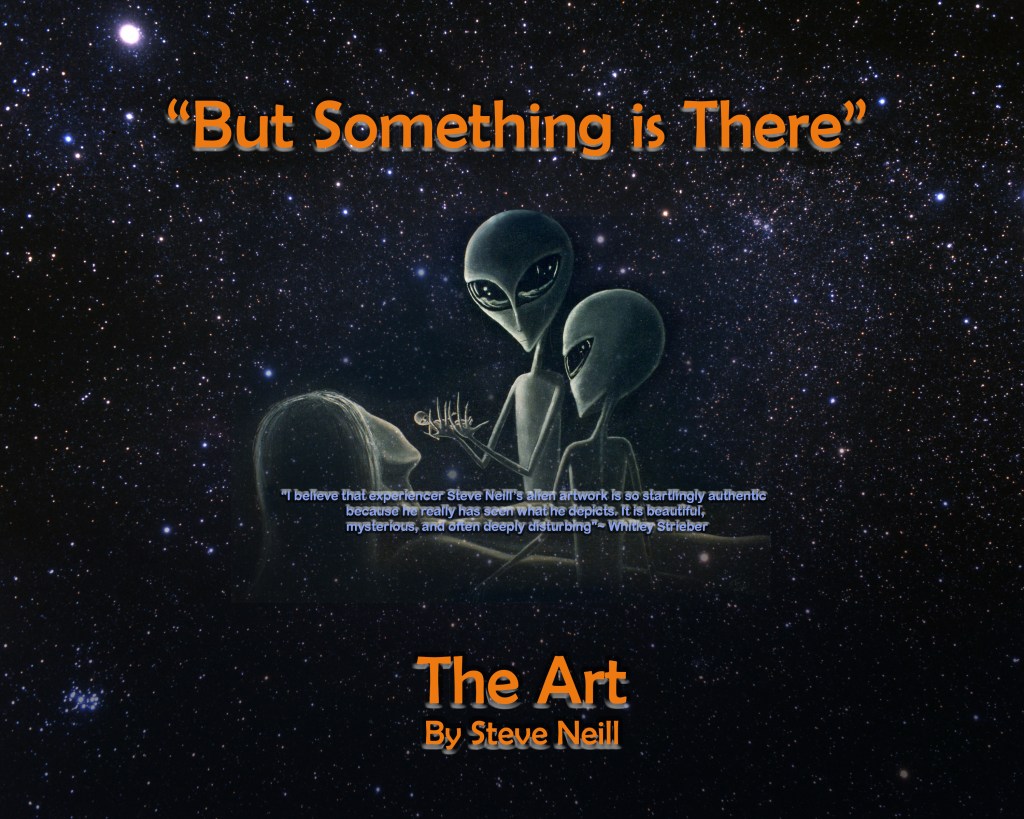
I have written a book about it and made a film both titled, “But Something is There”.
Whitley Strieber and I have been long time friends and he has given me permission to use his famous image from his book cover Communion. I have worked with him on films, his book covers, appeared on TV shows and his Dreamland podcast and more.
I have done a lot of art on this subject dating back to the late 70’s before the image today so commonly known as “the Grey’s” were widely spread. I was one of the most prolific artists of this subject, especially back in the early 90’s. My work was seen in magazines, TV shows like “Sightings” and even X-files. It was everywhere and set the image we know today.
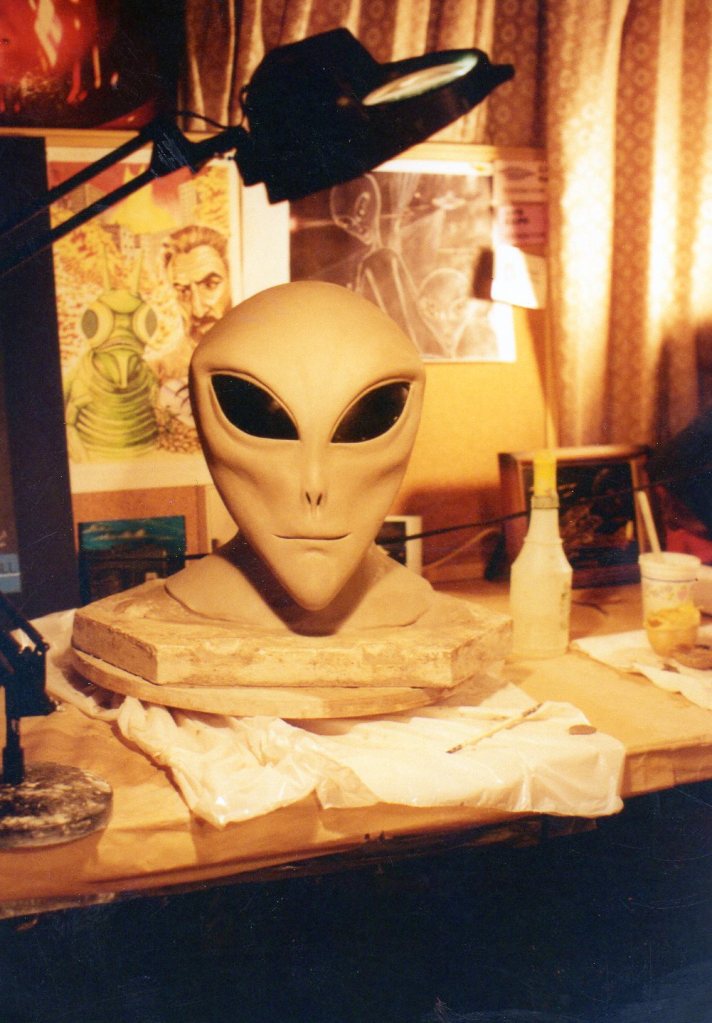
I have in the past made many different versions of the Communion being from masks to large busts. Recently I was asked to make them available once more.
Mask Sculpture made back in 1991.
This time I wanted to give her some life rather than having her look straight ahead in a dead stare. I made a drawing because I had this image of her turning her head towards me to acknowledge my observing her.
This is a wet clay sculpture and today I started the mold process. I won’t bore you with all the details but it’s complicated and will in the end yield a silicone mold that will enable me to make these out of long lasting polyurethane resin. It will be painted, the eyes glazed and mounted on a wooden base with a laser cut plaque. Signed by myself and Whitley Strieber.
I will talk more about this subject of my experiences with UAPs and non-human intelligence in future posts if there is an interest. In the meantime you can see more of my art on the subject here:
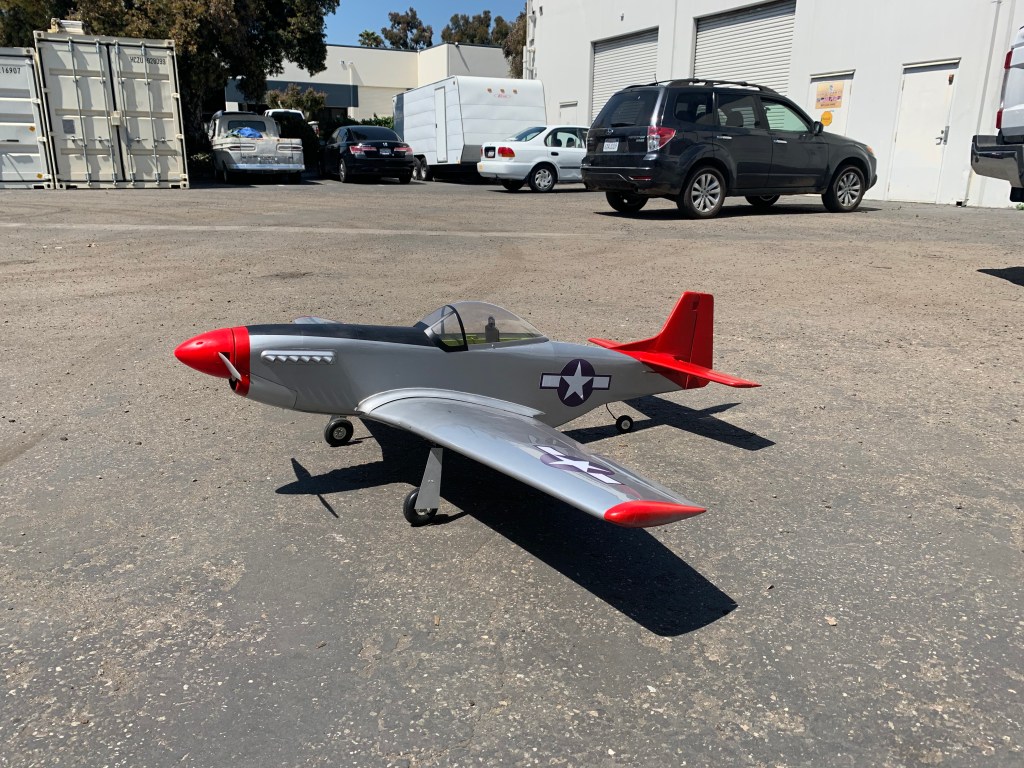
Yesterday I spent the day taking a break from sculpting and worked on the Mustang. The Communion bust sculpture’s clay needs to dry out a bit more before I can do the fine detail.
Now that I know the plane flies well after piloting it’s maiden flight it’s time to make it a part of history that is to me amazing.
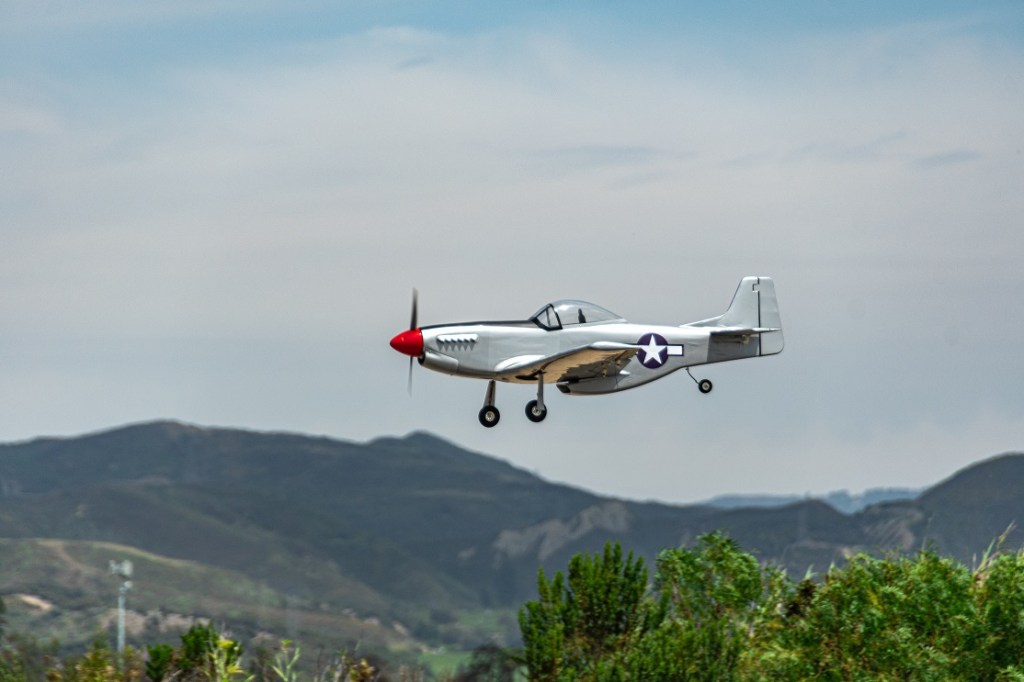
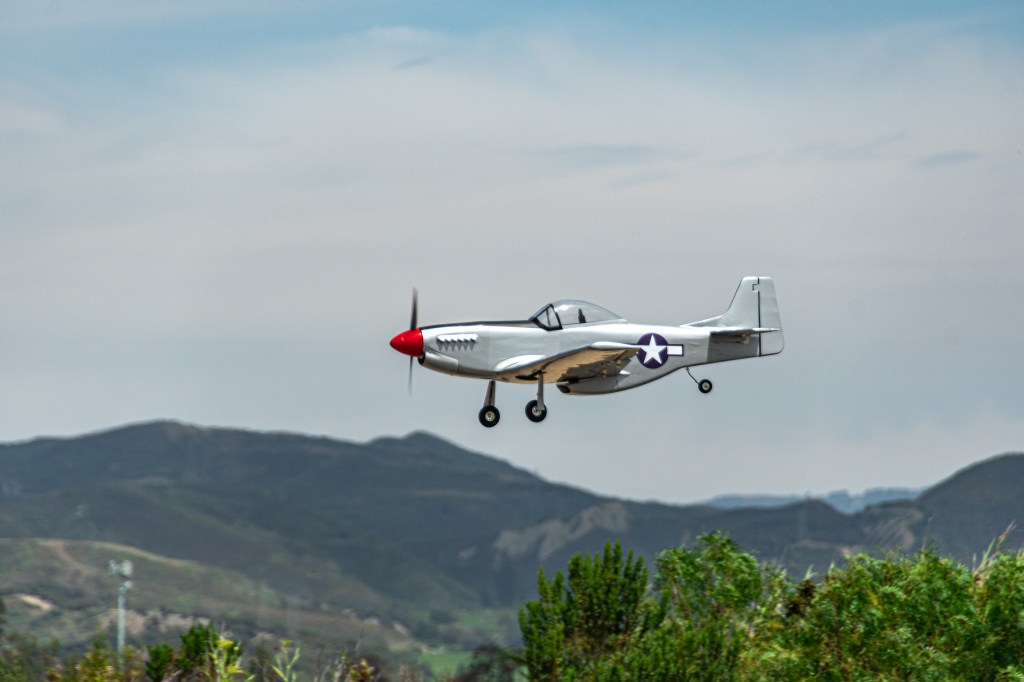
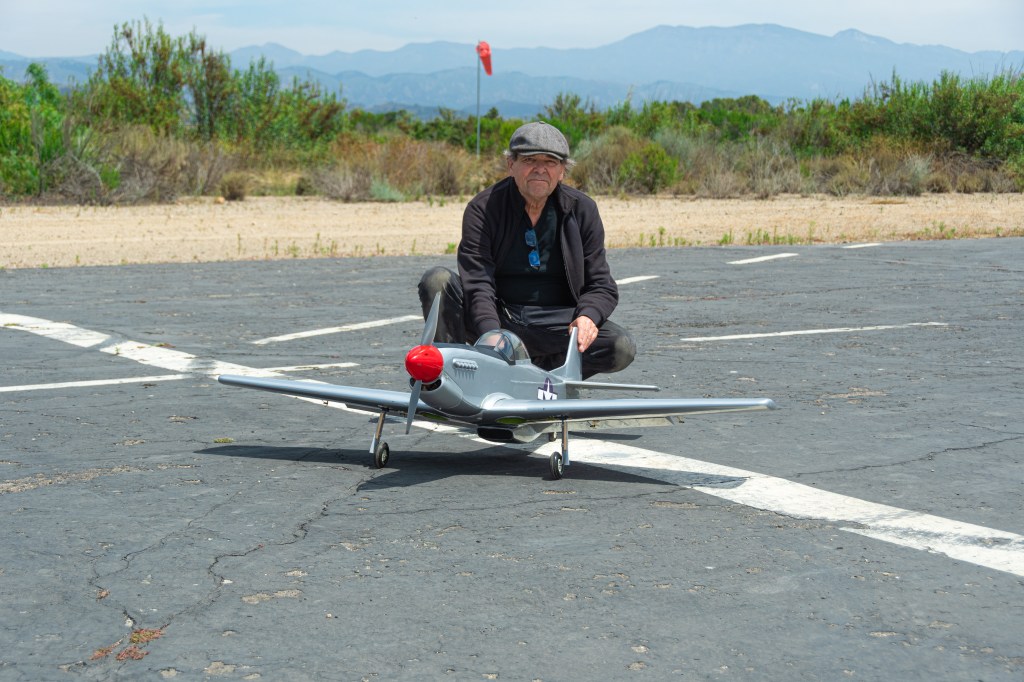
Gear down and on final aproach for her first landing after a great maiden flight.
The Tuskegee Airmen of WW2 for me are one of my real hero’s. A black squadron of amazing talented pilots faced impossible odds in a world faced with racism, and prejudice. White commanders and a military that saw them as less than their white counter parts as pilots. They were treated badly but they raised up against it all with incredible braving beating the odds and saving lives.
Not only did they prove them wrong but they became one of the best squadrons of WW2 saving of our B-17 pilots lives and missions with incredible skill and valor.
Sadly racism and segregation continued to have a stranglehold on the country. It still does. Instead of being greeted with a hero’s welcome, the Tuskegee Airmen were segregated as soon as they disembarked the ships that brought them home. German prisoners of war were treated better than black Americans.
Today we know the truth. These were great pilots and great human beings. No more no less. So as I have in the past I am decorating my P-51 mustang models in their honor might they be remembered for their sacrifice for all of us to be free from fascism.
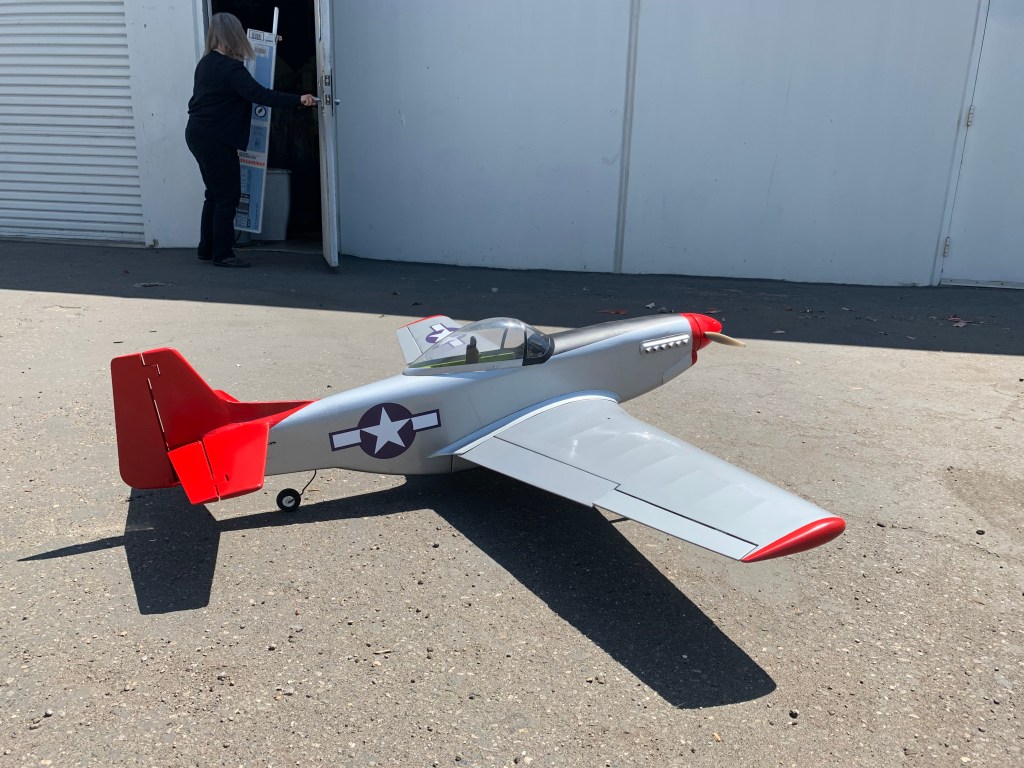
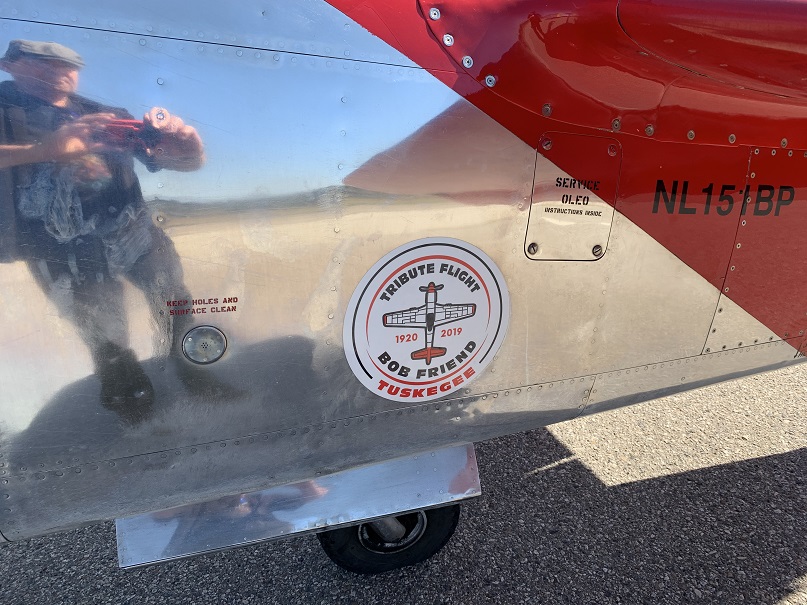
I started with making the tail red as they were known as the Red Tails. No other squadron had them.
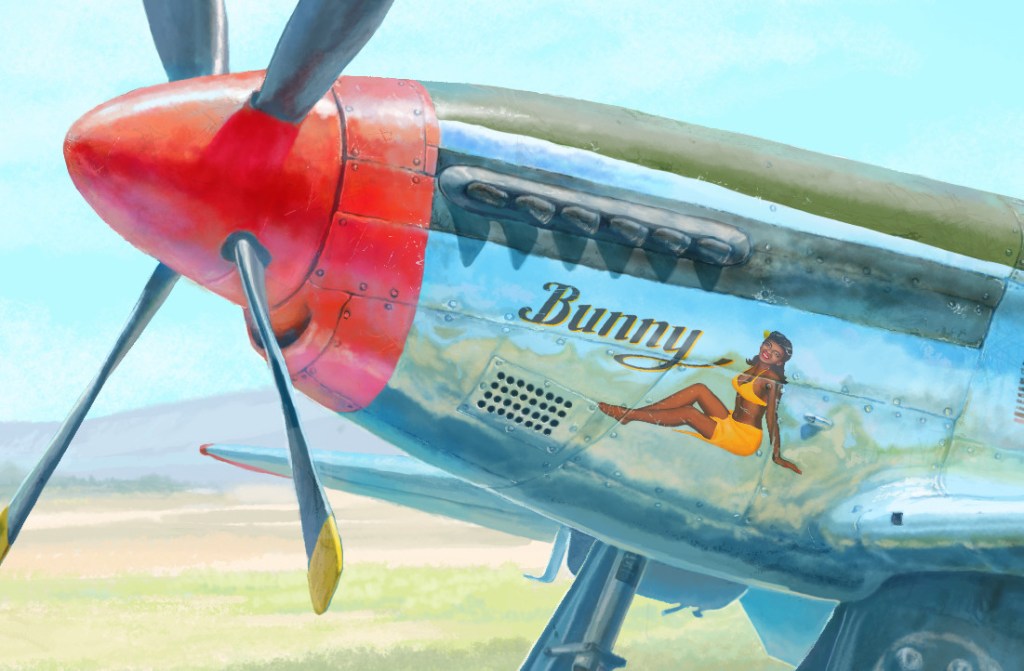
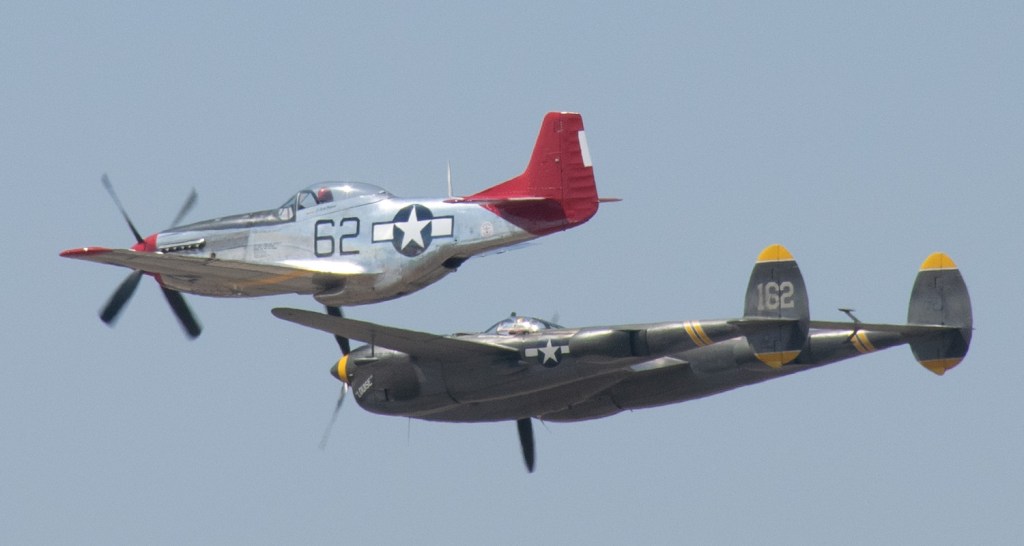
My particular paint scheme is being patterned off of the P-51 named Bunny.
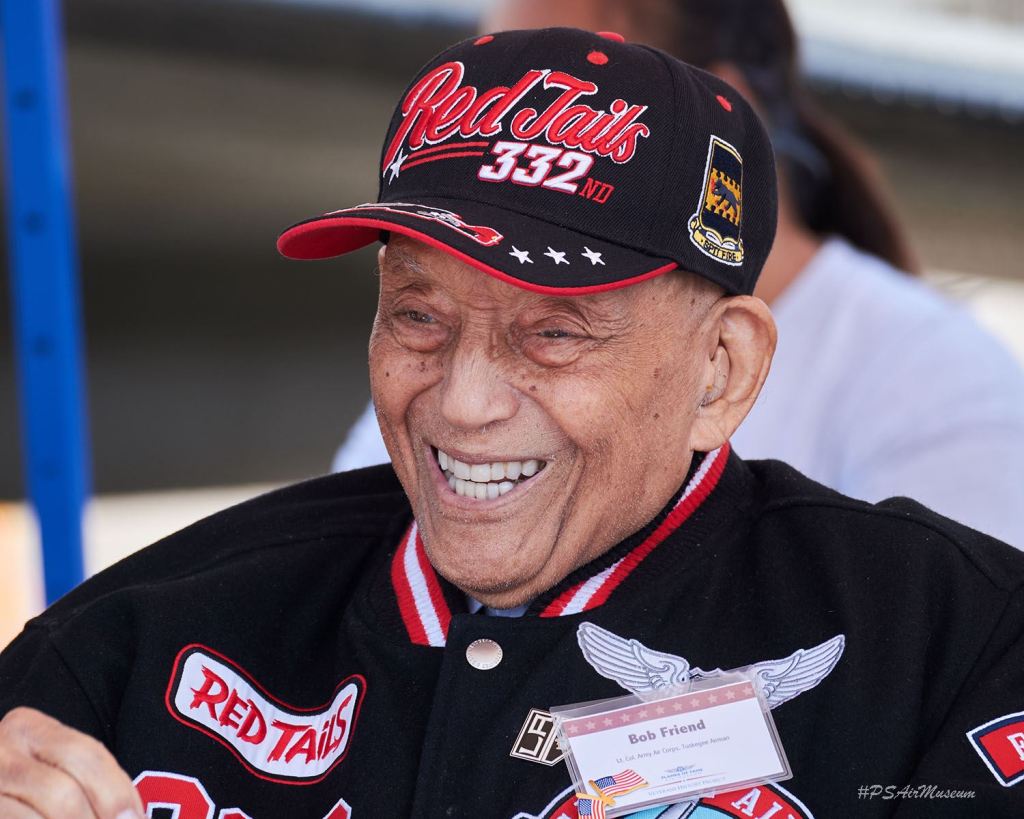
It will take time to finish. I’m planning to hand sculpt the pilot Lt. Col. Bob Friend who flew the plane in WW2. Today I’ll be making decals to be applied soon.
Lt. Col. Robert “Bob” J. Friend
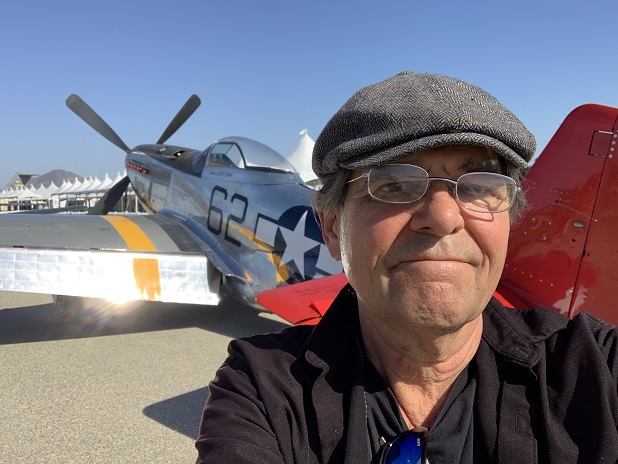
Me standing with bunny for a selfie.
This is me last year at the Camarillo Airshow where I got to see Bunny up close and personal.
And I got to see her fly. Building and flying model airplanes has always been and an amazing experience for me that never gets old.
It’s been a long time coming since I was given this rather large P-51 Mustang wooden kit by the former President of the Camarillo Fly Circus. I was given the kit for helping a highschool student with his project at my studio. It wasn’t expected but Robert Wagner just sort of sprang it on me.
At the time when he asked me if I liked P-51 kits I didn’t realize he had planned to give me this kit. It was a kit from the 90’s that had never been built.
Over time I slowly collected the many parts needed to complete it. Everything from the motor to the retractable landing gear servos and more I bought for it.
It took some time in my busy schedule to complete it. You probably saw me here from time to time post progress. I built so many planes this size and larger in my 30s, 40s, 50s, and 60’s but as I get older it’s a little harder to tackle these large models. None the less I did finish it enough to see how she flies and on Saturday the 24th she had her first flight.
As always even after flying for 38 years there is always a bit of trepidation about that first flight. You have put a lot of time, money, and hope into that marvel of technology and craftsmanship. Sometimes things just go wrong. Being as careful and relying on your years of experience sometimes isn’t enough. A simple servo or component can fail, radio signal problems, or structural failure can end your dream pretty quick. But for the most part these planes perform well with little trouble.
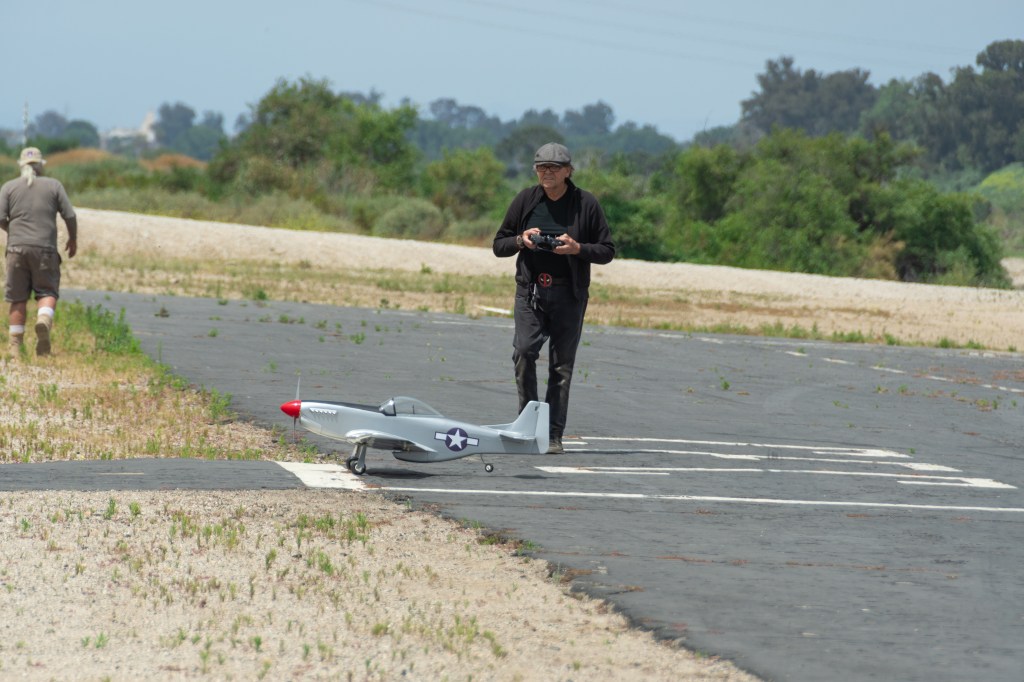
I taxied her out onto the runway, eased throttle on until she was rolling straight. I gave her a bit more power correcting with my rudder. The tail came up on the step, I pulled back smoothly on the elevator and I smoothly brought up the power as she went straight down the runway and started to lift from the tarmac.
She climbed and I made the base turn and she was as smooth as glass. The plane needed little trim and I flew her for about 3 minutes and brought her in for a nice controlled landing in the center line and rolled to a stop.
The club members there at the field cheered and clapped. They are my friends and they know well what it is to experience that maiden flight.
I flew her again for 5-6 minutes and landed. She’s a keeper. It’s hard to describe the feeling of accomplishment for building and successfully flying such a plane. To say the least I was thrilled.
Next up is to finish the plane. Markings, details, pilot, and a red tail.
Thanks to Sam William (our club president who took these pictures) for the support and pictures. It was a good day at our field.
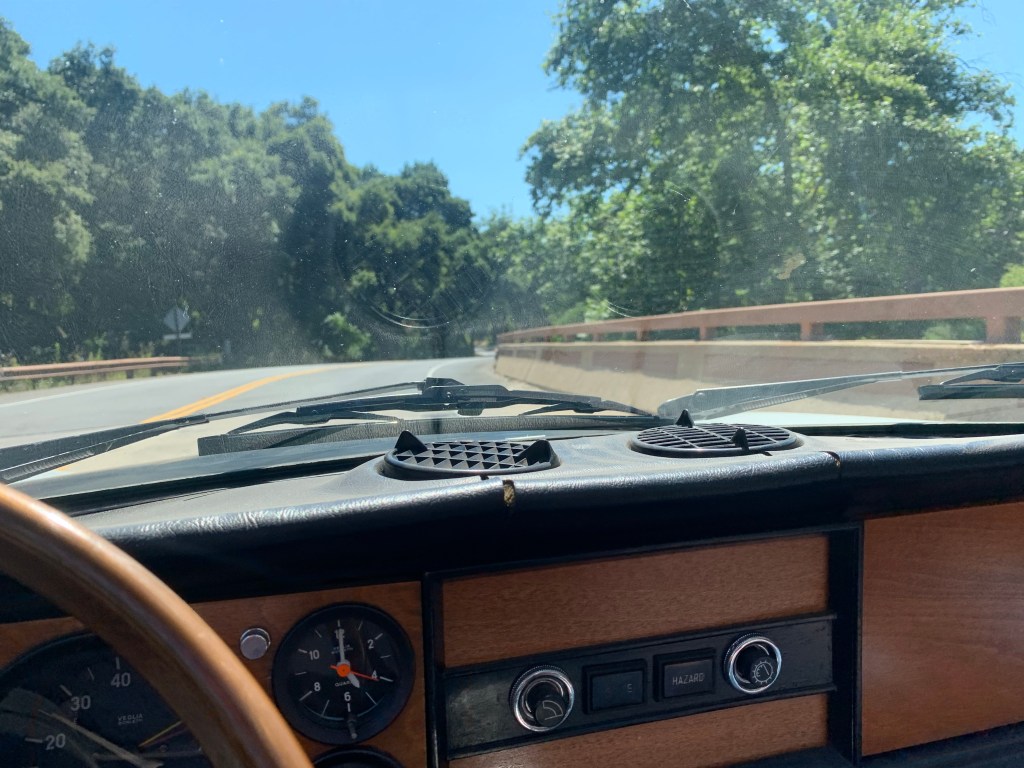
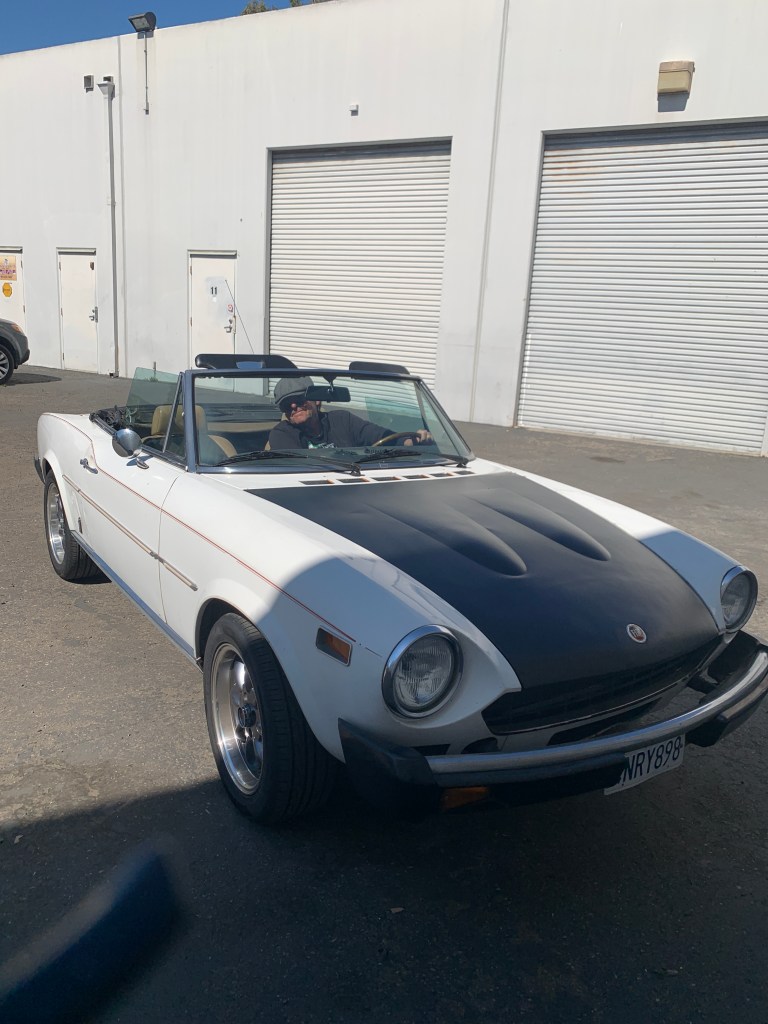
Mary and I had a nice drive up to Ojai yesterday in our Classic Fiat 124 Spider. Nothing like the winding country roads that take you up to the town. The roads are deep in the countryside and this car was meant for such roads. The sun was out, the temperature was warm and it couldn’t have been a more perfect day for a drive in a classic Italian sports car.
The car handled the tight turns like it had glue on the tires. This is one of the best handling sports cars I have ever owned.
The latest from SNG Studio for the week beginning on June 12th.
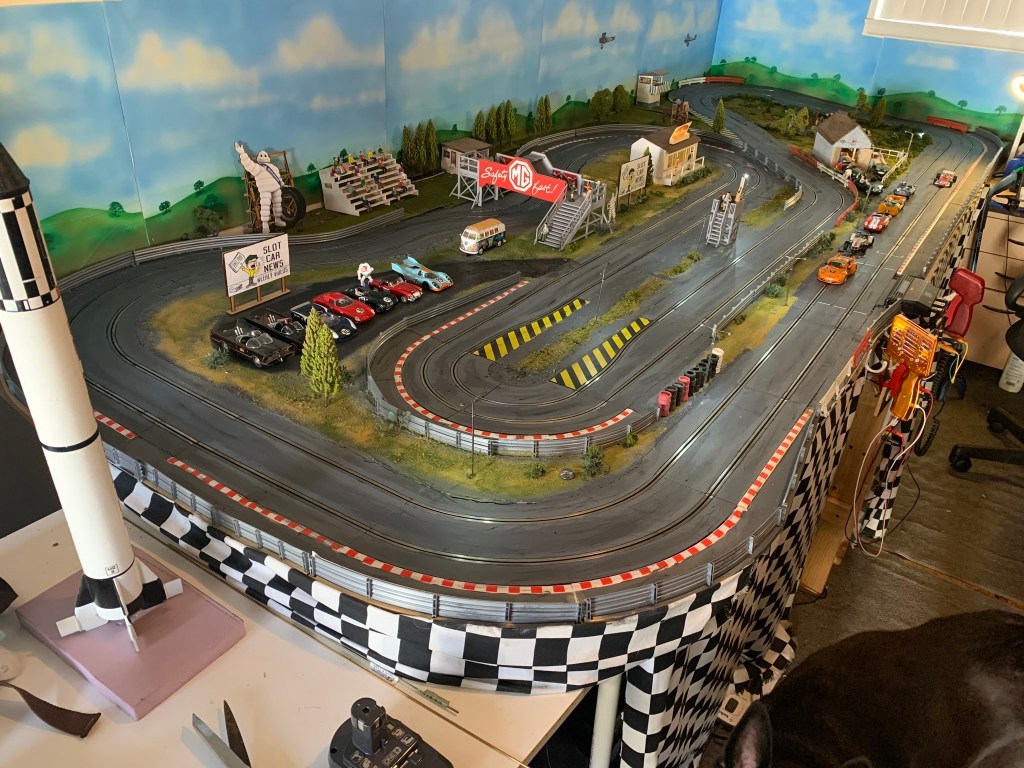
Somewhere along the line I started thinking of things I could and wanted to do with the laser cutter and one of those things was a wooden slot car track. As a boy I raced on the commercial wooden tracks around town and loved it. Most of these tracks are at homes where my club races and most are wooden. Although I have a plastic track at home it never was quite the same thing for me.
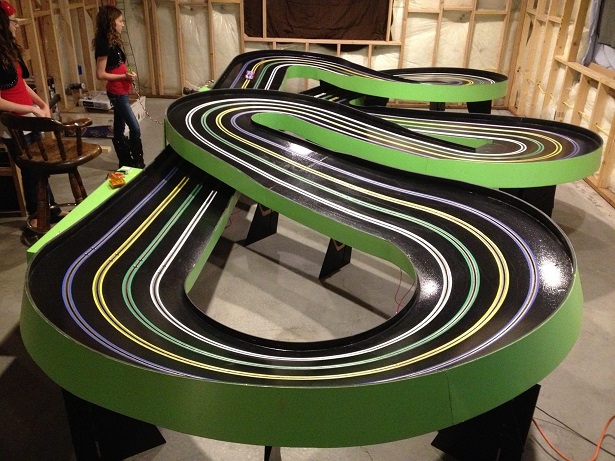
The wooden track was quiet and smooth. Wide so when you moved through the turns you didn’t come off the track. There was no clackety-clack.
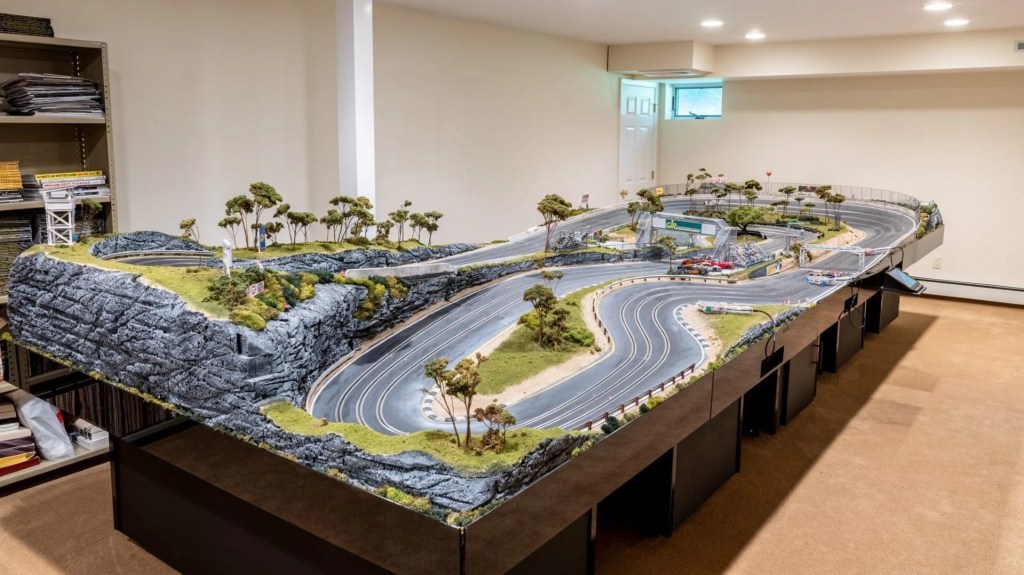
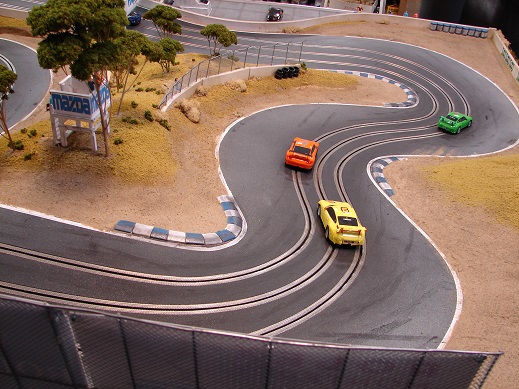
The above image is a typical commercial track style. Most of the home tracks that are wood today have a detailed miniature world feel as my home plastic track does.
To see Mary’s art clink on this link: Mary’s Weekly Musings (subscribe to see what she is up to weekly)
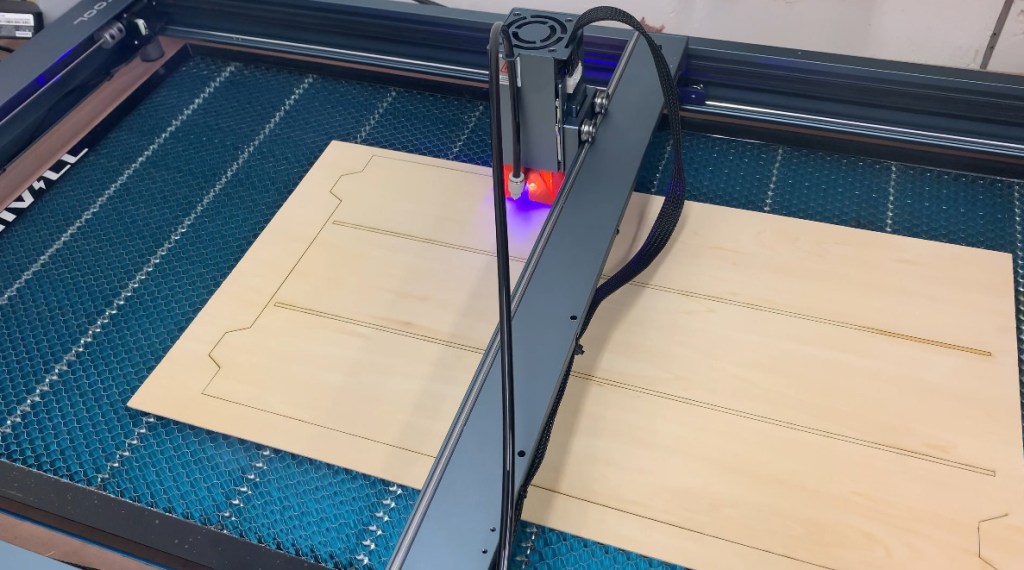
To make a wooden track you need a router, MDF particle board and elbow grease to get the job done. You needed to use expensive copper or stainless steel braids for the contacts. Add to that recessing the router cut to accommodate the braid. A tool to run the braid and glue to hold it down. This has always held me back. It hit me that I could laser cut sections of medium density pine plywood like butter with this laser. So I designed, in photoshop, a piece of straight track, placed it into Lightburn (laser cutting software) and traced it as a vector file and cut it. I used copper tape that is adhesive backed and conductive. Copper tape replaces the braid. It is thinner than braid and lays flush on the track. Less expensive and easy to use. I have used it in the past and it works well. A lot of people are using it on homemade tracks these days.
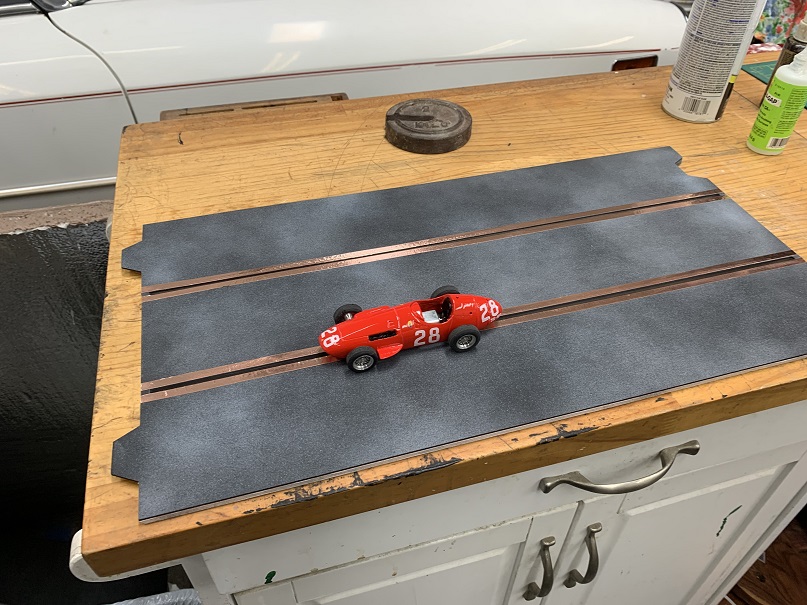
Here are the results.
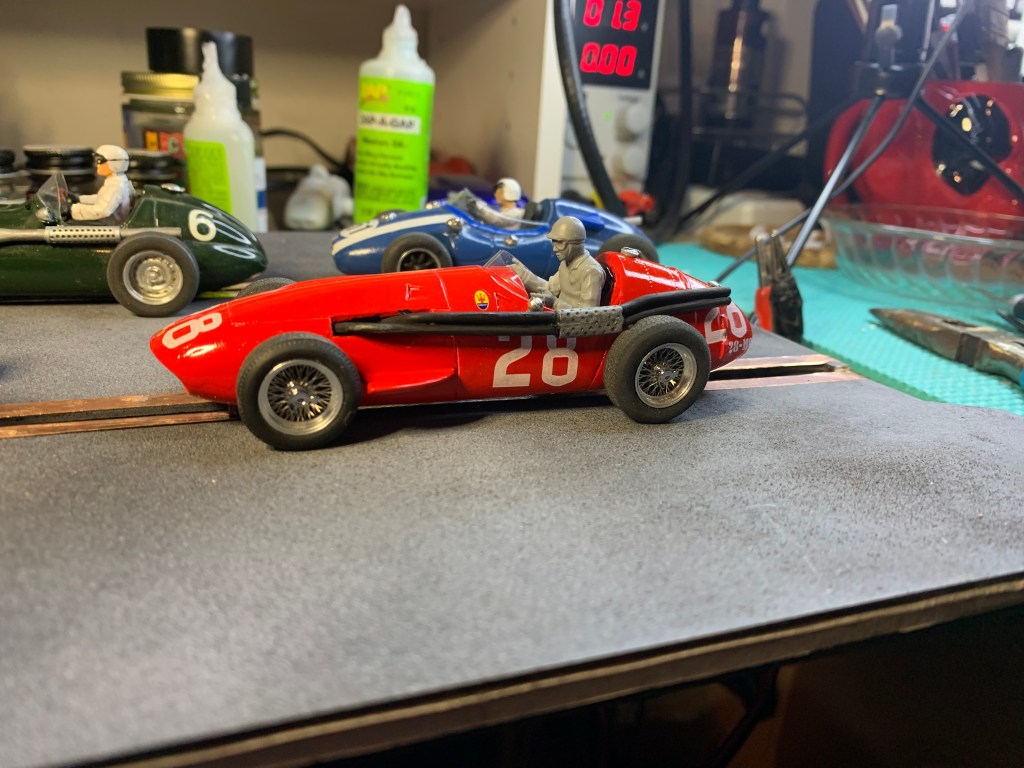
Oh and by the way I did get a bit more done on the Maserati this week. There is still a lot to do. These slot car models take time.
The track is wider than commercial plastic home tracks. I’ll be able to make curves too, even have the lanes narrow to the inside to simulate actual driving on the full size tracks. The possibilities are endless.
My plan is to make track kits available. You build a wooden table and mount my track to it. Paint it, add the copper tape and you have a wooden track at home with minimal trouble. I will be making my own home track into a wooden track soon to show it can be done.
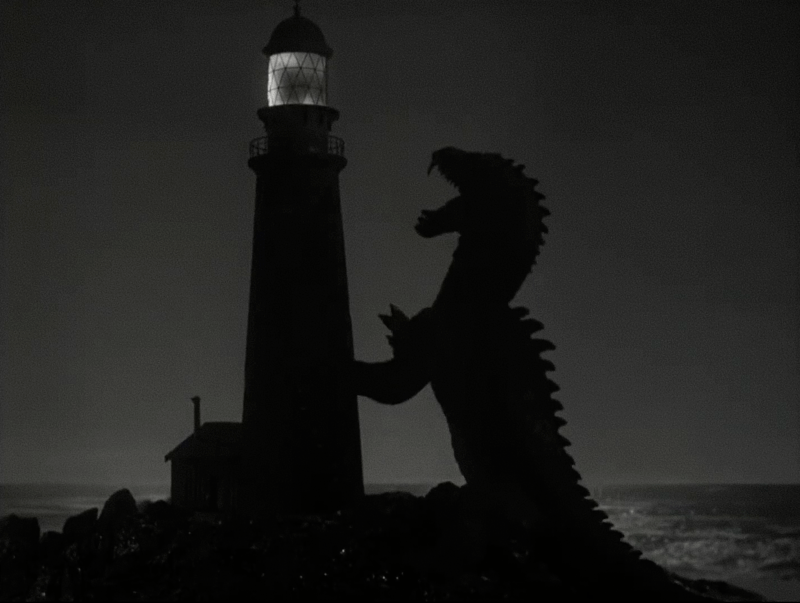
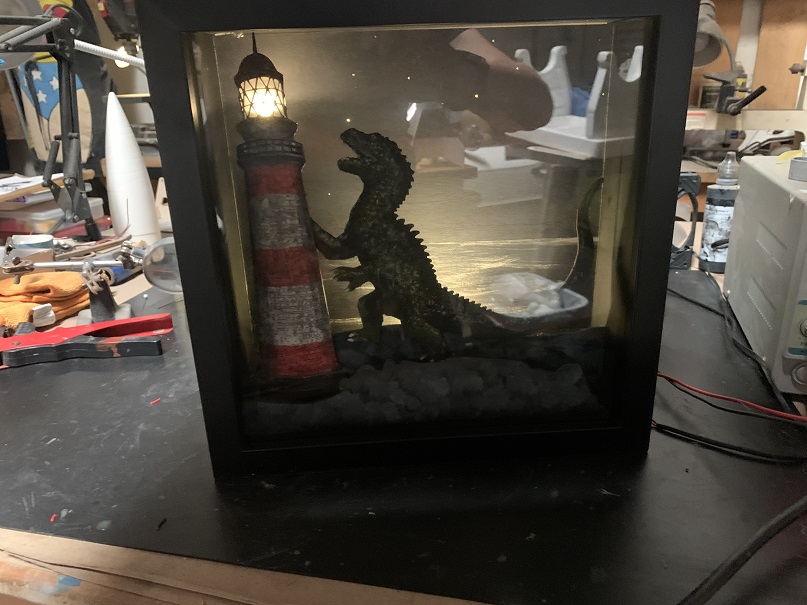
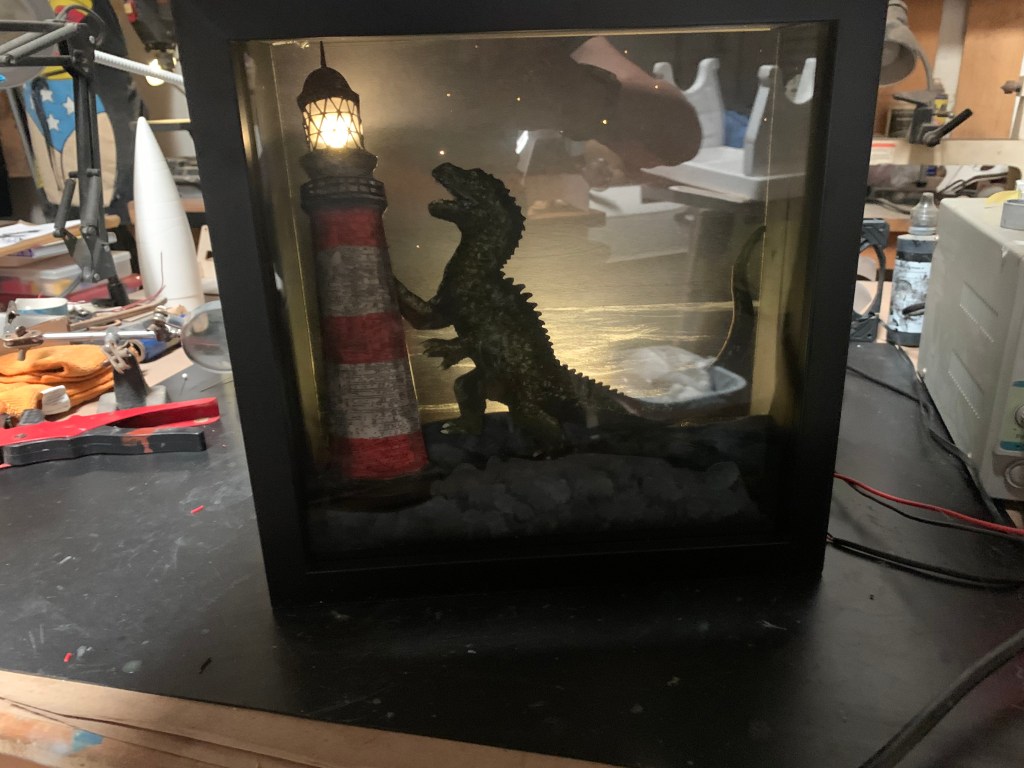
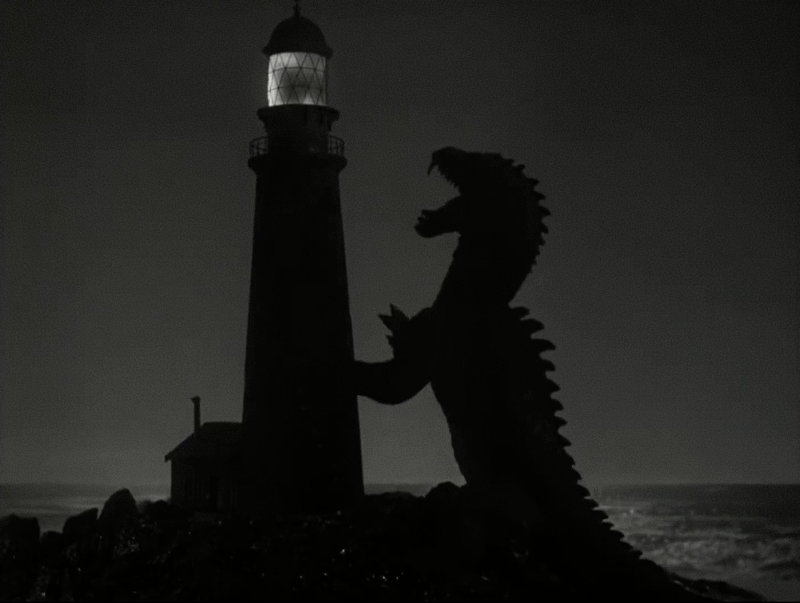
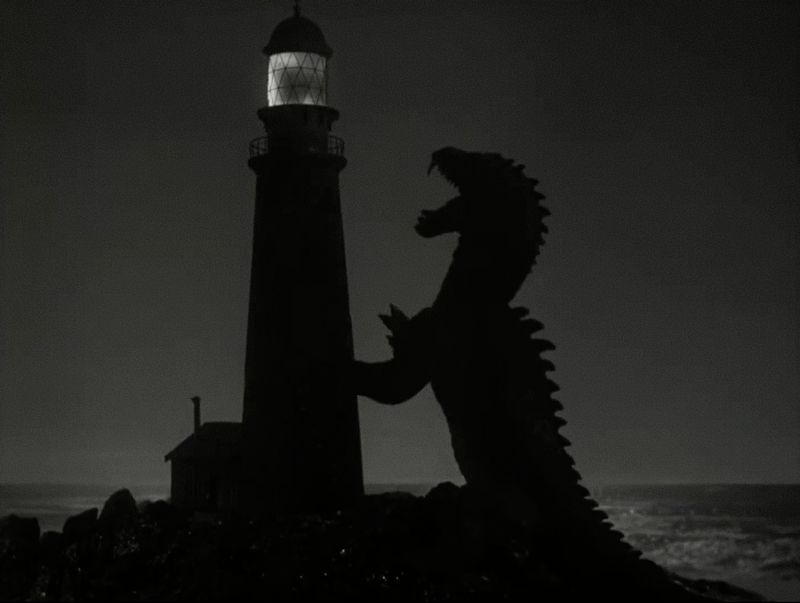
Next up, I decided that I need to do some art with the laser cutter. I have always loved shadow boxes and the miniature worlds you can create inside them. Some of you that know me well will recall I have made a few in my past from scenes from “Wind and the Willows” to starry night skies with the moon. I thought it might be cool to do some Sci-Fi related shadow boxes that were lighted and had a 3D effect. I started with something simple I could make by the end of this week. I picked this classic scene from Ray Harryhausen’s “Beast from 20,000 Fathoms”. The Rhedosaurus attacking the lighthouse was always one of my favorites. The backlite and shadow of the beast was eerie and haunting and I thought this might make a good candidate for a first effort.
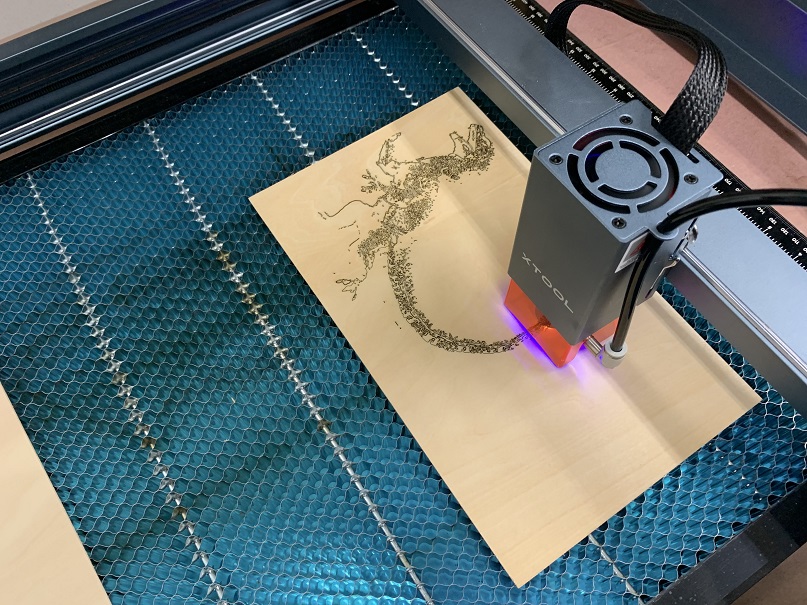
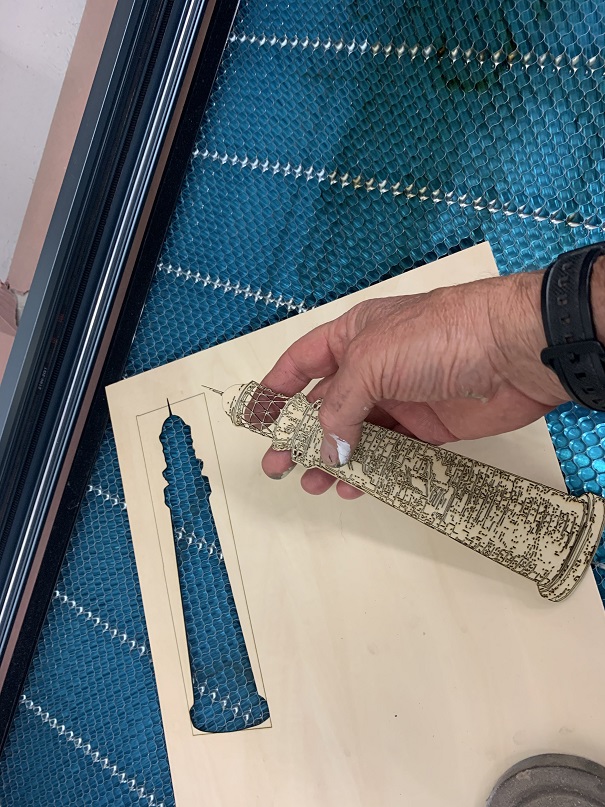
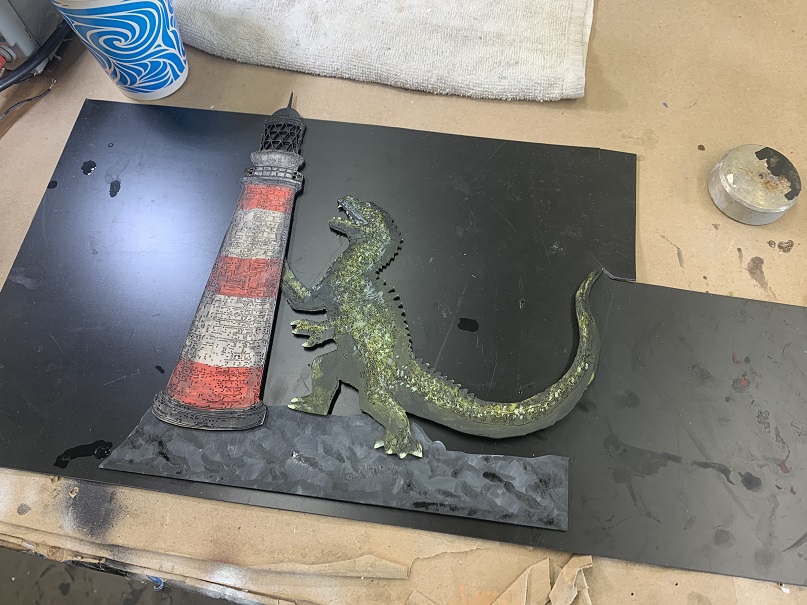
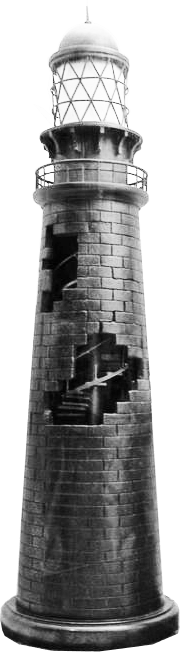
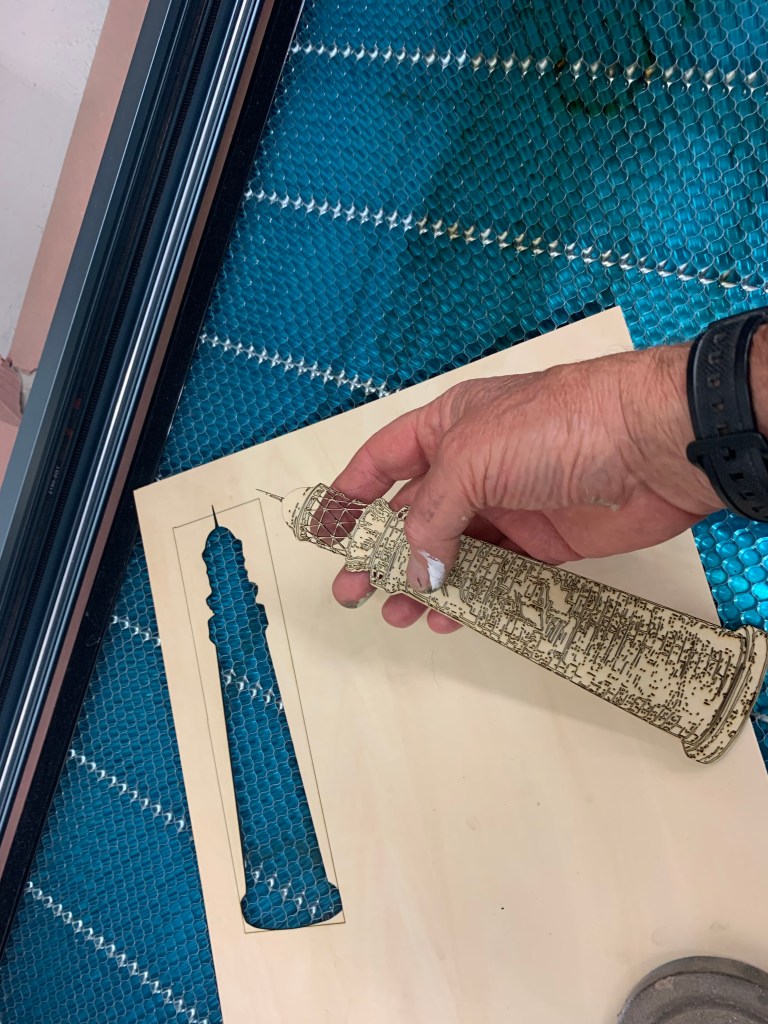
Here are some pictures that show the process. I drew up the parts in photoshop taken from the bronze sculpture. Traced them in Lightburn and cut them in bass wood. This week’s SNG Studio update video shows the whole process. It better explains how this is done.
I hand-painted everything. All the parts were laser engraved. I was very happy with the end results. It’s meant to be seen in the dark and backlit as in the film but it’s painted well enough to make sense if there’s light in the room.
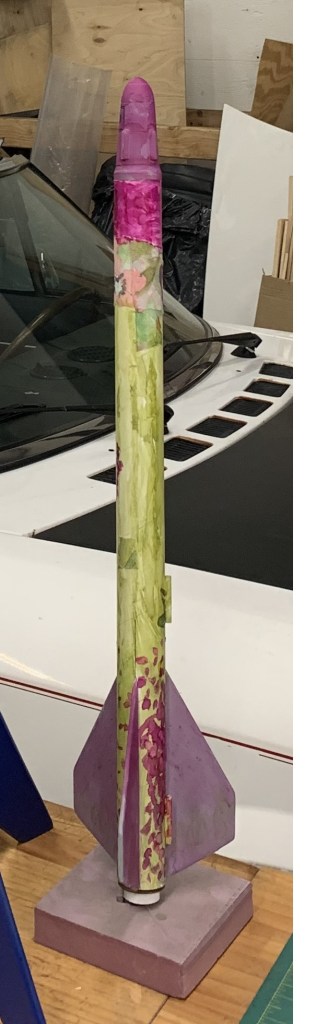
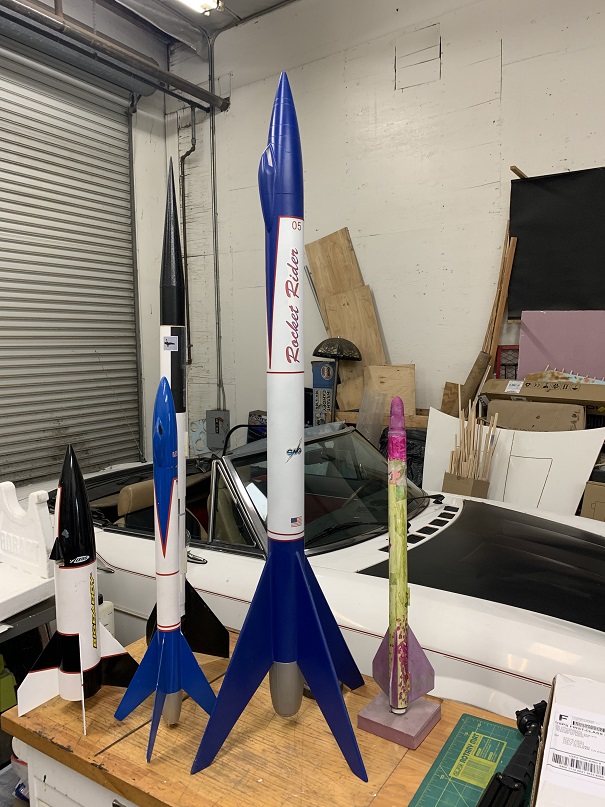
Saturday morning Ventura Rocketeers launched their rockets. As always it was a great launch and Mary got to launch her own rocket this time, the Vanguard Monet handmade by Steve Neill.
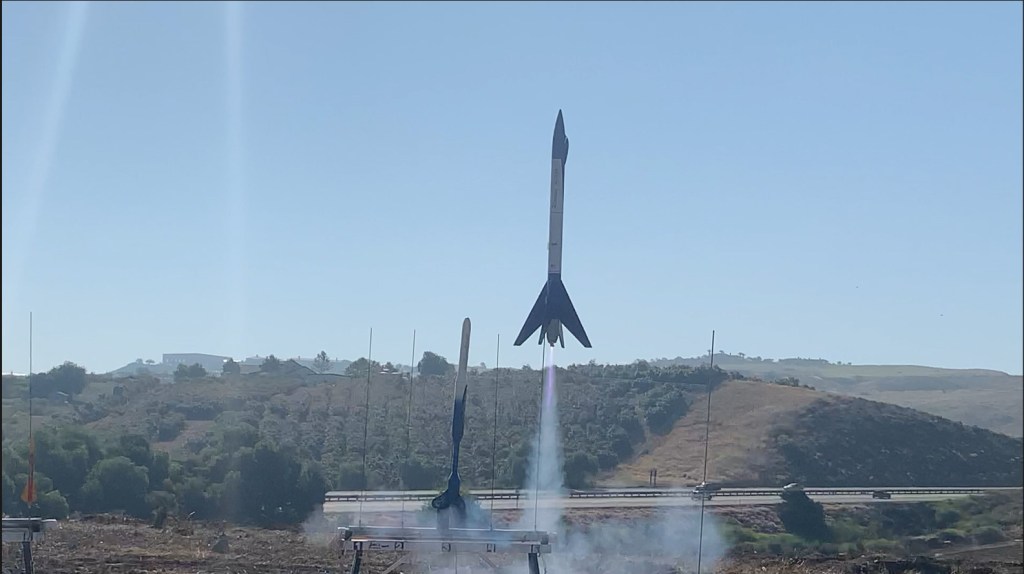
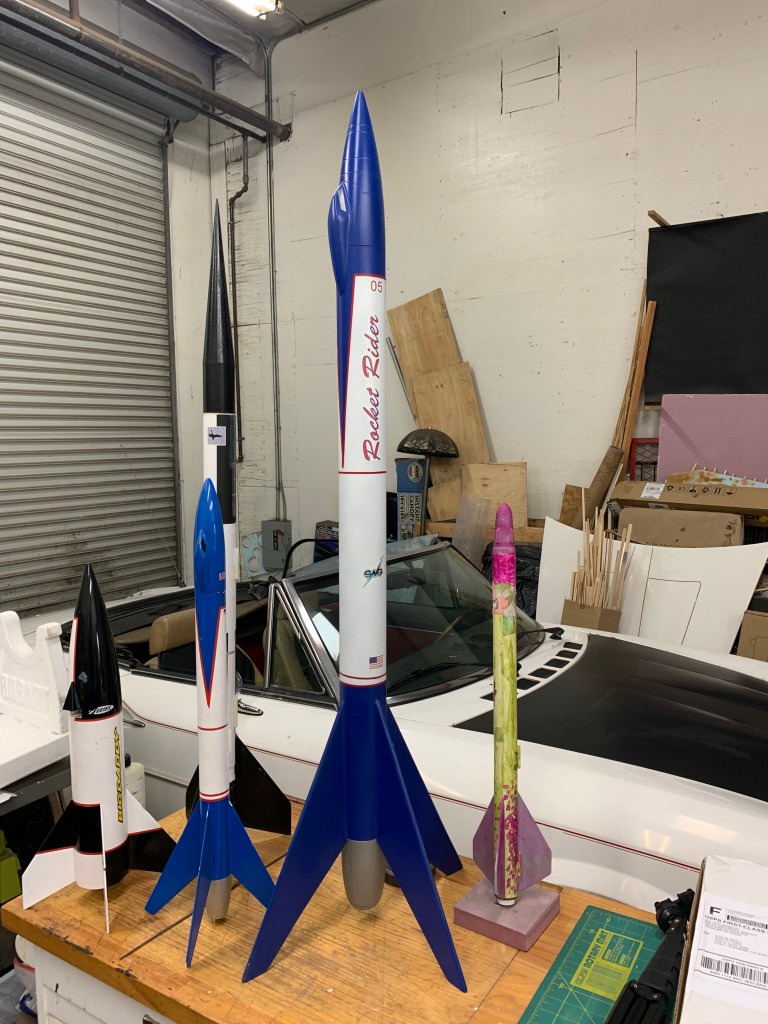
I launched my own design, Rocket Rider that went over 1500 ft and 308 mph. It was very successful. Here’s a video from the day. Sadly the iPhone recording for Mary’s flight didn’t make it, but at the next launch we will make sure and get video of her Vanguard Monet which flew perfectly.
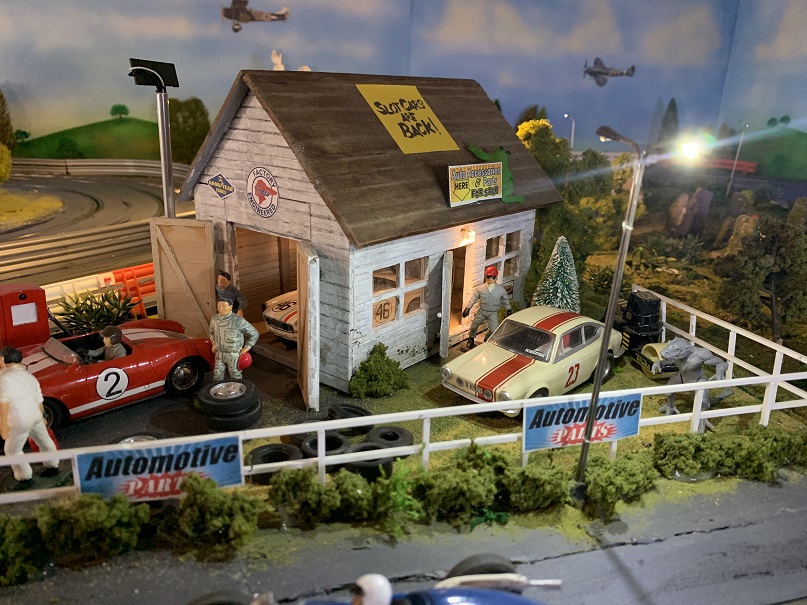
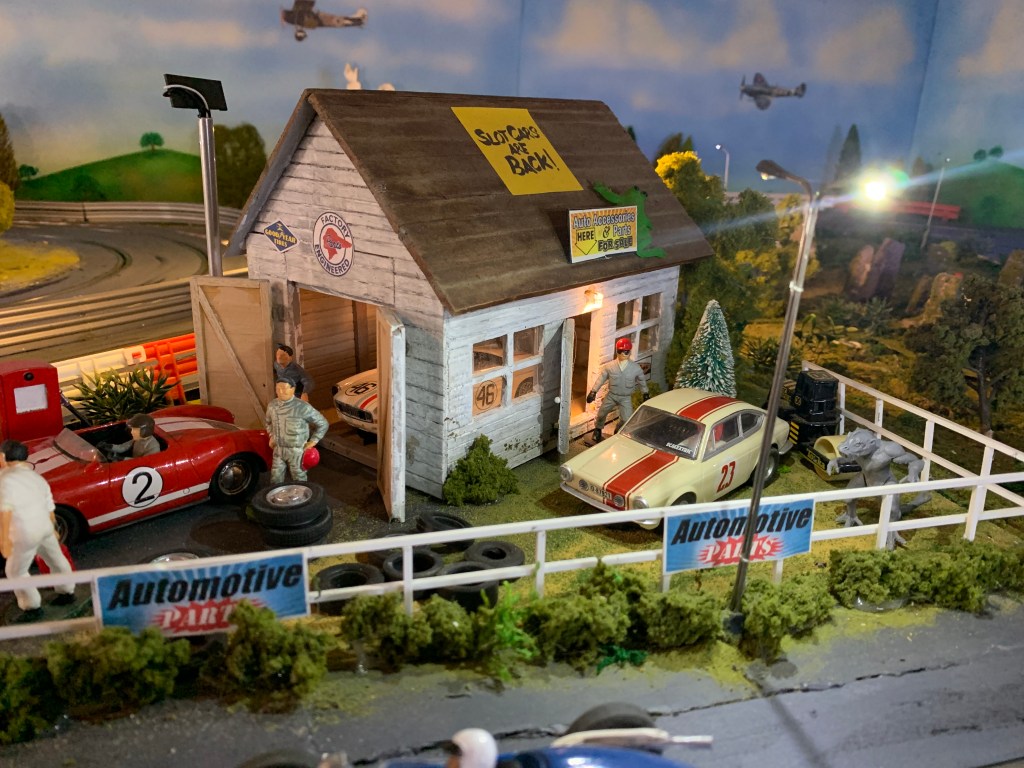
Next week I’m starting on a new laser cutting project. This will be a miniature 1/32 garage for the slot car track that will be offered as a kit. I built something like it for my track in balsa years ago.
The garage will be the first of many items for the track to follow. This will also branch out into haunted houses and other builds and diorama kits as model kits modelers can build for display, not just for trains or slot car tracks.
Bottom line is that the possibilities are endless. I haven’t even touched on model airplane kits yet. Give me time.
I finished the first one today. There is room for improvement but not much. I was surprised I hit the marks so well. Designing on the computer and outputting to the laser cutter was very precise.
More about this tomorrow and video of how it was made.
It’s Friday as I write this and it has been a long but good week. Glen Kramer and his wife Valerie visited and picked up the Enterprise E and the K-7 space outpost. We had a wonderful meal and some good times.
I was able to get some quality time on my laser cutting skills and advanced with my abilities to use it quite far.
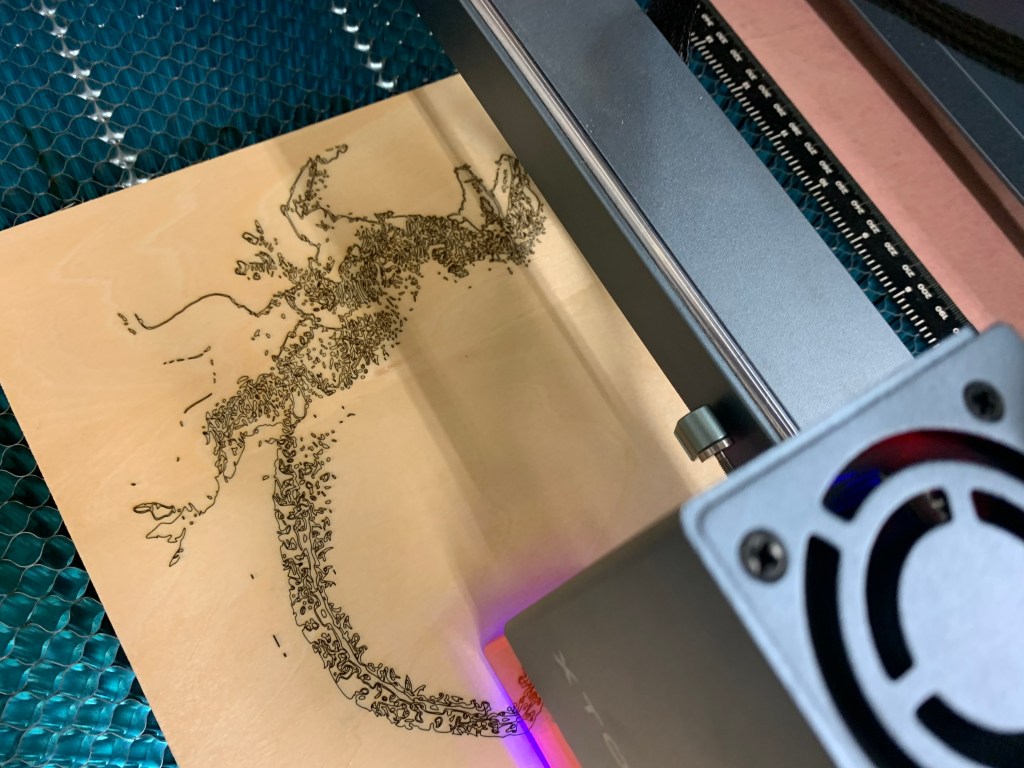
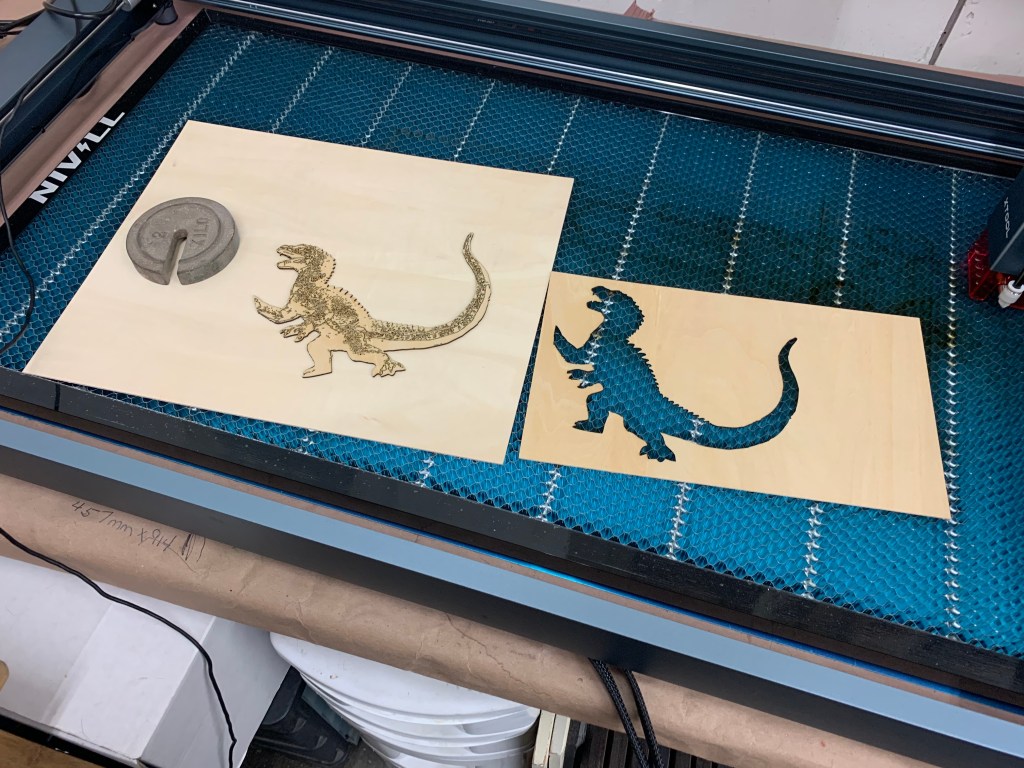
Yesterday I took a photo of the bronze “Beast from 20,000 Fathoms” and using the Lightburn software traced the contours of the bricks and shapes for laser engraving. I also created another layer I used to cut out the lighthouse and the windows from the optic section storm panes.
After working much of the week with the cutter I got a feel for the settings and my best guess was perfect and the panes just fell away and I had a perfect cage to place difusion behind and light.
I experimented with the beast itself placing some washes and highlights so in the day time in an office there’s some feeling of detail. This is mainly designed to be seen backlit and in the dark as the original scene in the film.
Next is to make the rocky base the lighthouse and the creature stand on, make an ocean at night background and a starry sky that will also be lighted softly.
I’m off to a good start and should have this finished and in a shadow box next week.
Mary and I are preparing our rockets for this weekend’s launch. I’m flying my all scratch built self designed “Rocket Rider” and Mary’s scratch built designed “Vanguard Monet”.
I am learning so much about using this laser cutter and using Lightburn. Between the two and using Photoshop there isn’t anything this machine can’t do in 2D and next 3D.
I’m planning a garage for my track that I will offer in my store for slot Car fun Products. Nice thing is I’m learning how to engrave and cut both. This means I can engrave bricks, stones, shingles, roof tiles and more.
Currently I am working on a shadow box of a famous scene from a famous Ray Harryhausen movie, “The Beast from 20,000 Phantoms”.
This will have a lighted lighthouse and the whole thing will be backlit and the ocean in the background against a night sky. Box size is 11×11 with a depth of 4 inches. It will have a 3D effect and the blinking Lighthouse will be a nice touch. The Beats and the Lighthouse will be engraved and given a light paint job although it’s meant to be seen in a dark room it will have some relief and modeling if viewed in a lighten room. I’m doing tests now.
This will be the first in a series of Sci-Fi shadow boxes I will offer in the store soon. This one will be the first.