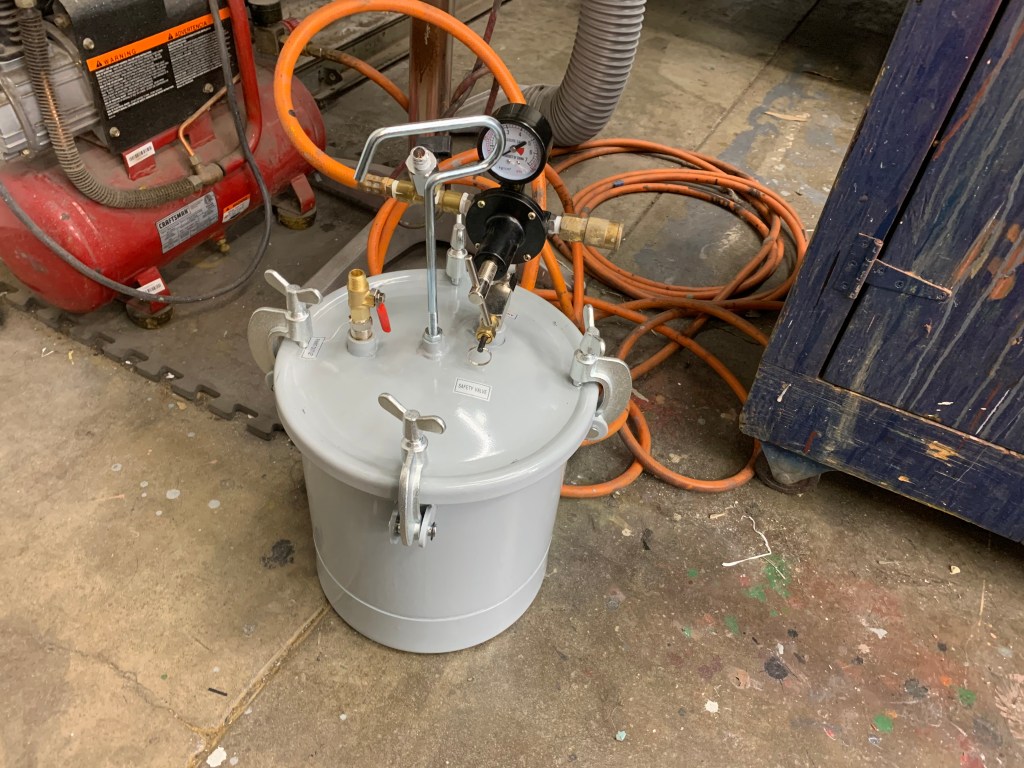
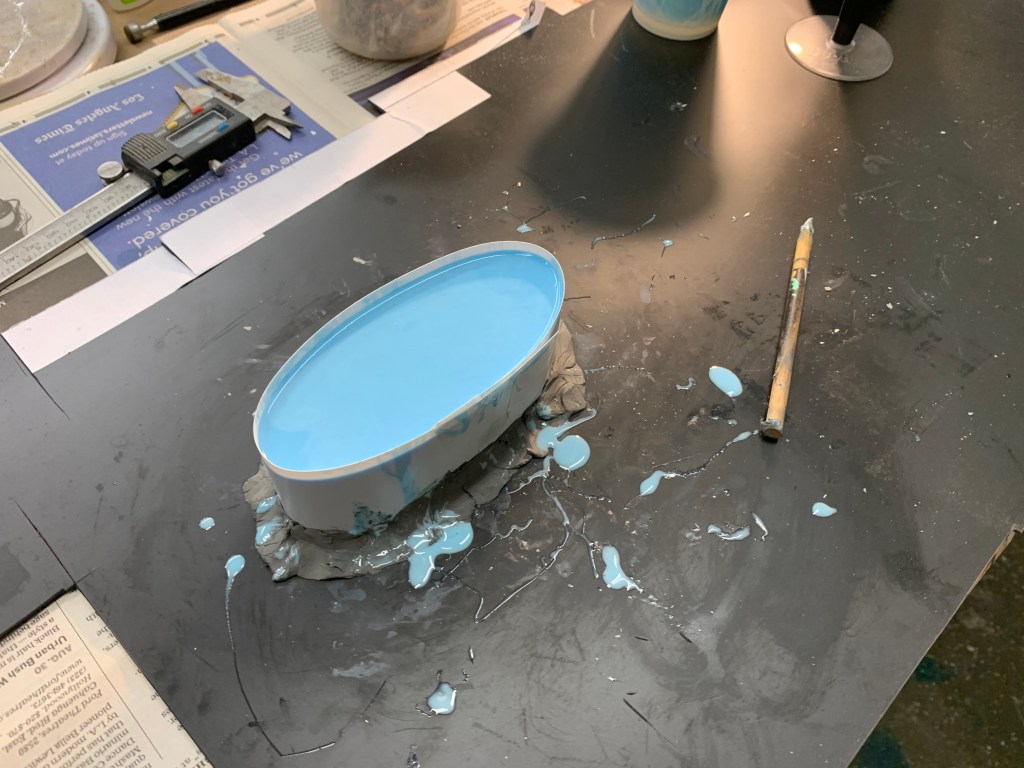
I got a pressure pot yesterday from Harbor Freight. May not seem like a big deal but it is to me. Finally I’ll be able to cast small resin parts bubble free. The idea here is you mix resin, place it in your small silicone molds and put it inside this pressure pot. Then increase the pressure to around 30 pounds and it forces the resin into all the tiny areas of the mold crushing the bubbles. No waste and a perfect part every time.
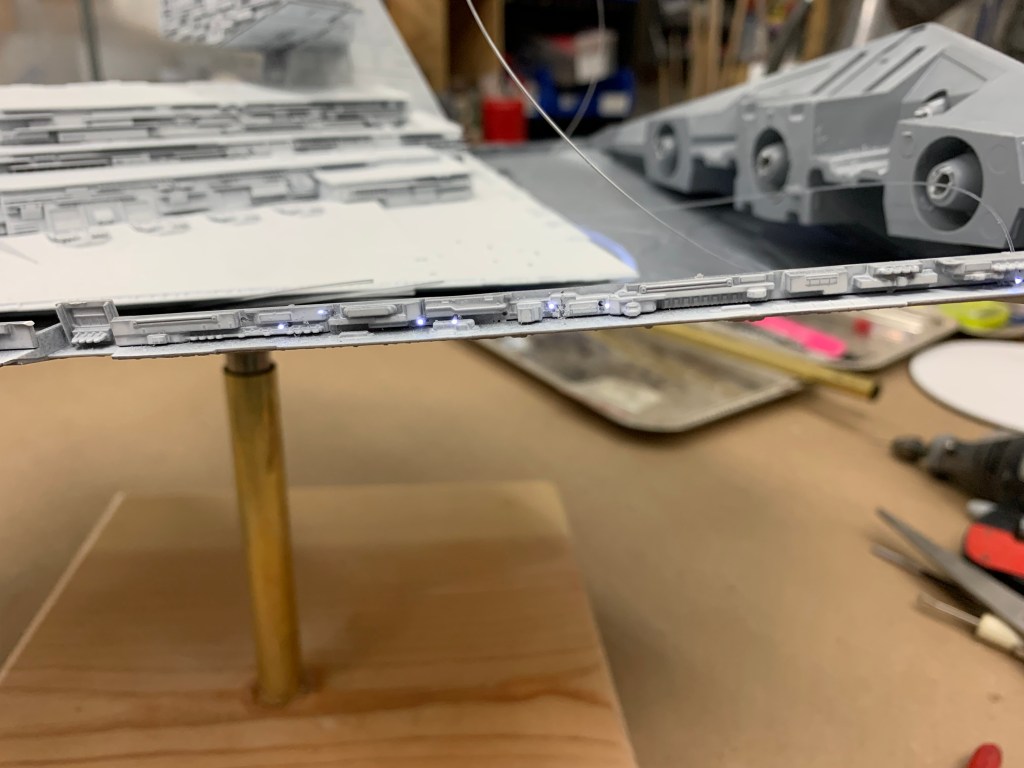
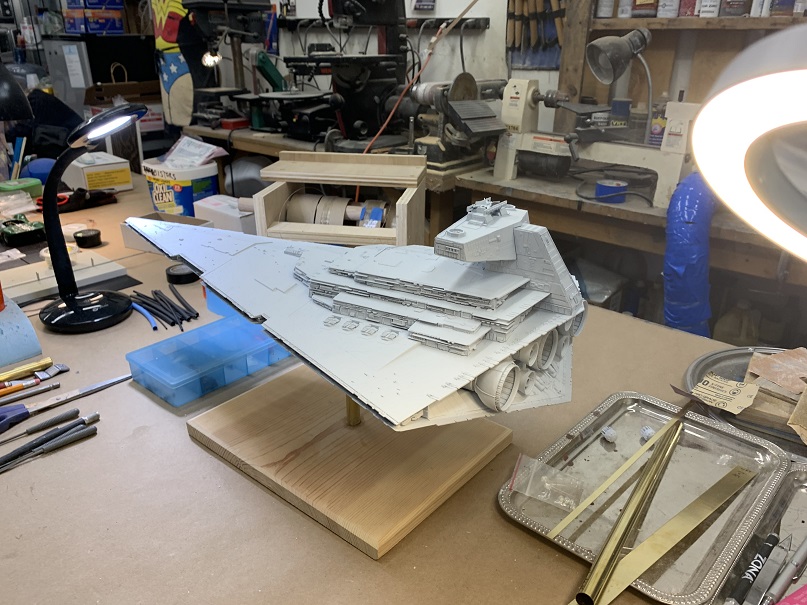
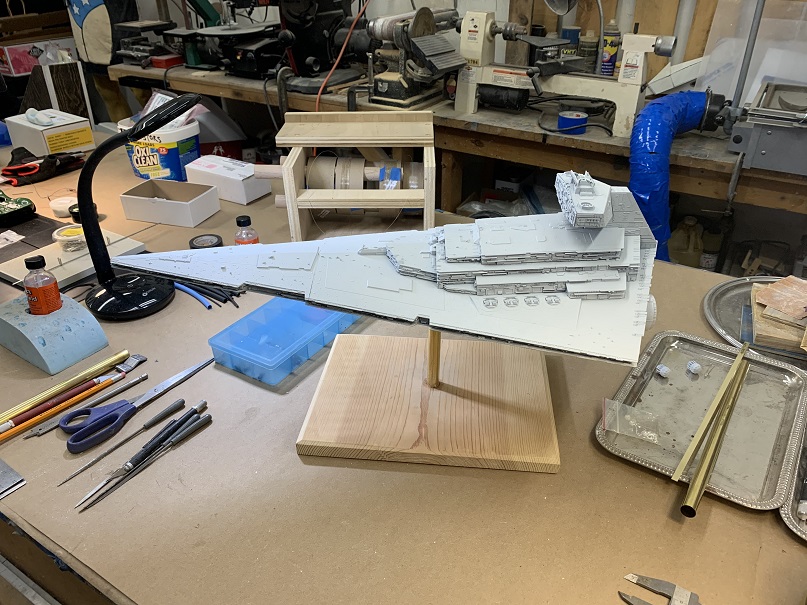
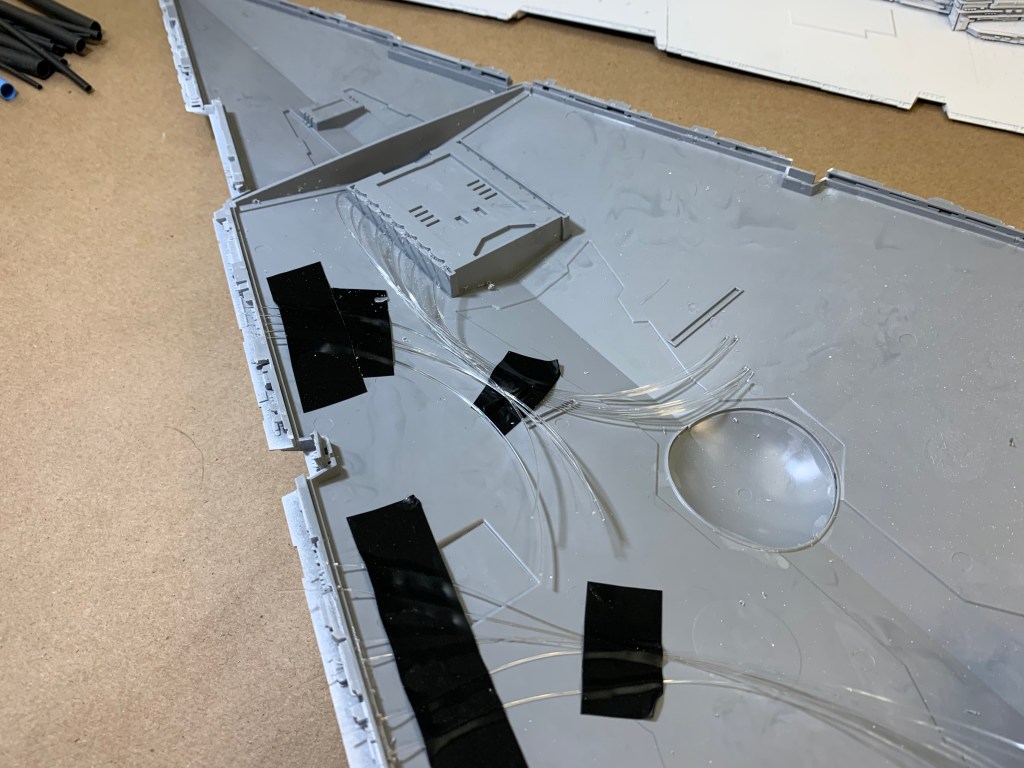
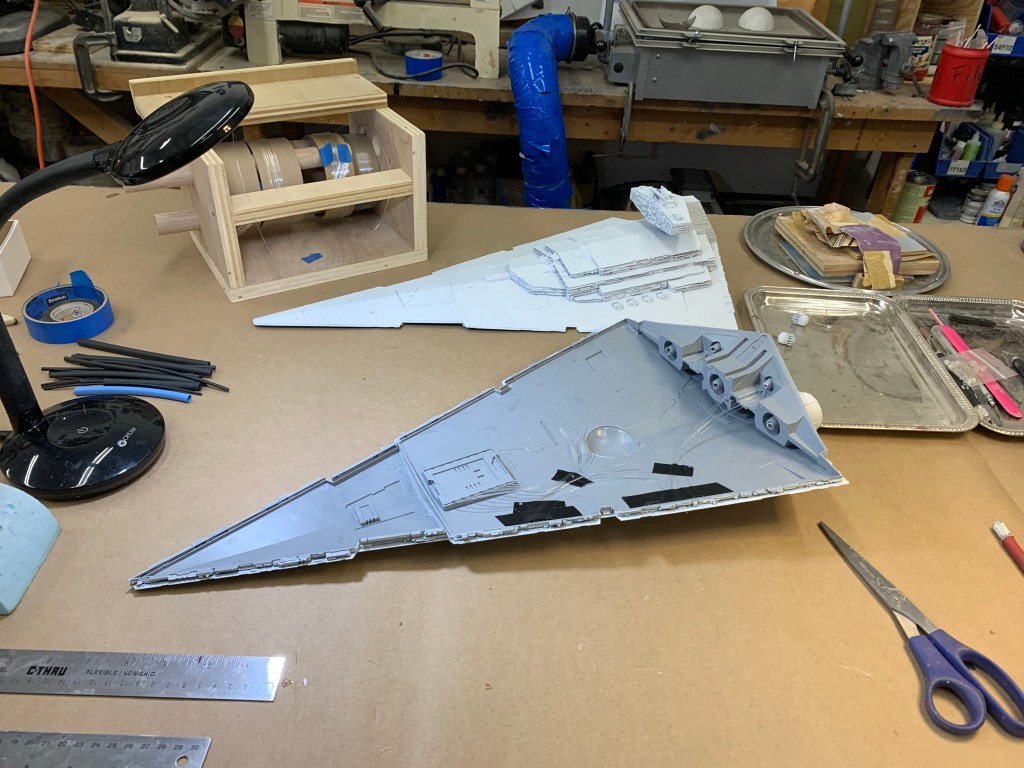
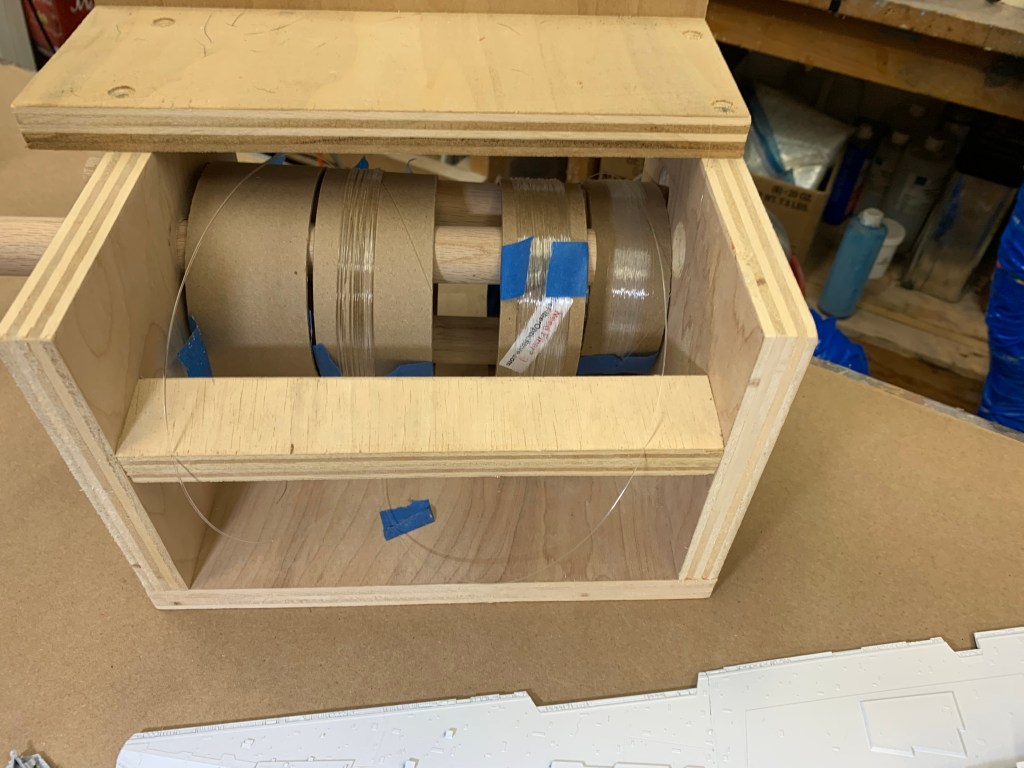
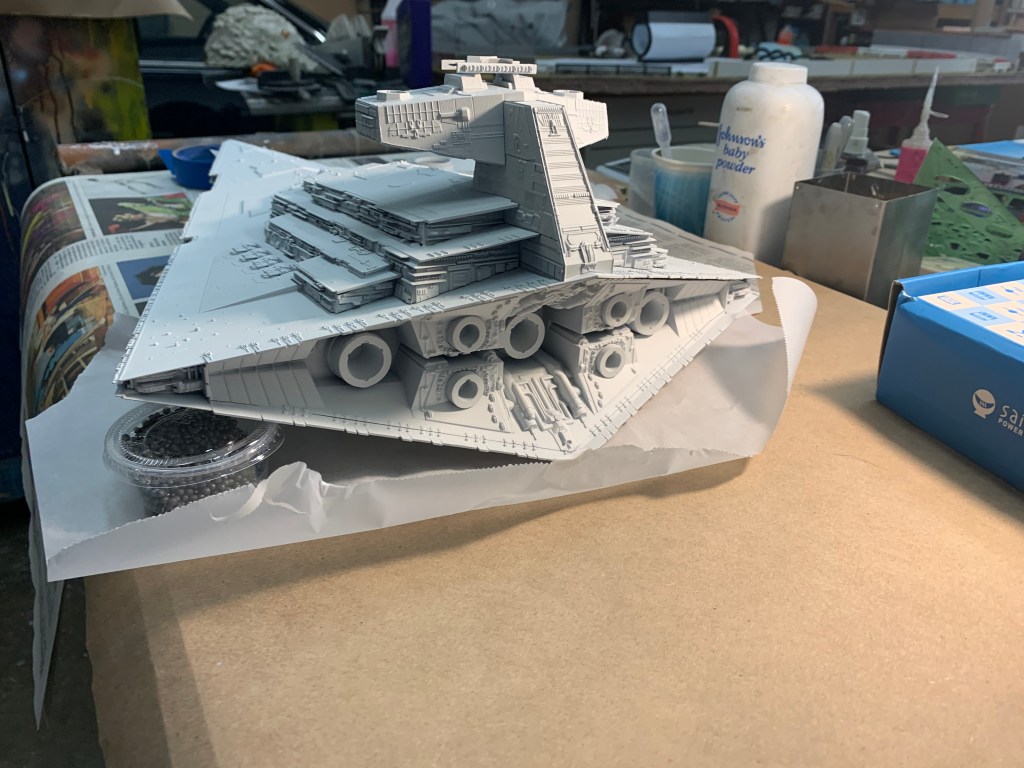
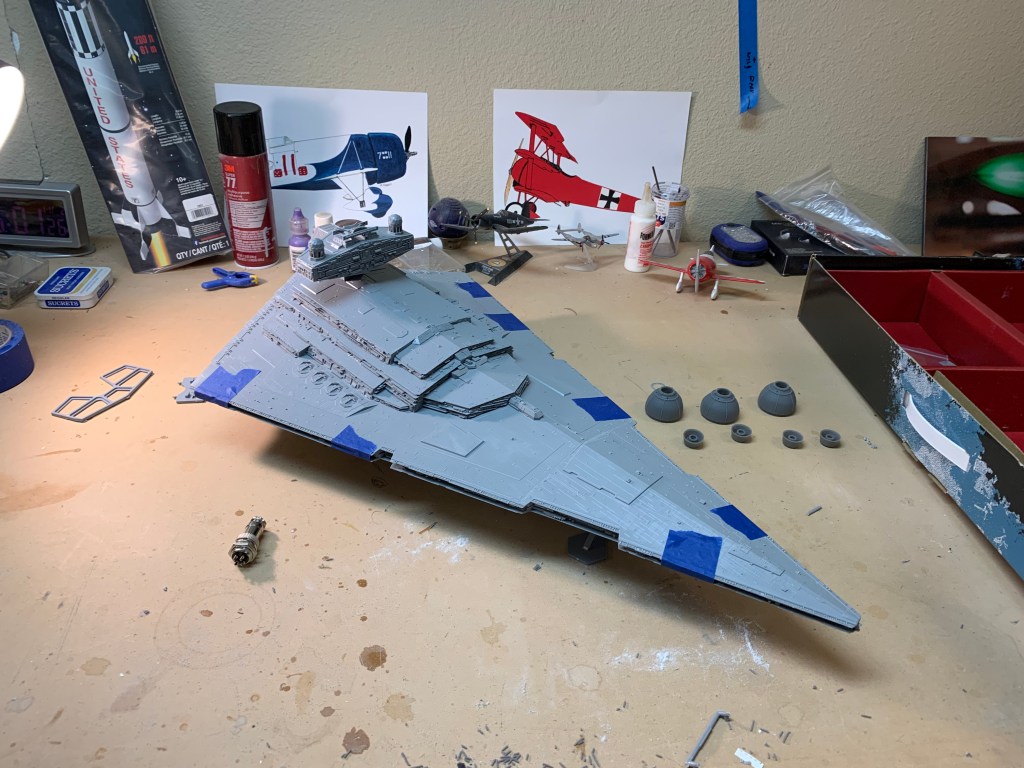
I did some more on the Star Destroyer. Still waiting for my lights to get here I started to drill holes, rigged some fiber optics, finalized the base fitting and did the wiring to the power sources for the lights. Works great!
Lastly I built a test frame for the Cooper. Now I’m on the net tirelessly locating the correct sized and shaped tires, wheels and incerts for this car. Time to build a car and see how she runs.
A very mixed bag yesterday and it seems it’s going to be that way for a while. Good!
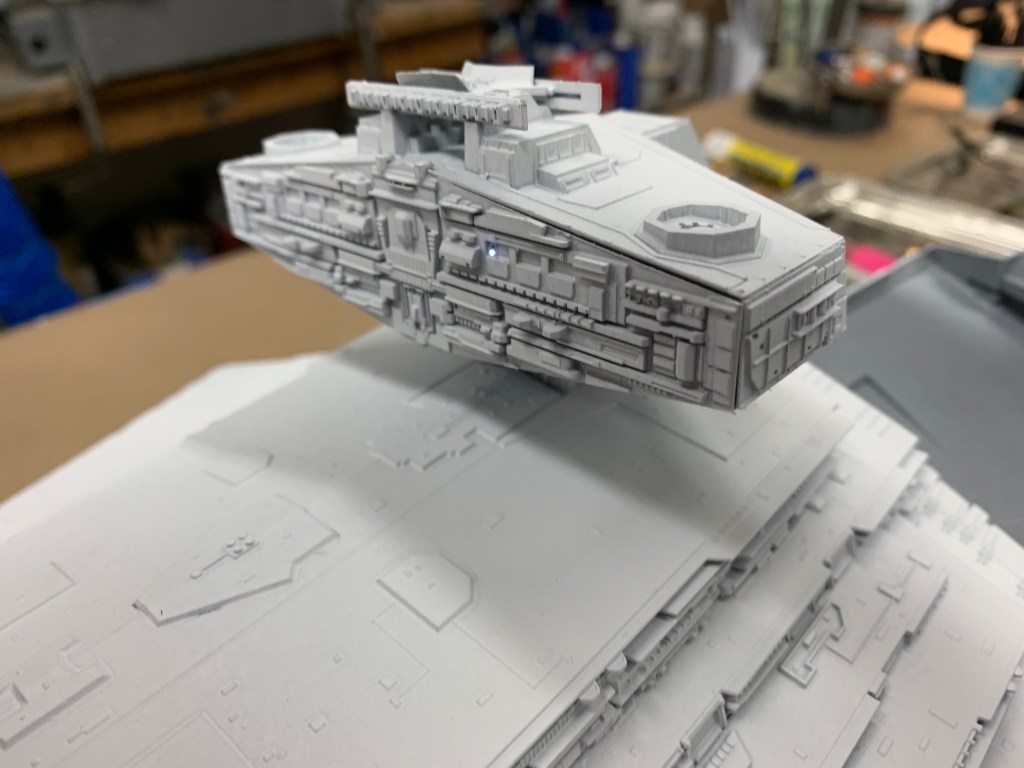
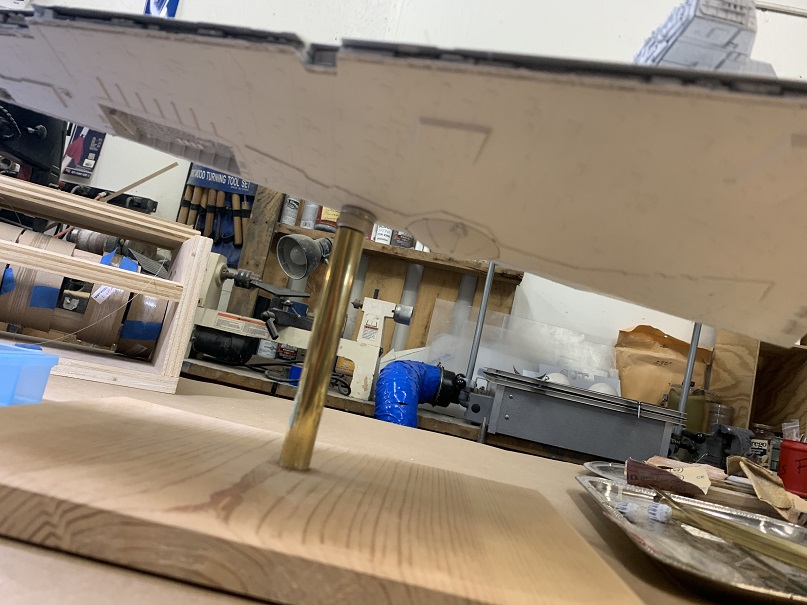
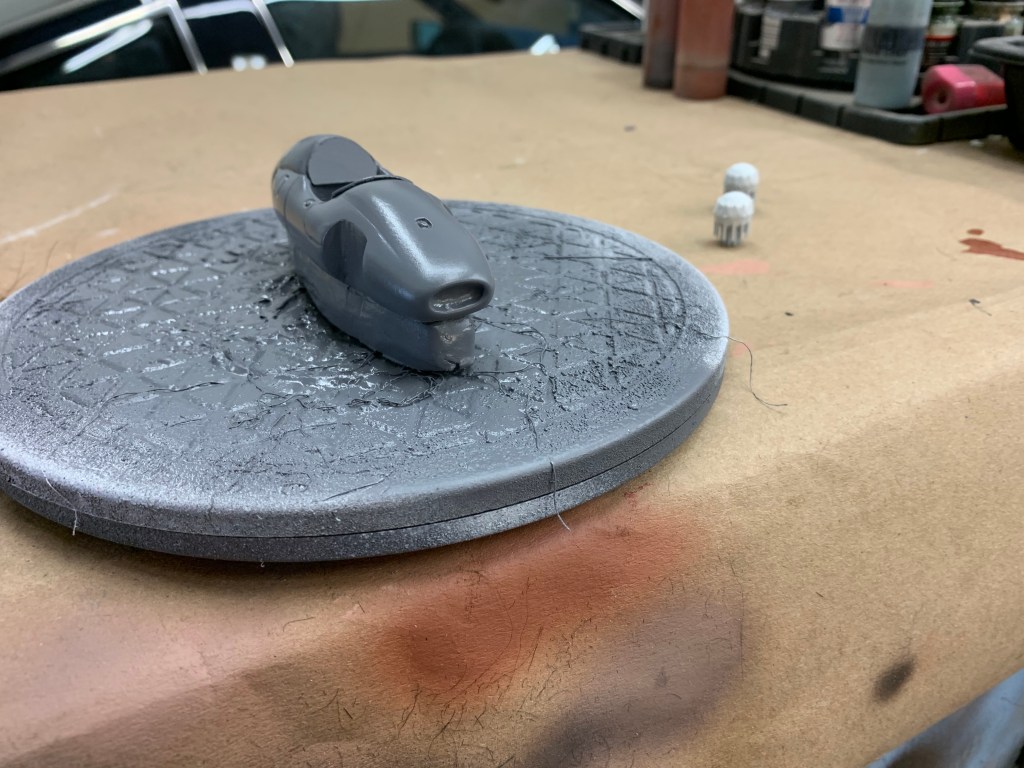
The Star Deatroyer’s base is coming along well. This un-screws from the base so the model can be shipped. I can’t begin to imagine shipping this model on the base.
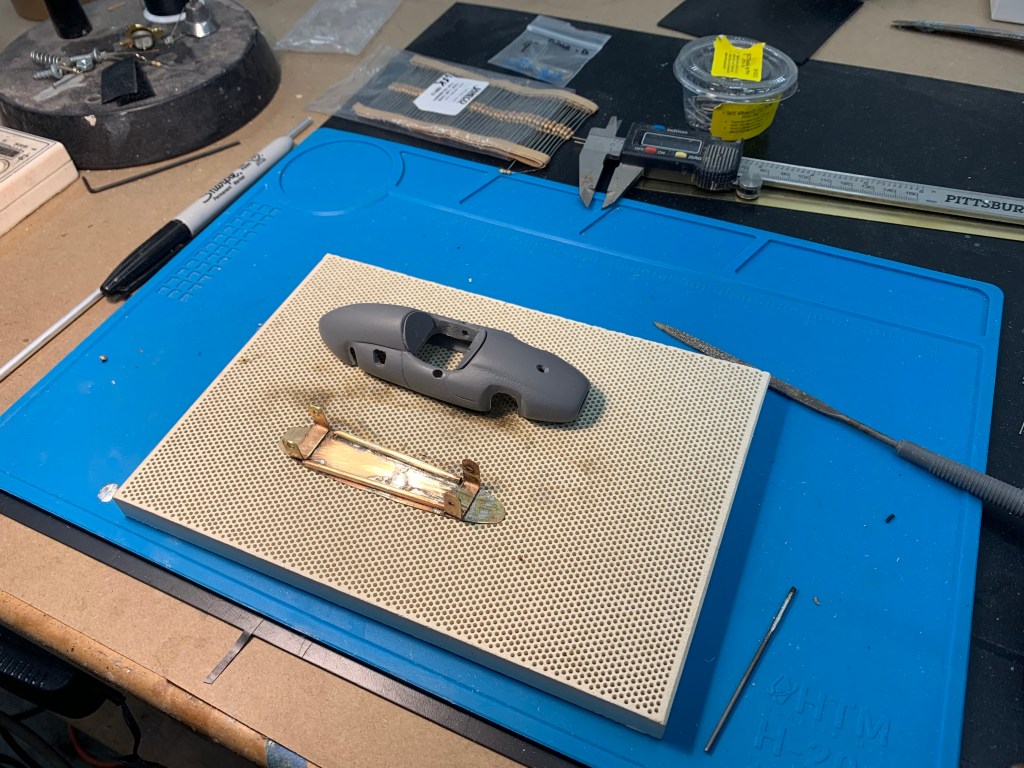
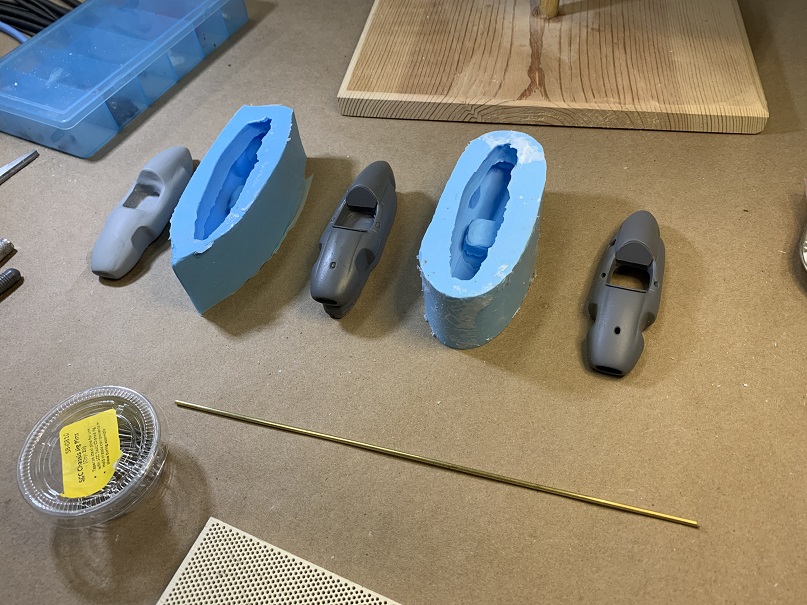
I opened the second mold in a series of molds to make this T51 copper pristine as possible. I cast up a test body to see what still needs to be done and there’s a bit more. But it came out excellent.
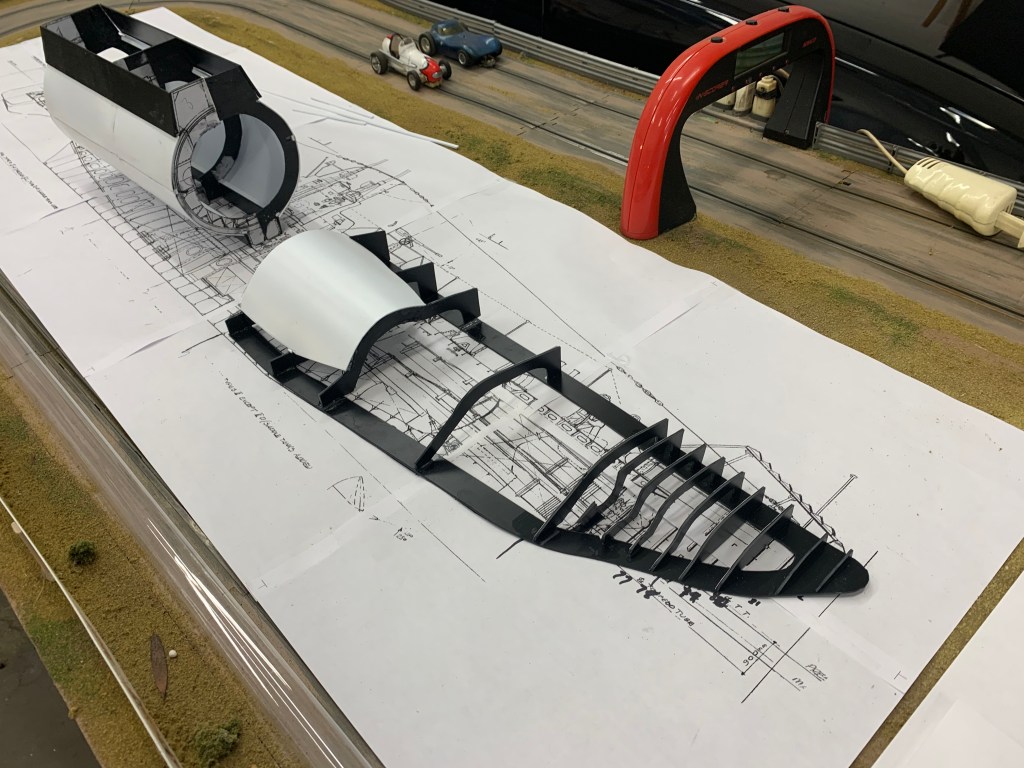
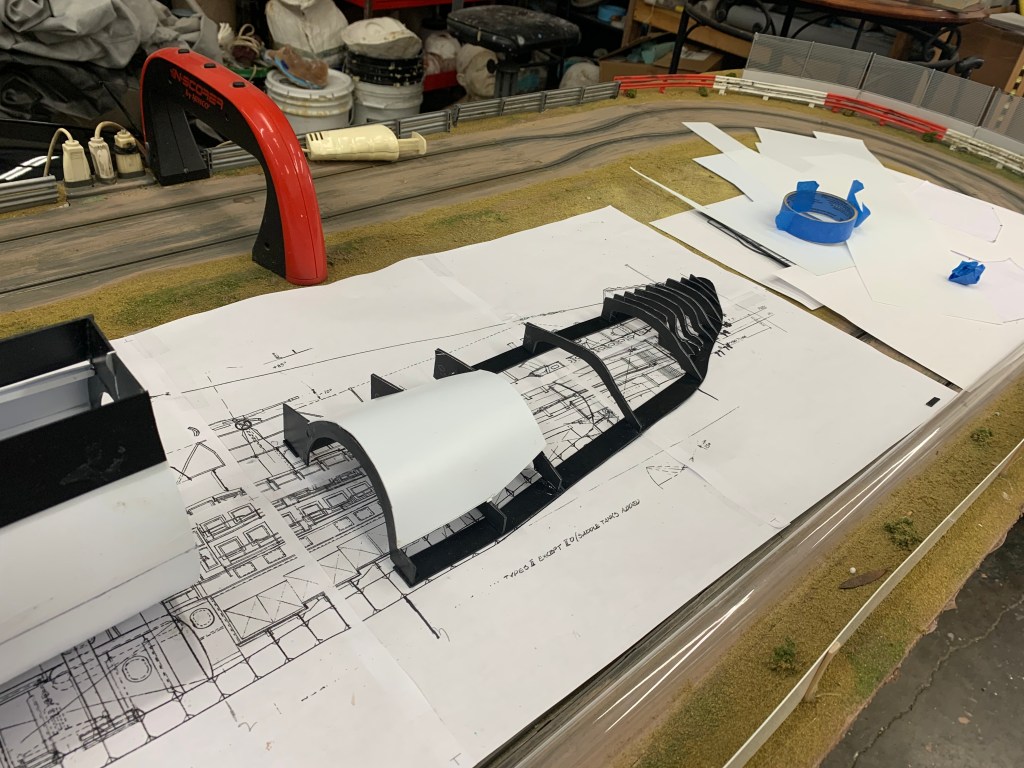
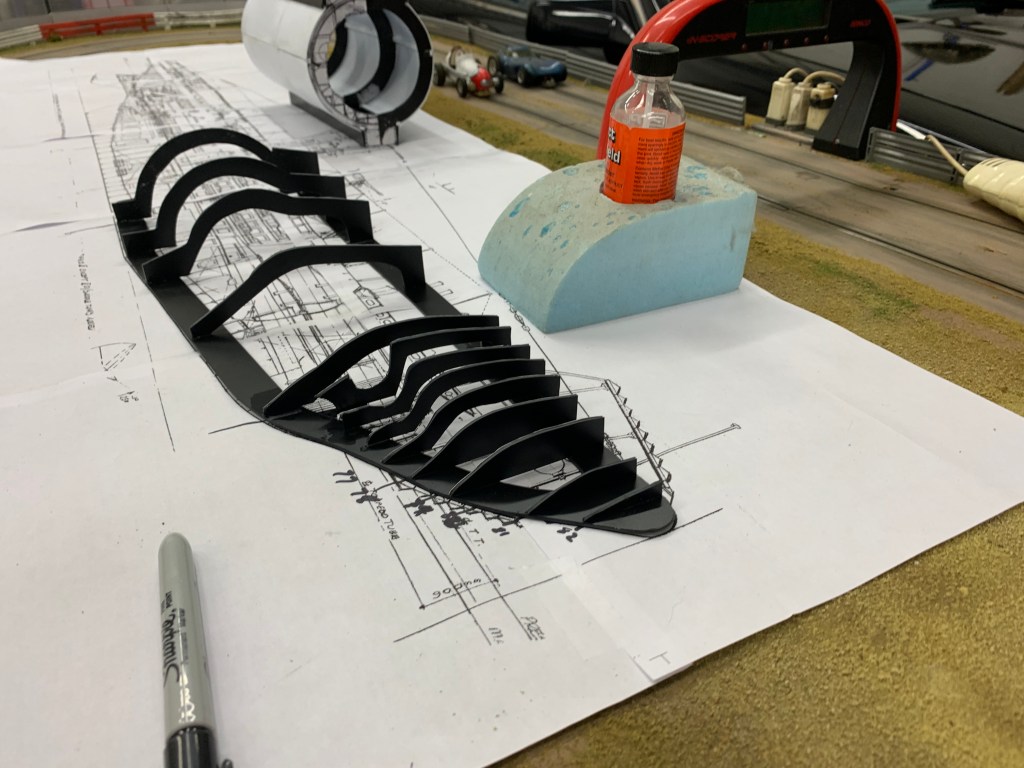
The sub is now pretty worked out in my mind and starting to shape up well for me. It took a bit of adjusting and head scratching but next week I should be able to frame up the bow and stern.
While working on the lighting for the Star Destroyer I realized quickly that with all the LEDs I had built up over all the long years of doing this stuff I didn’t have a single bright blue LED.
I got on the phone right away and called one of my favorite people in the world. Randy Nuebert of VooDoo effects. The last thing I wanted to do was get on the net and search for LED’s or order them from someone I did know. I like to support my local businesses, friends, and hobby shops. Last resort is Amazon in China.
Randy answered with his usual happy voice and said “how can I help you?” I told him the model and he knew in an instant exactly what I needed and why. Next week I’ll have the blue lights, more 220 ohm resistors and a selection of warm white lights to simulate those incandescent lights used in those old models back in the 70’s. He also advised me not to overlight the model as so many do these days. Don’t make them too bright either. The idea here is to make the model appear as it did in the film.
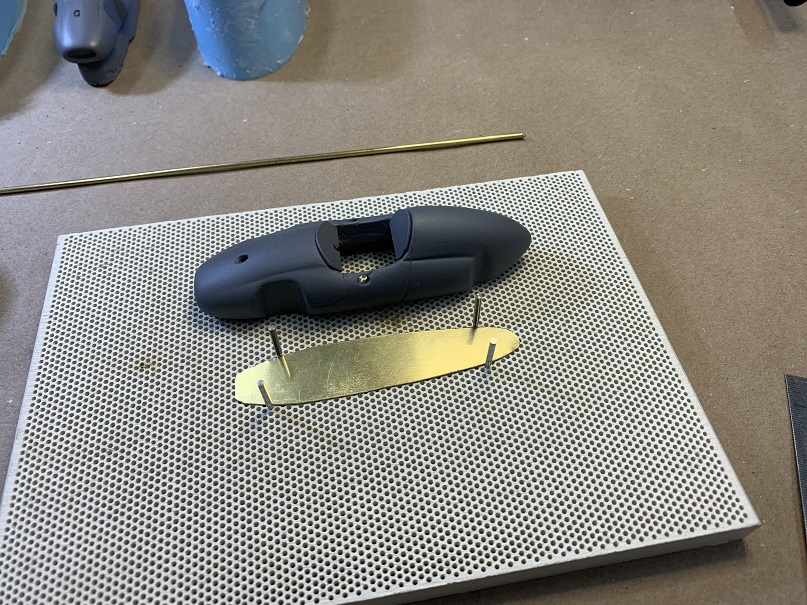
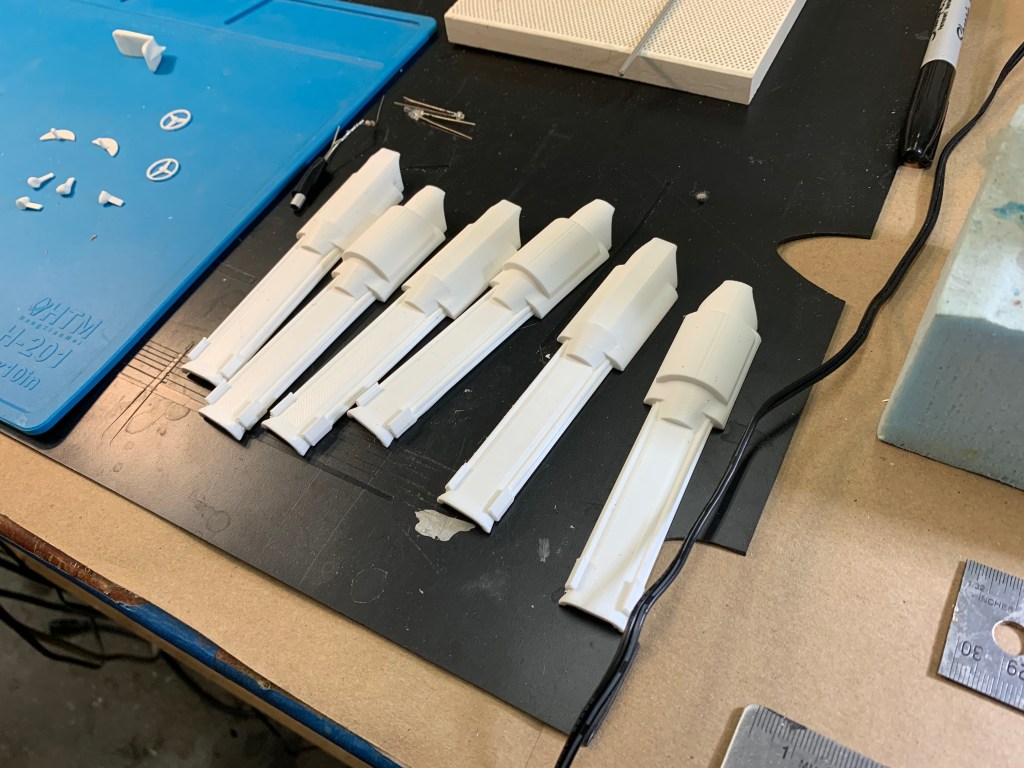
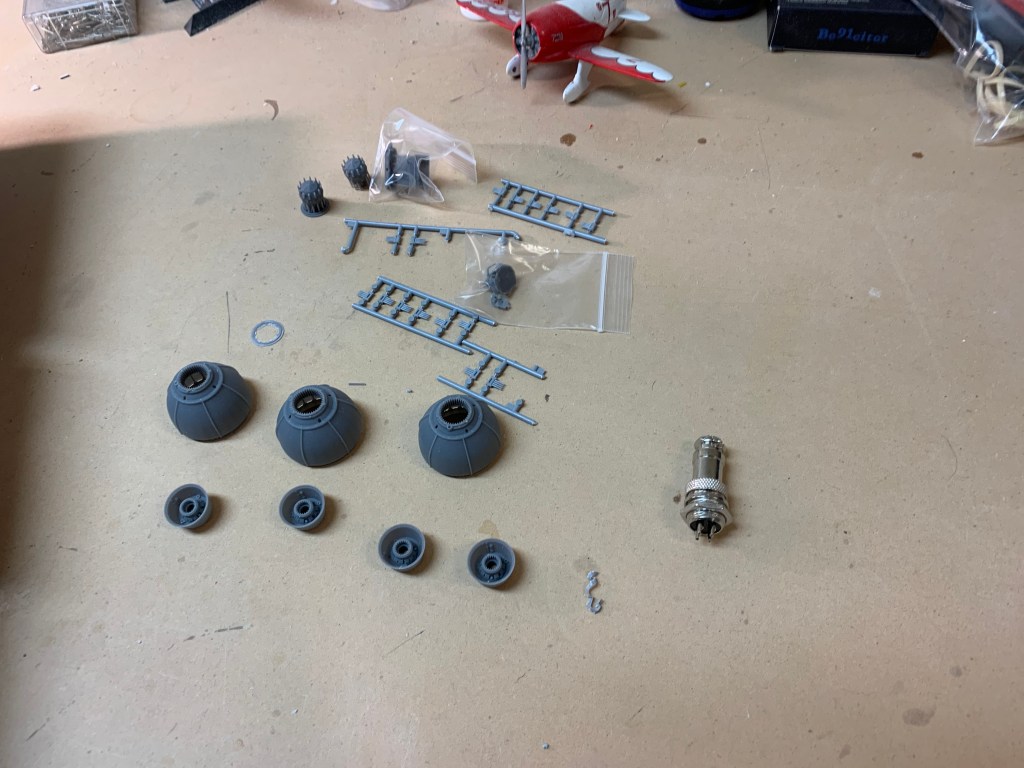
It was just great to talk to him. He’s one of the good guys and the very best. I did a little work with placing fiber optics and making holes in the engine bells for the lighting. What I need to do before I go any further is make a base and set this model up with the microphone jack and brass pole. That’s today’s project.
I worked on the sub a bit and did a test sheet of styrene on the hull. This is going to work. Then I put some time in on the slot car body making yet another mold on the master. From this mold I’ll make a car body to test. I’ll make another use to open up the scribed holes in it for the exhaust, seat, nose intake, gas caps and so on. I’ll add anything I missed to this body and then make another mold for production.
Mark Helmick brought a bunch of Laser Blast parts for the action figure guns and the parts for the slot car body. I’ll be molding the slot car parts next week and making production runs on them along with the bodies. Still to do are the exhaust pipes, gas caps, and the wind screen. A lot of work goes into making a miniature car.
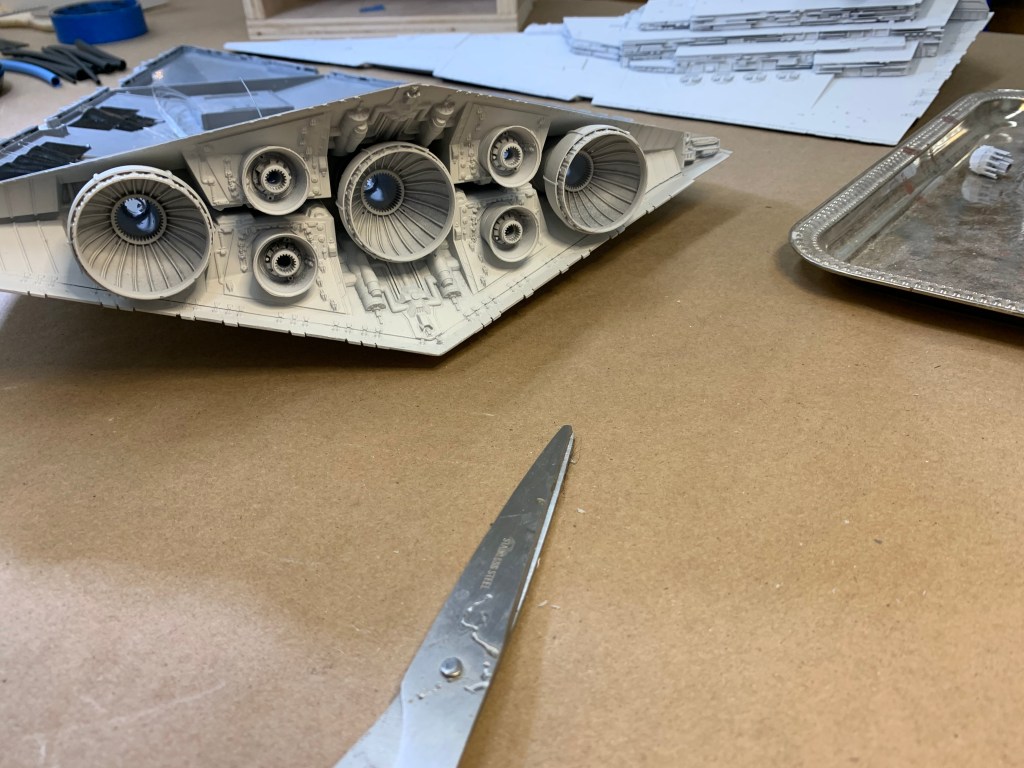
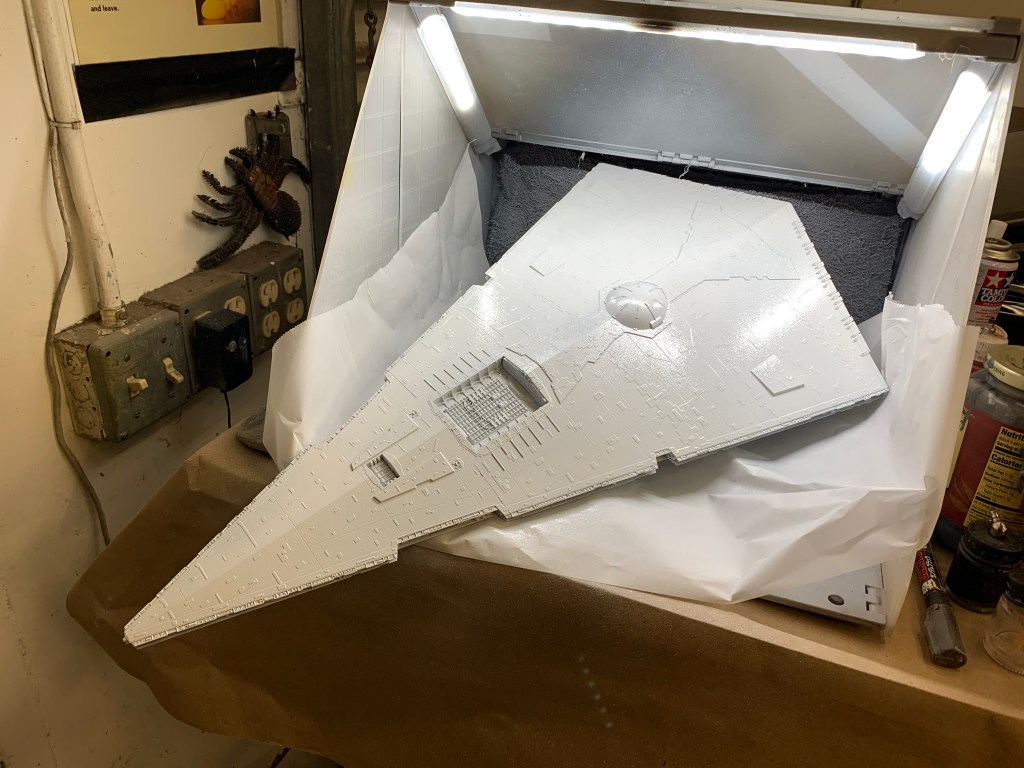
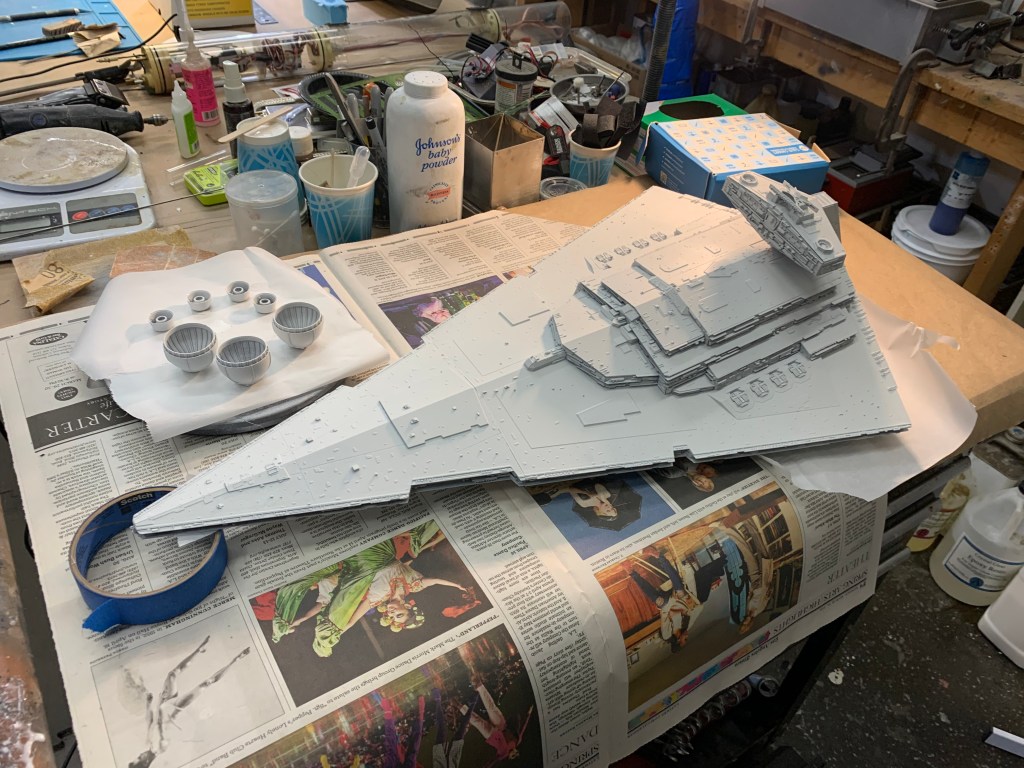
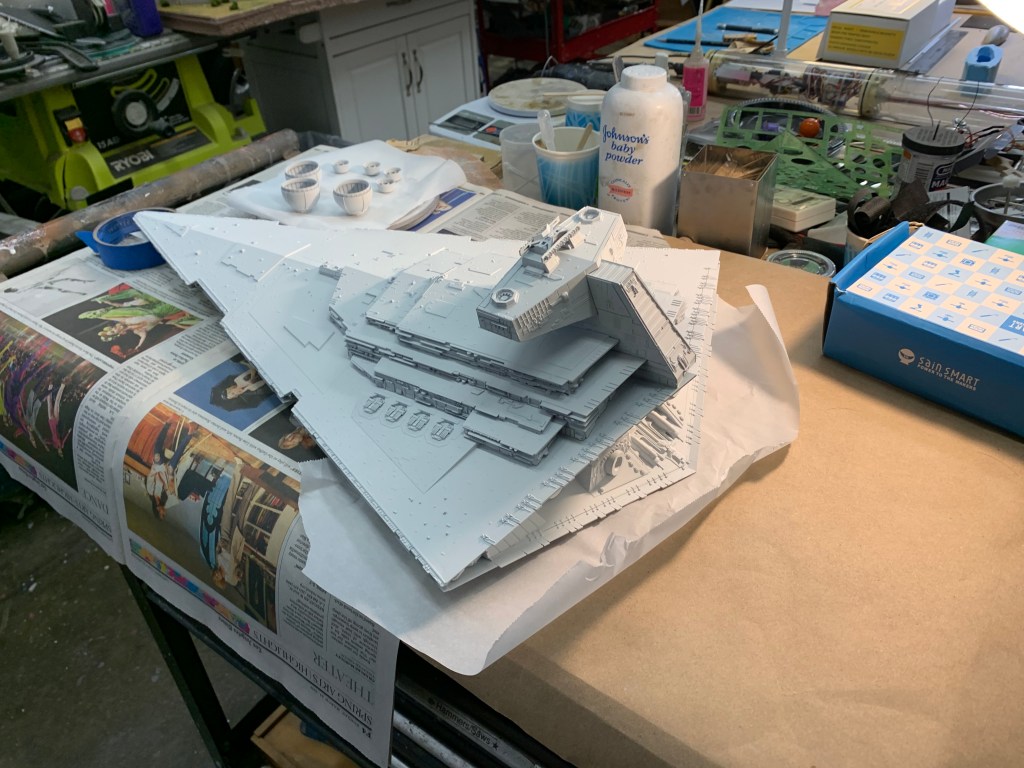
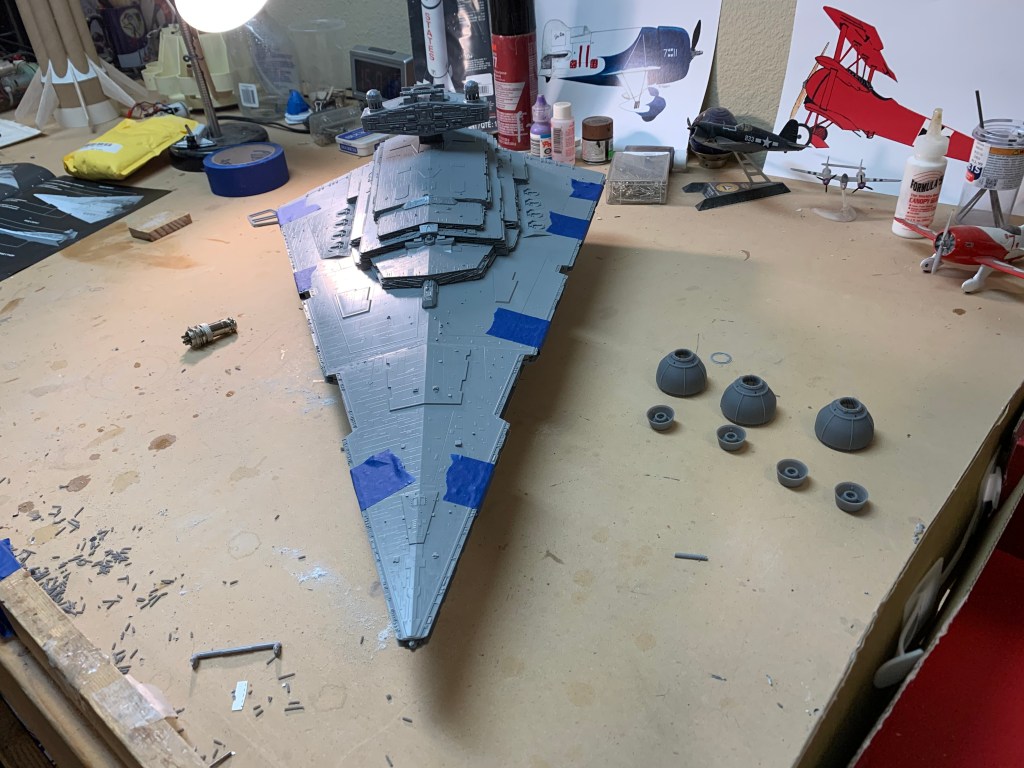
I managed to paint everything on the Star Destroyer yesterday basic white. The primer I was using took forever to dry and by the end of the day it was still tacky. This no doubt was a result of the damp conditions we are experiencing. The fog was down to the ground and drizzled all day. We live by the ocean, both our home and the studio. Today it should be dry enough to start some weathering and get those engines lighted up.
The sub I spent a lot of time with at home on the PC figuring out those formers or cross sections provided by the plans I have. they were difficult to discern but in the end I sussed them out well and was able to print the sections out and cut them from styrene.
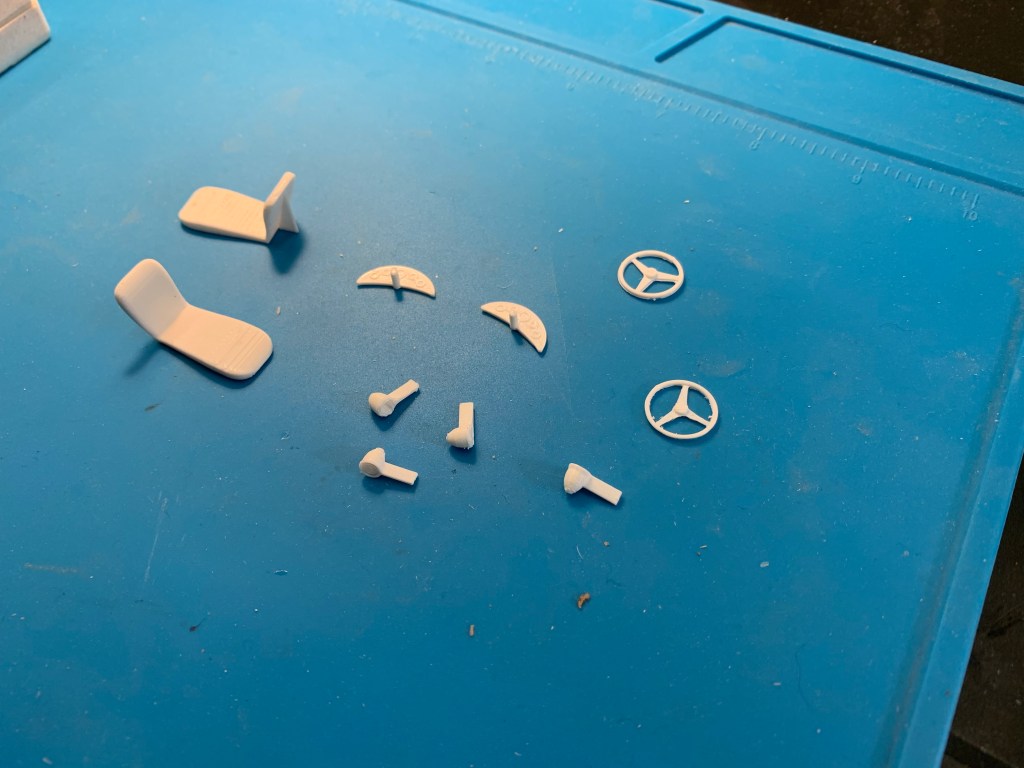
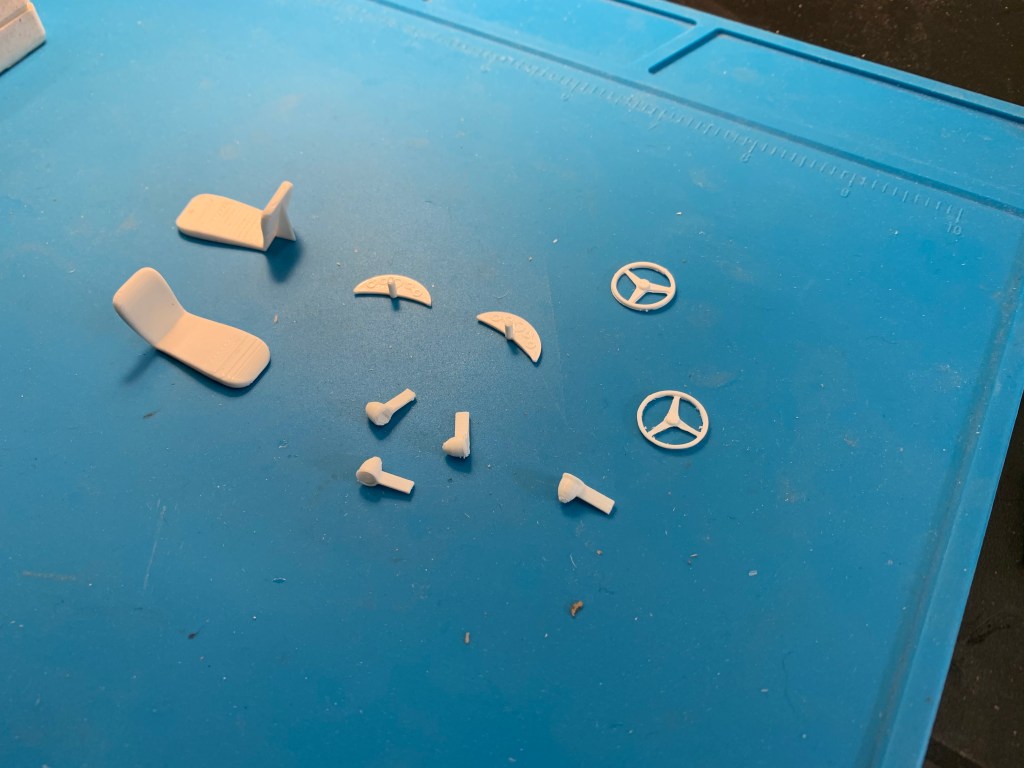
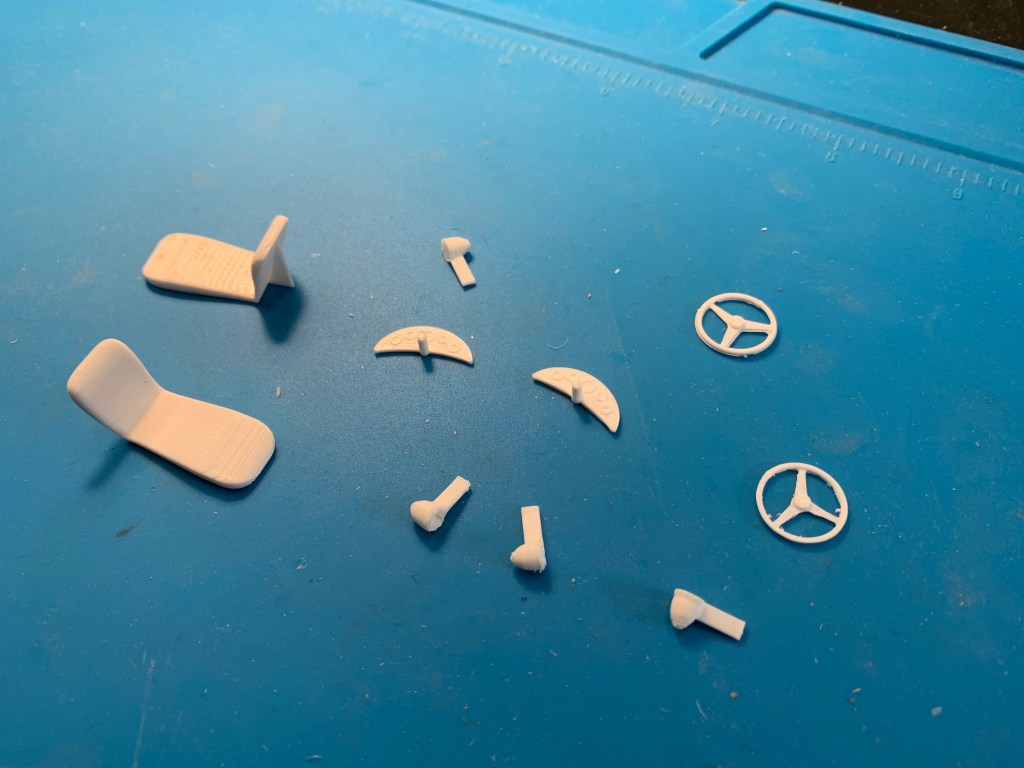
A test paper sheeting showed me that when sheets with styrene today I’ll have a nice bow section. I also put some time in on the slot car body kit master. My friend Mark Helmick 3D printed the steering wheel, seat, dashboard, and mirrors for the car I will later mold and make from resin. It was quite a day. A lot got done.
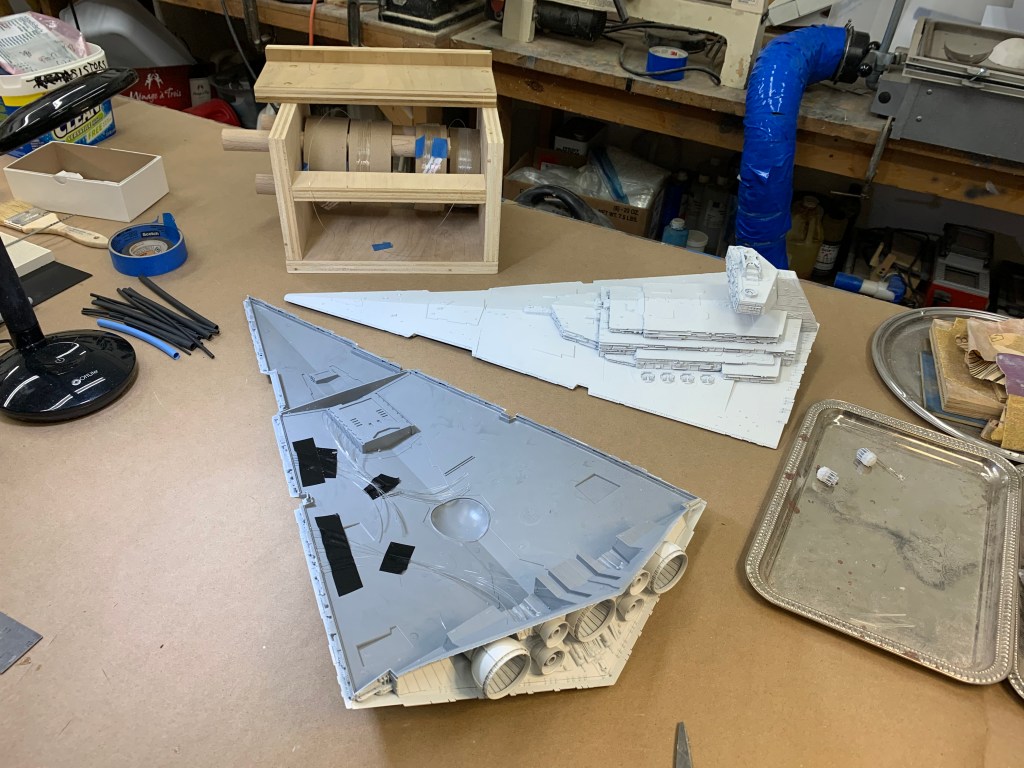
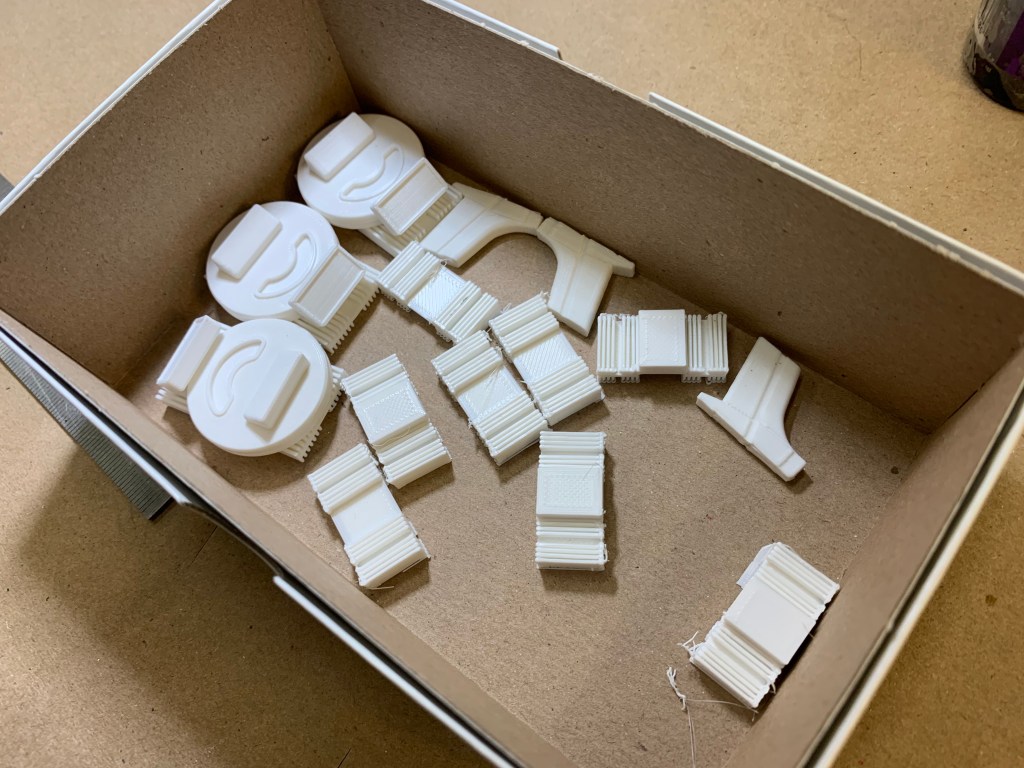
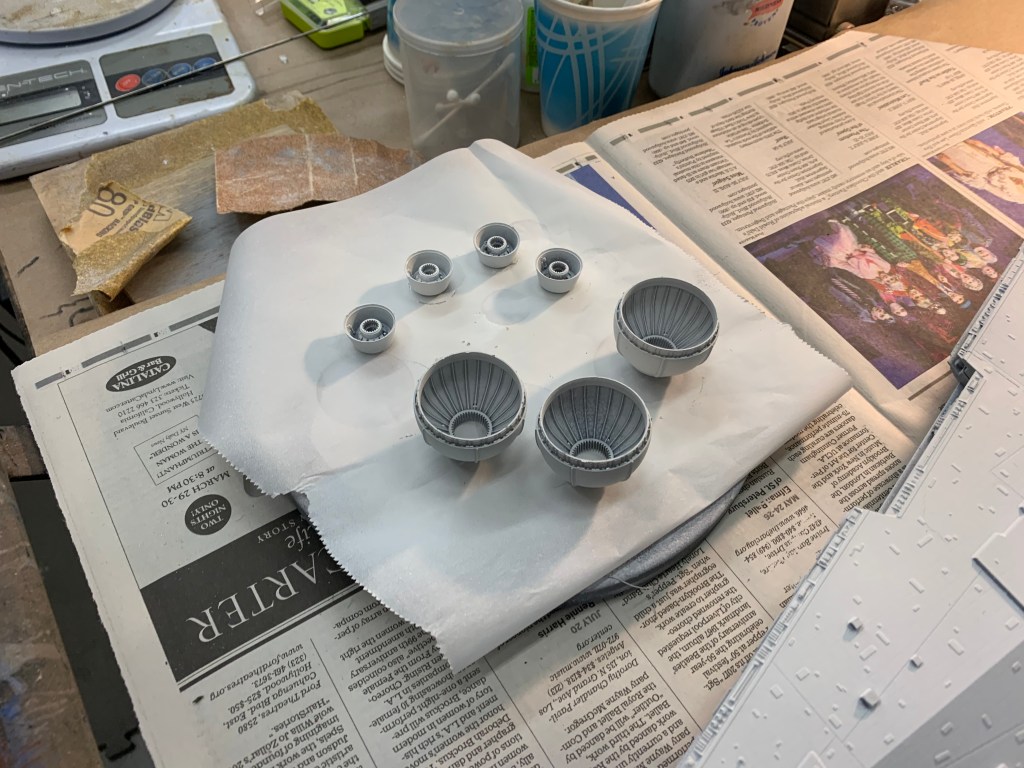
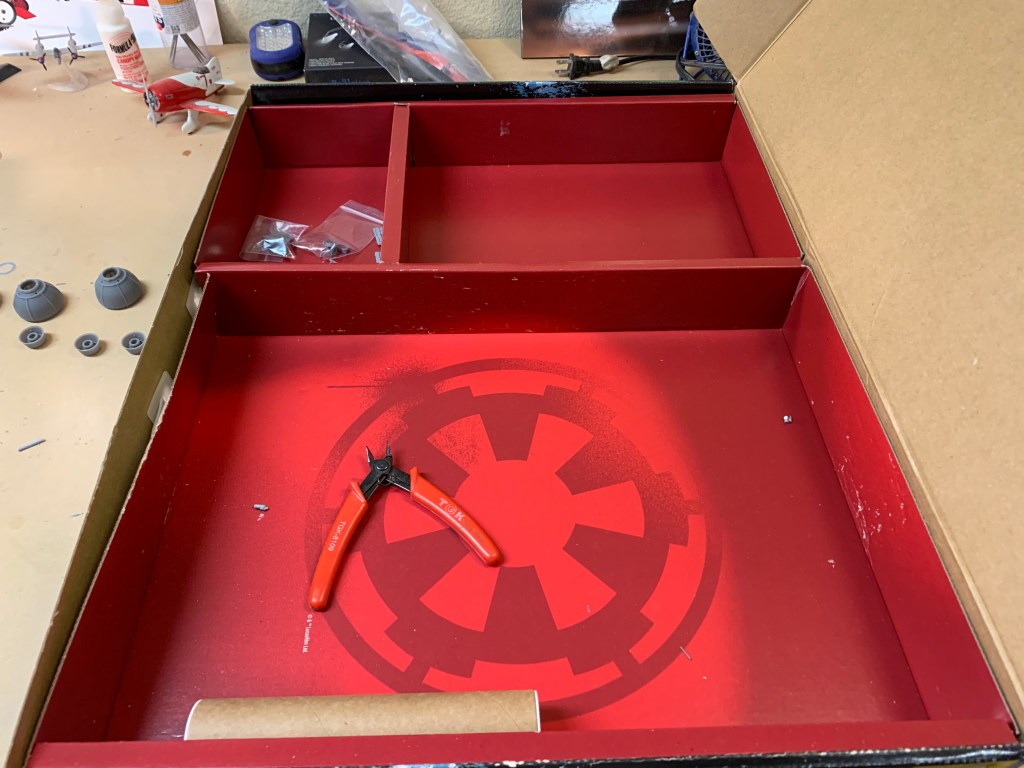
This went up pretty quick. The box with the exception of the few parts you see sitting out is empty. These parts will be painted separately before they are installed and set up for lighting.
Today the hull gets painted white and the weathering starts. Then the long haul of drilling 100s of little holes and placing fiber optics begins. Lighting the engine bells. Installing the microphone jack for the base. Making the base itself.