Dreamtime Hitler Makeup

The actual name of the film is, But something is There: “The Dream time”. It’s the episode title.

In this episode Mark visits the dreamtime realm and has a conversation with one of the greatest monsters in all history. But it has a Twilight Zone twist to the story. That’s all I’ll say for now.

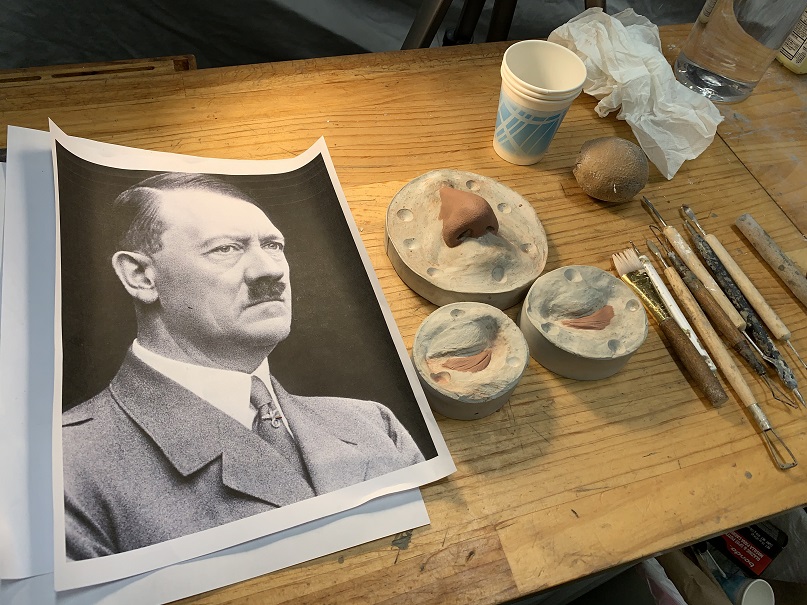
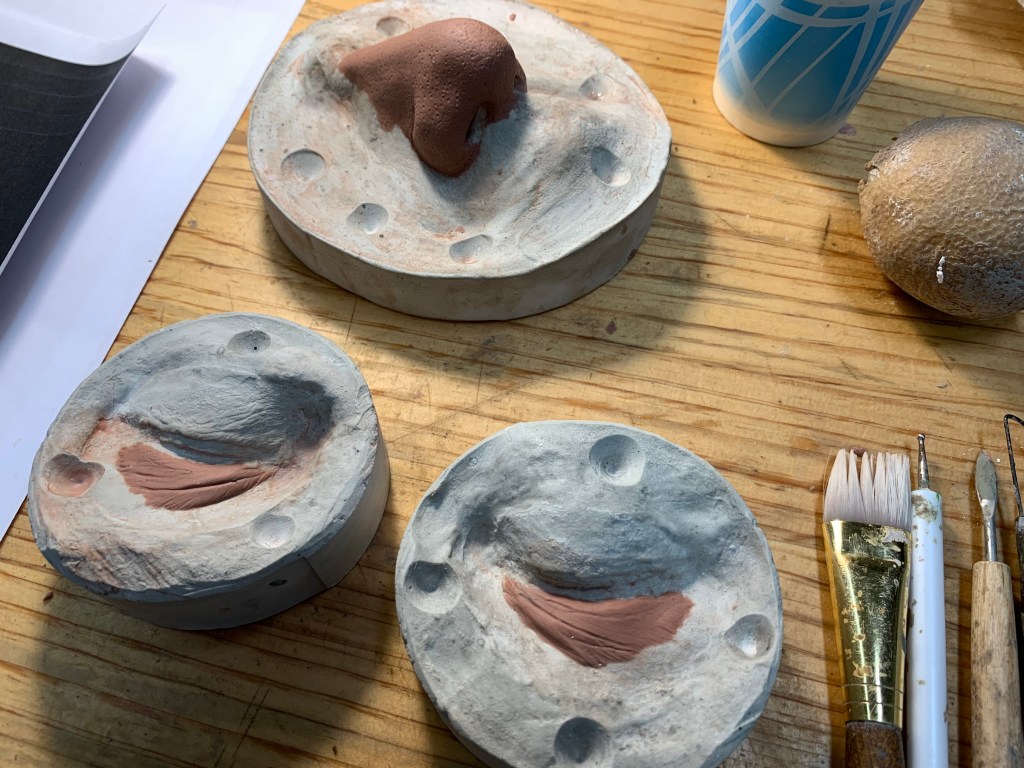
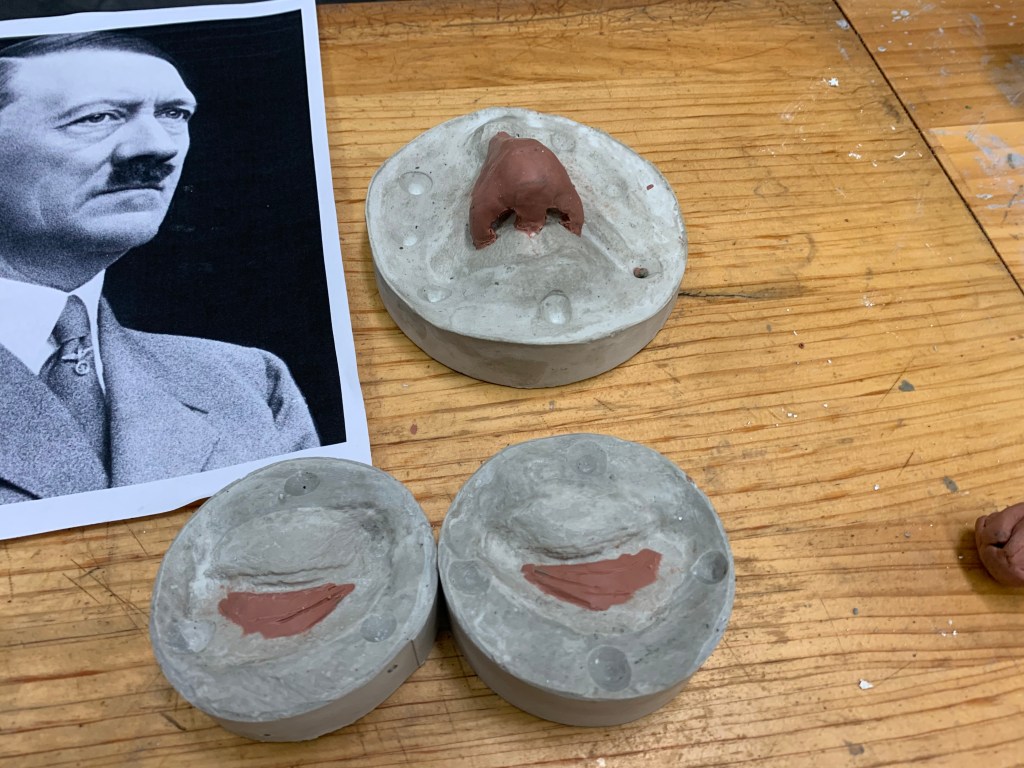
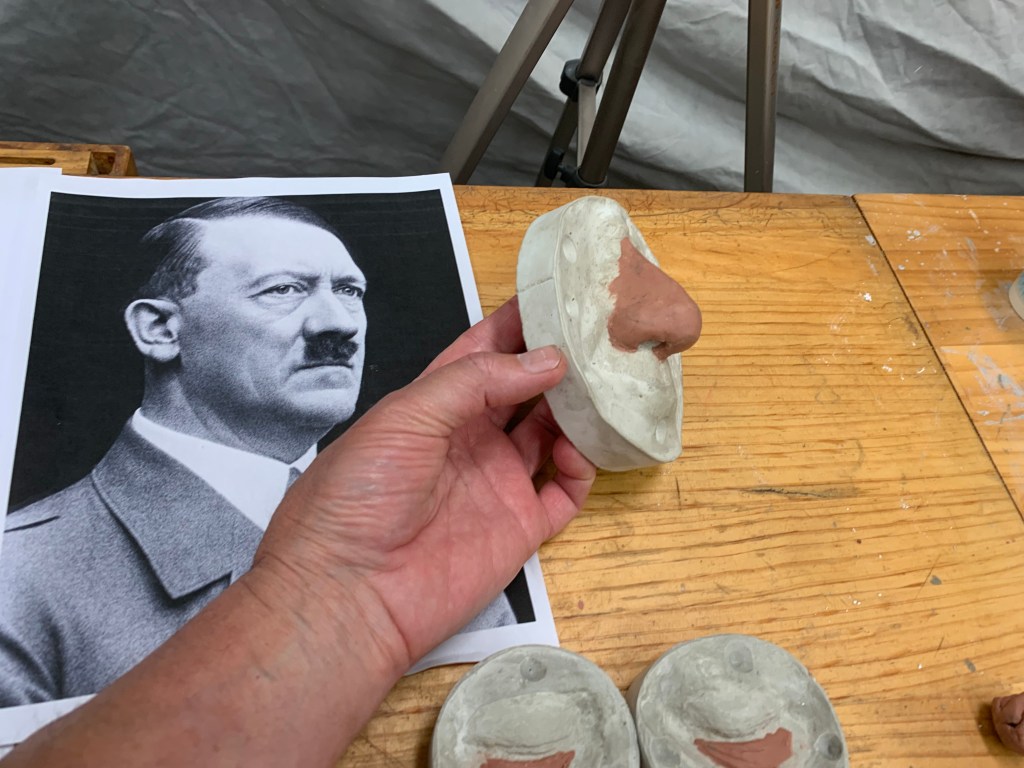
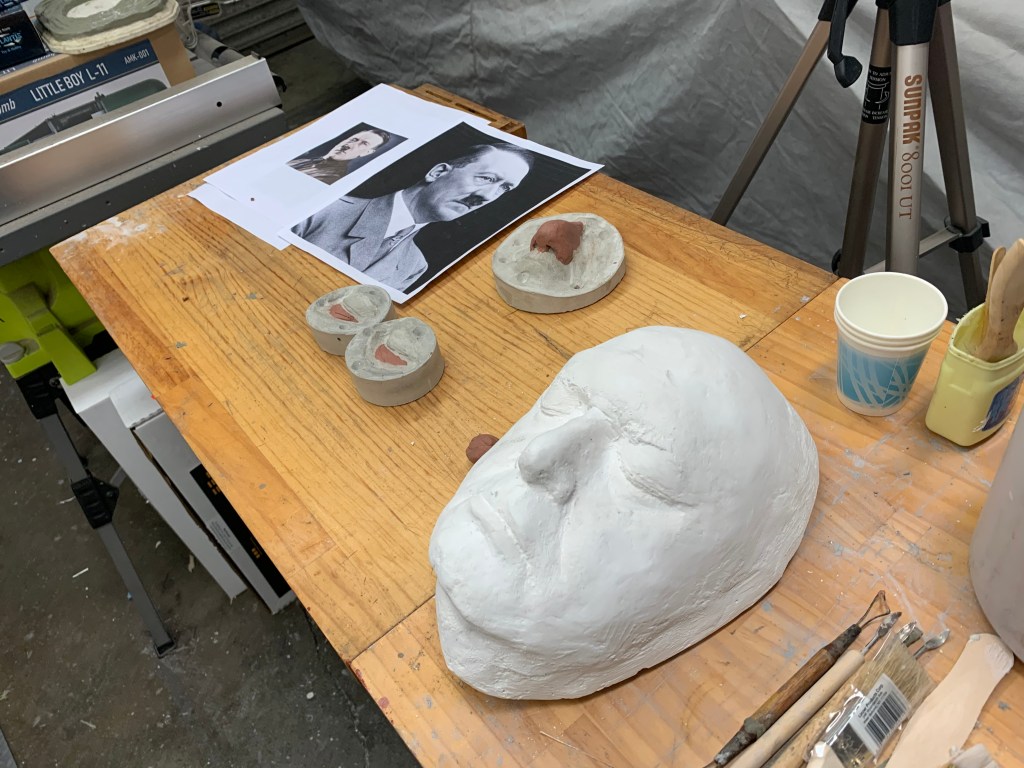
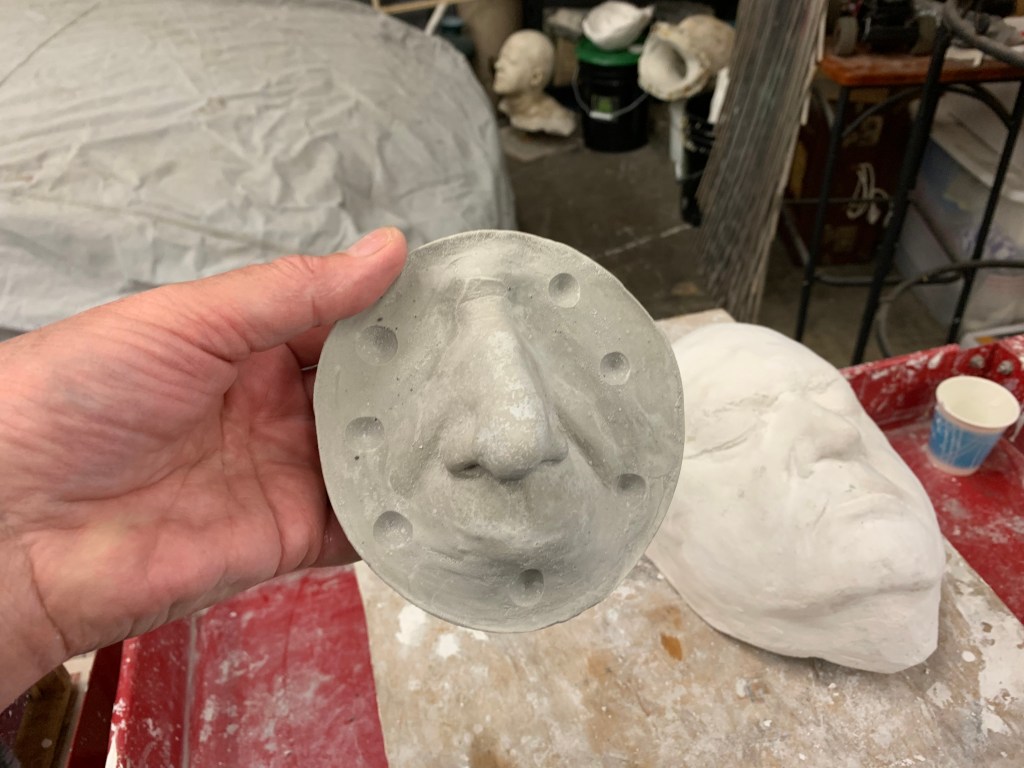
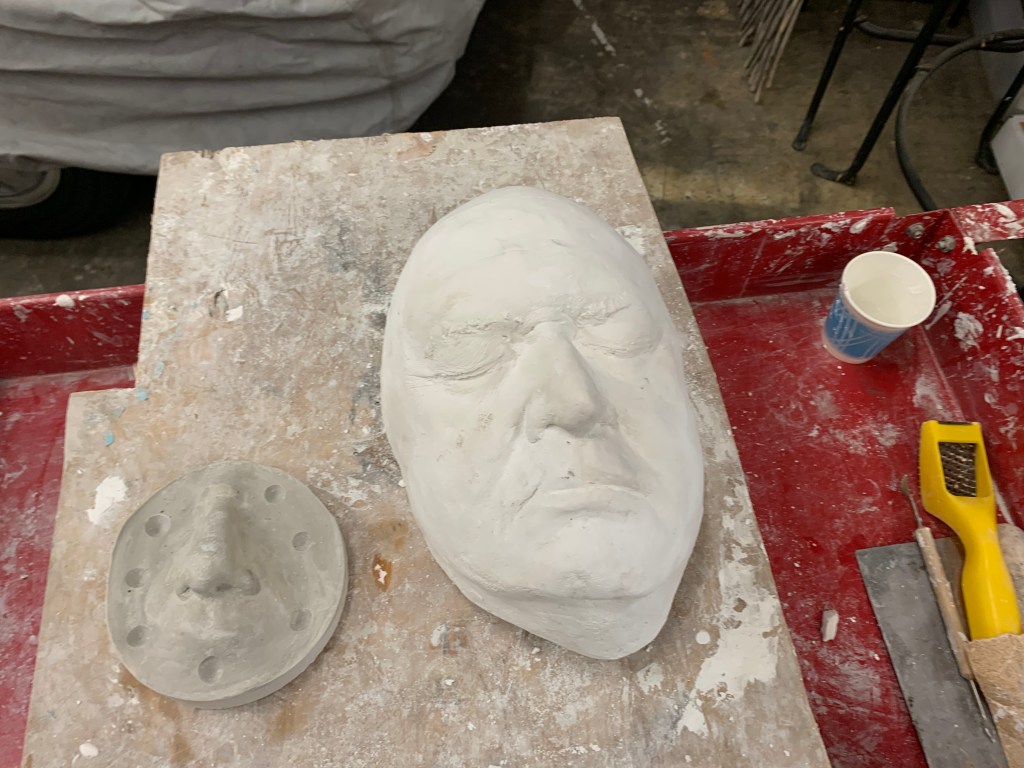
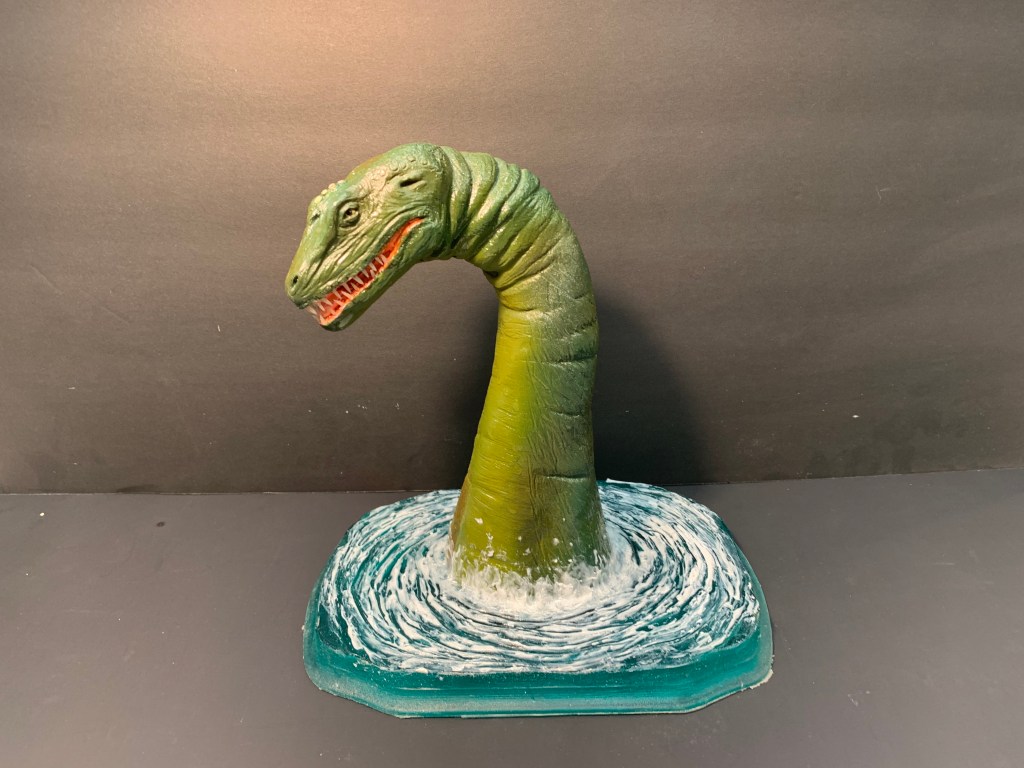
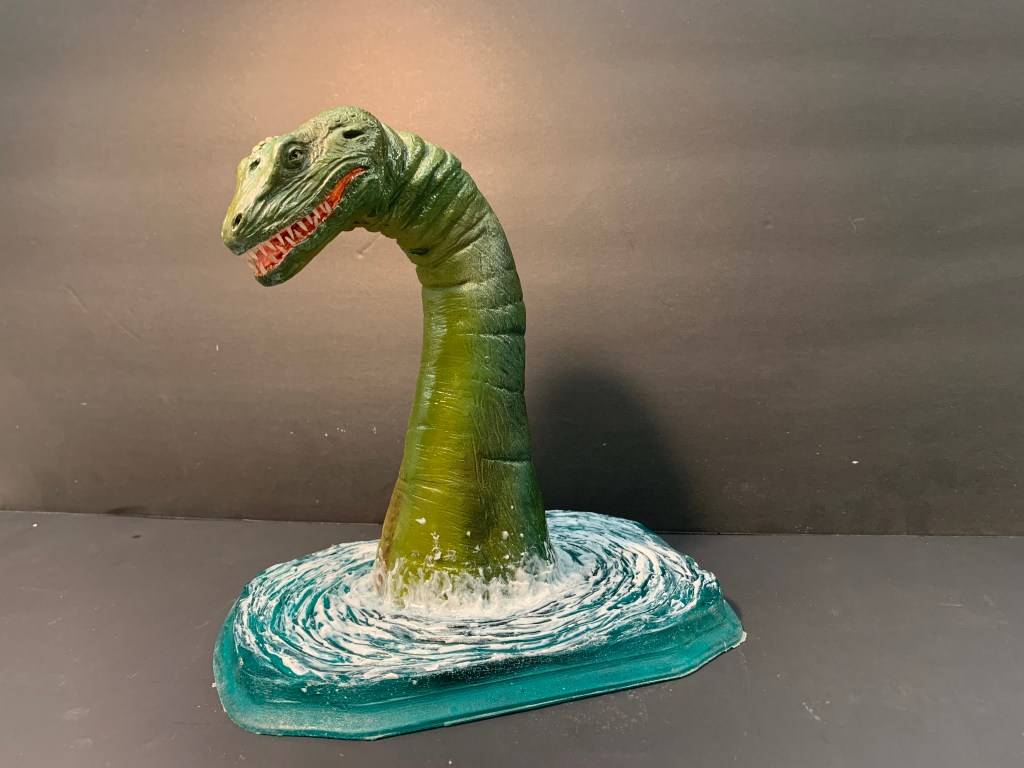
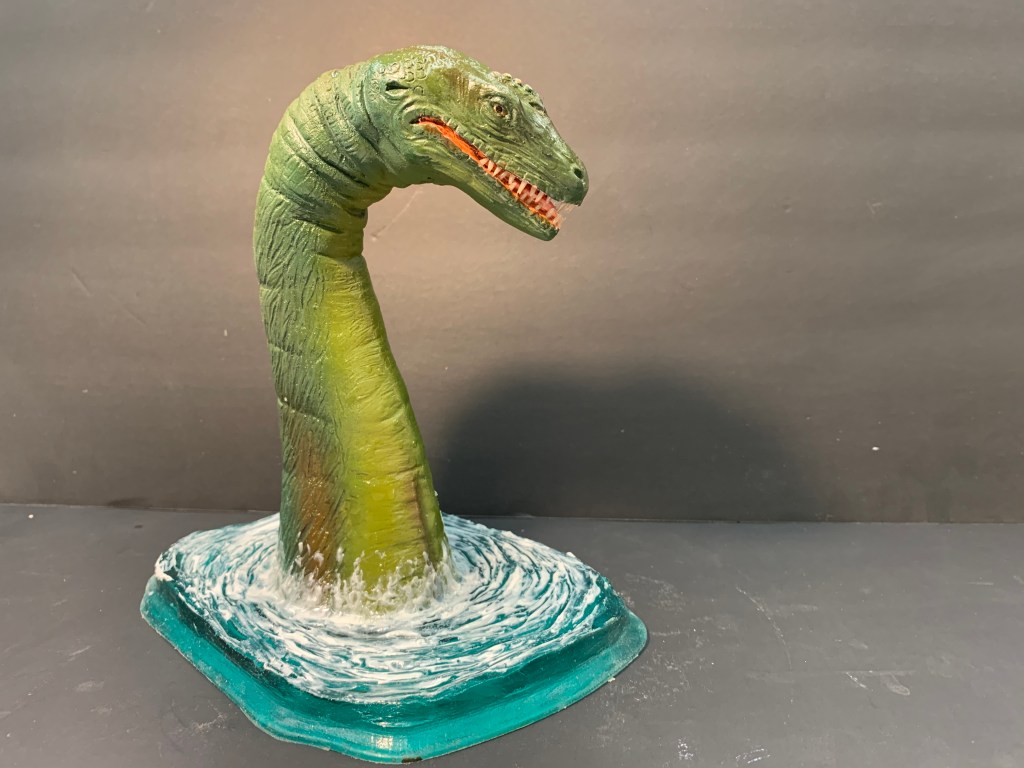
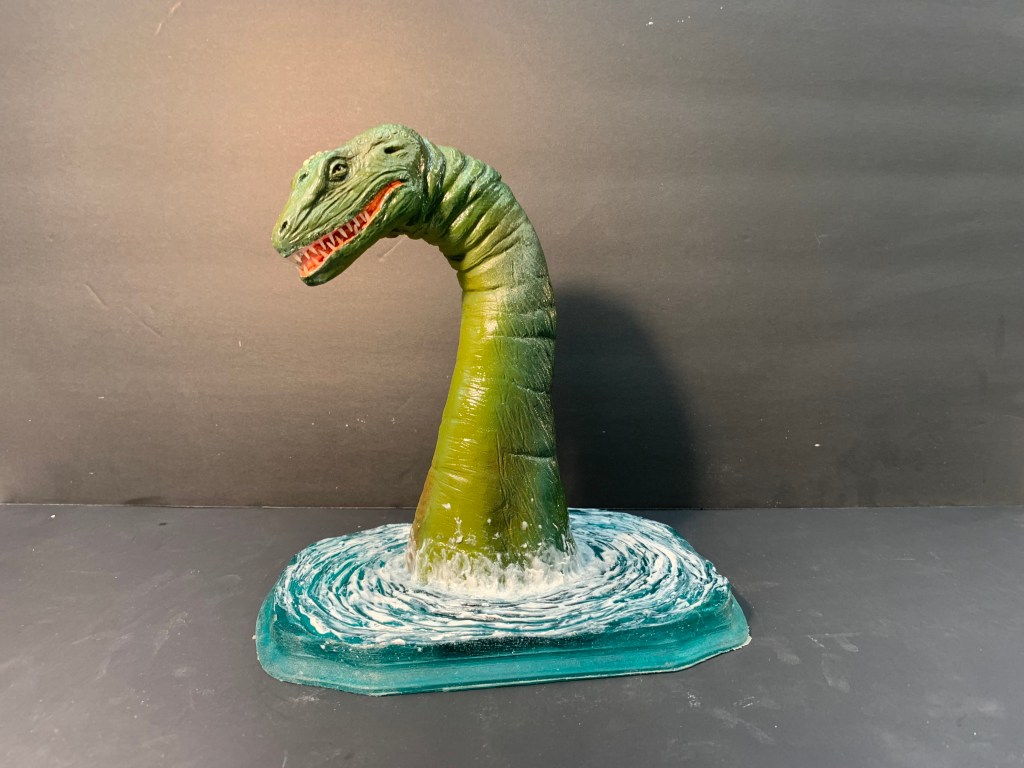
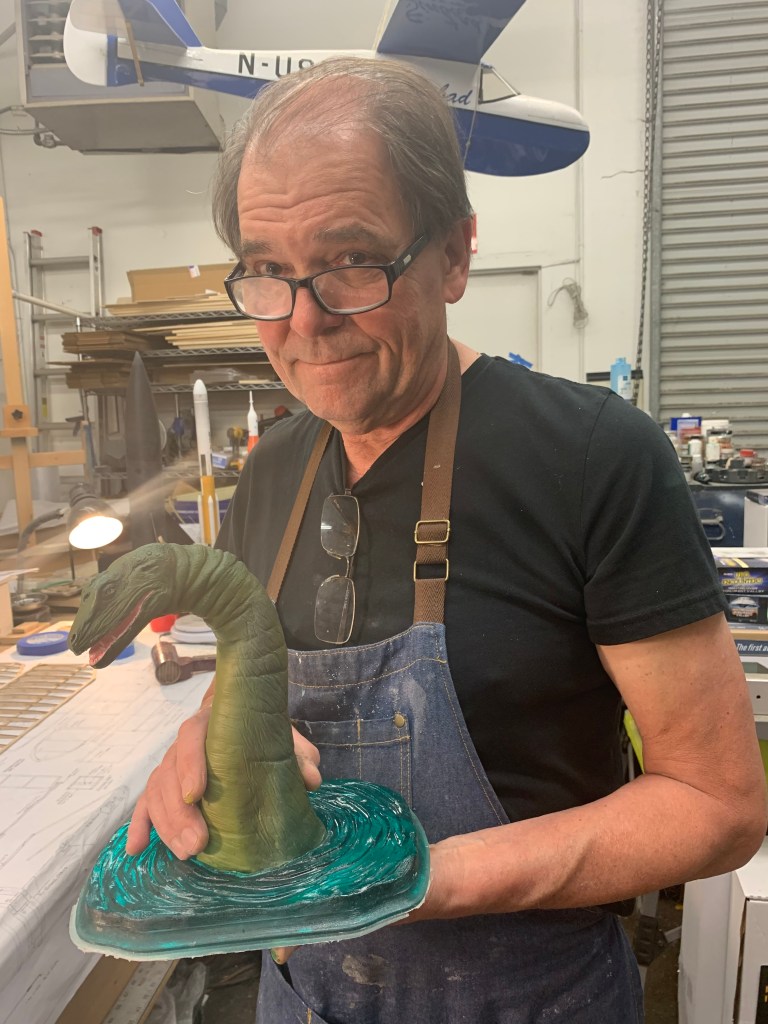
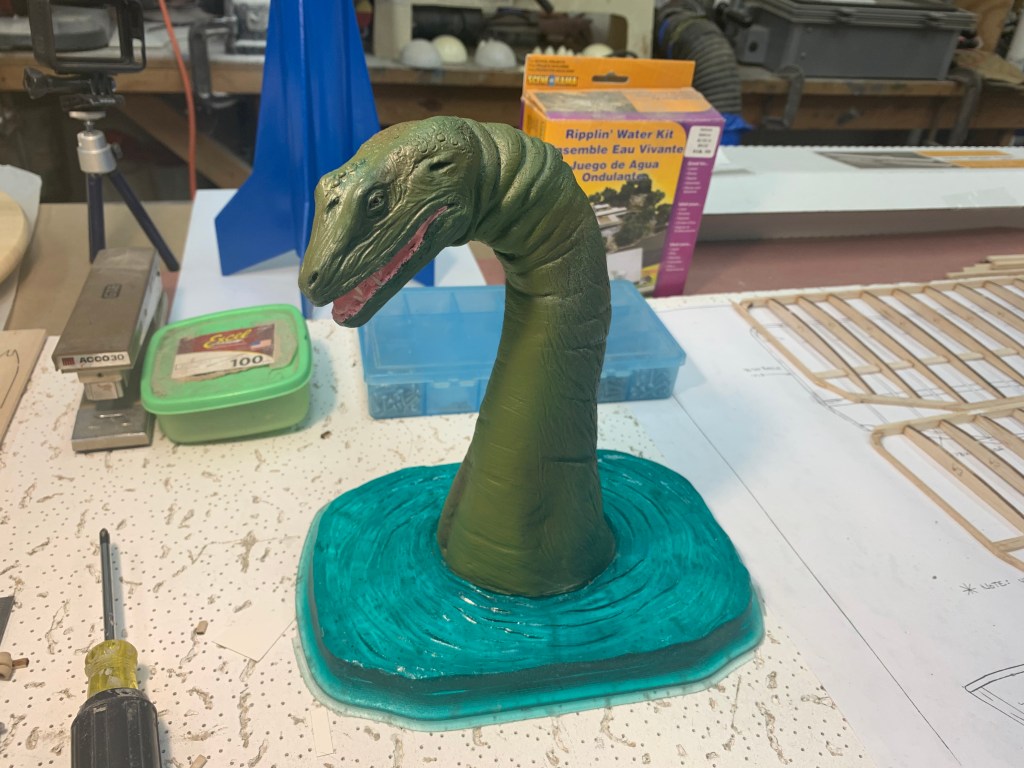
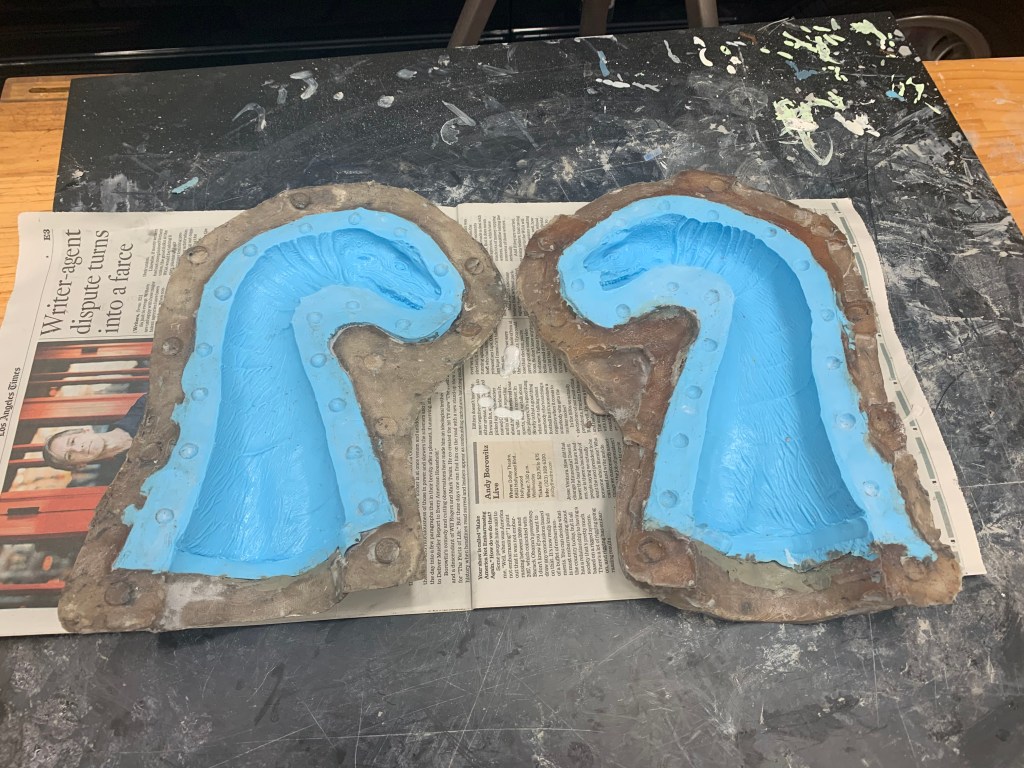
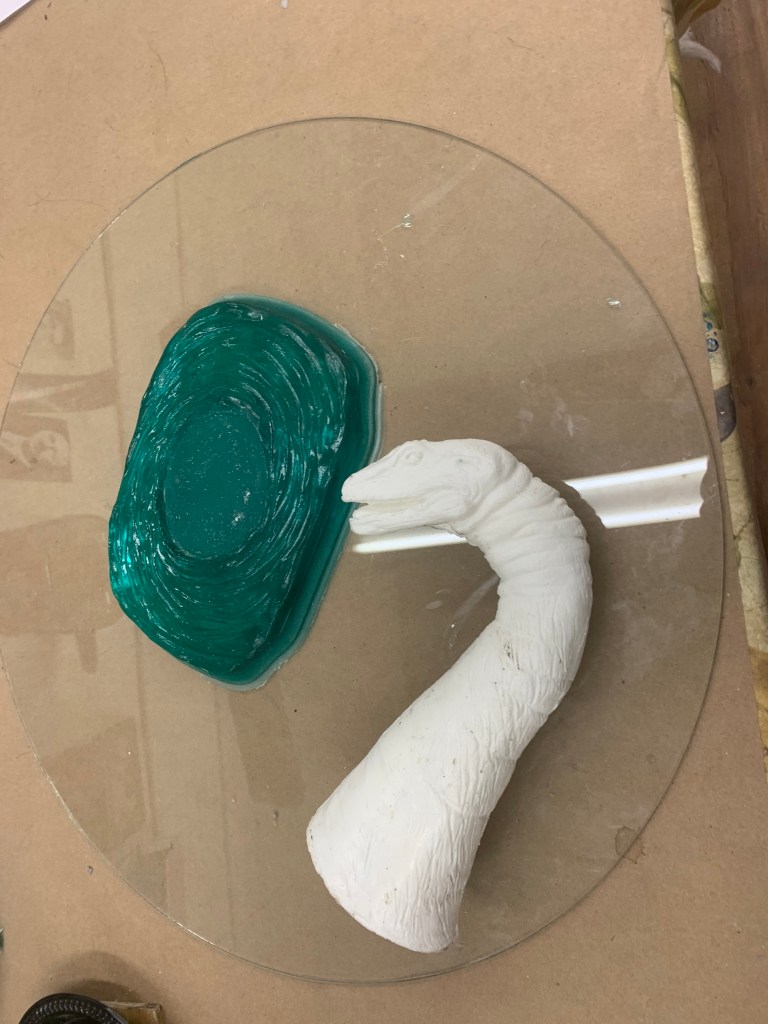
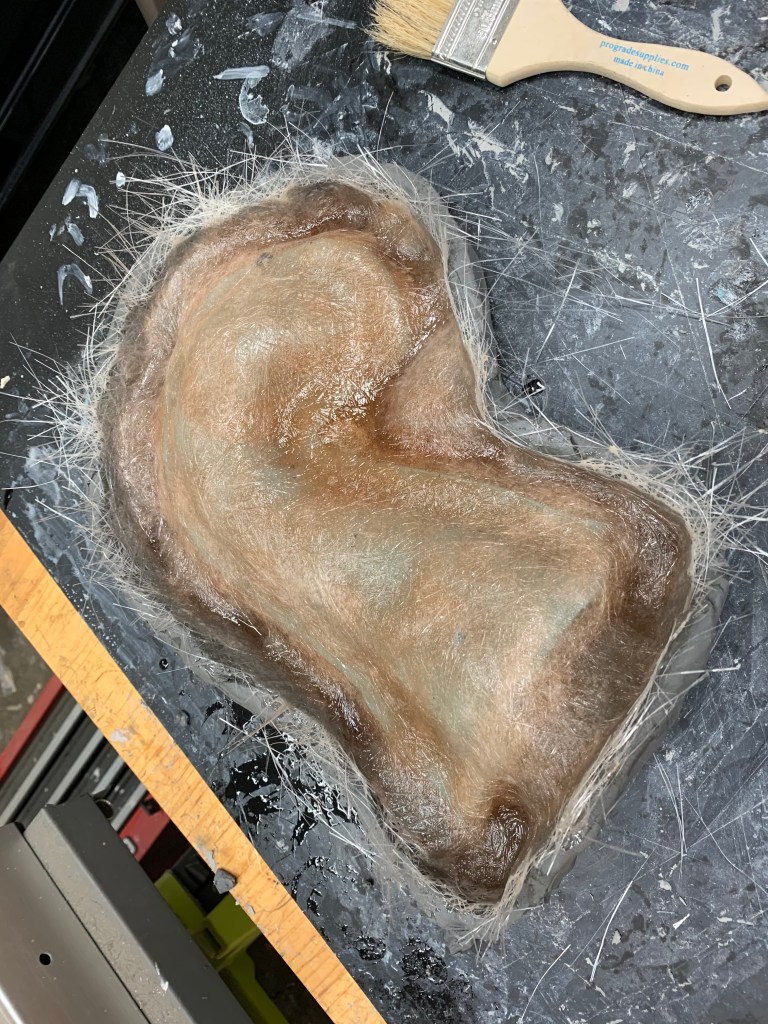
The sculptures came out well I think and today I make the molds. That will be part two of the in-depth video series. Part two shows you mold making and casting silicone prosthetics.

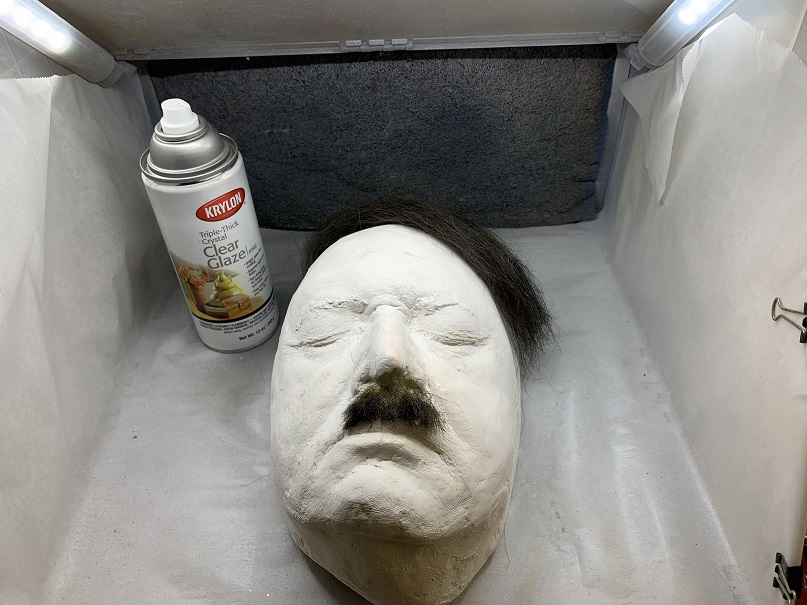
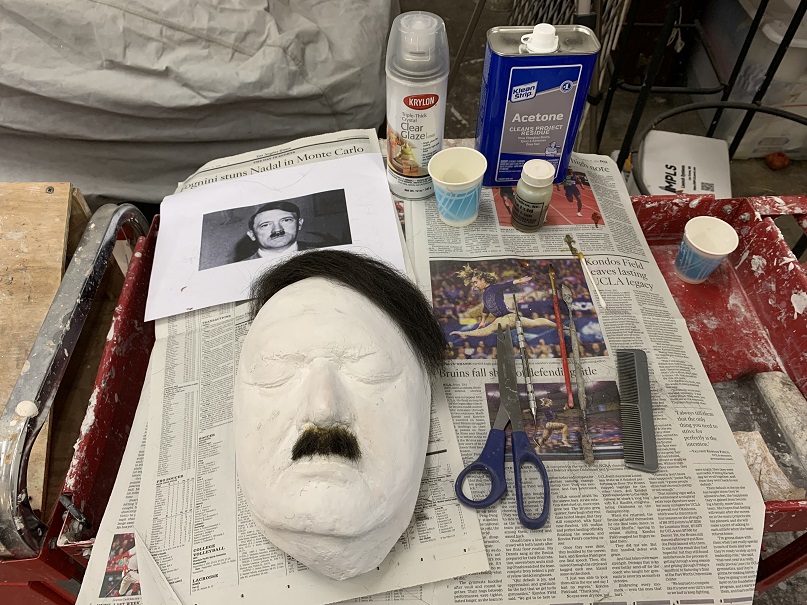
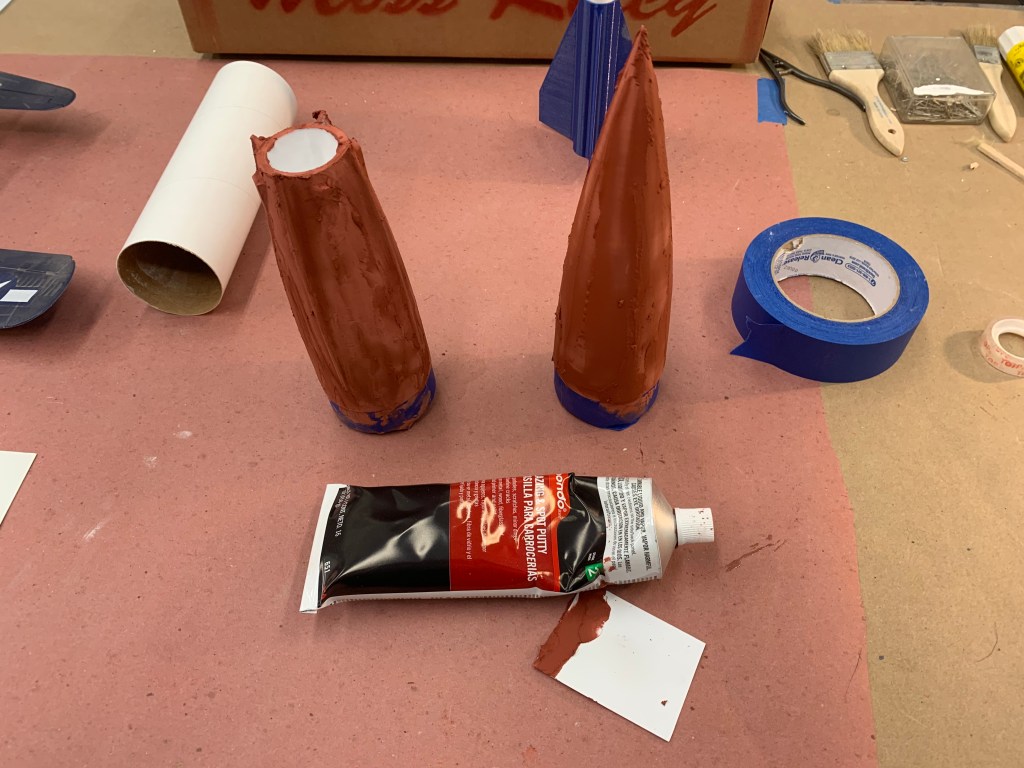
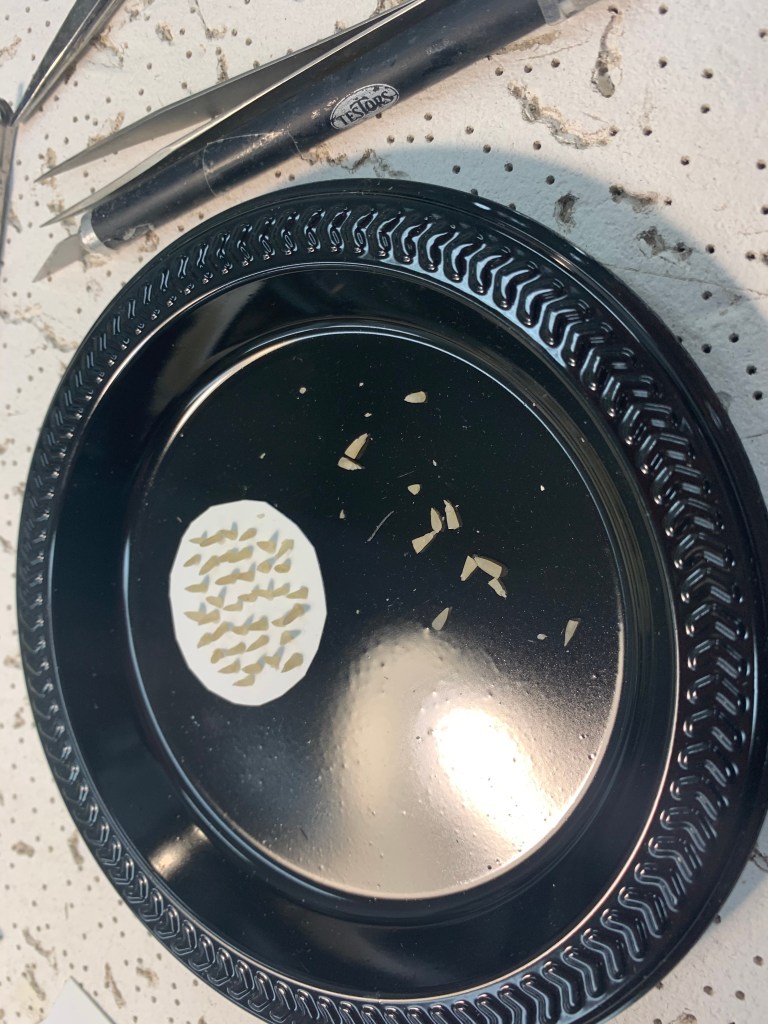
I also did a test hairpiece and mustache which came out so well I’m using them. A mix of yak hair and crape wool matches the actors hair color well. These are called Krylon hairpieces because they are made using Krylon clear coating as a super hair spray that holds the hair together, The hair is applied using old fashion spirit gum directly to the life mask. Once the hairpiece has Krylon applied it can be removed from the life mask using Acetone and a brush from the underside and you can then apply it to the actor with Telesis prosthetic adhesive.

More tomorrow.

Beginning Prosthetic Make up appliances

I started the sculptures yesterday for Robb Wolfords makeup for our new short film. Mostly I giving him a new nose and eye bags. At the beginning of the film when we first see Hitler he is worn and tired looking. He looks like a monster and as the film goes on he slowly becomes less tired and worn. I don’t want to give away the story so I’ll stop there.

Today I’ll finish the simple sculptures and begin prepping for Ultracal 30 molds. The prosthetics will be run out of Gel 10 silicone from Burman Industries. This entire process is being documented on video to be seen in our in-depth video series. This all takes me back to my early roots when I was in my early twenties. I still feel that excitement to do this work and it makes me feel young still.

In addition the I worked on the new V-2 rocket model kit. I got a fresh tube of Bondo Spot putty and filled all the ripples made by the 3D printing process. Today I’ll just lightly sand the surfaces smooth and add a can of primer over the air cure putty before I detail and scribe these masters.

Lastly in the day I put together Miss Riley. Some of you will remember that Miss Riley was the Rocket from “October Skies”. One of the truly great films that inspired so many about Rocketry and it’s importance to our future.

She flies this Saturday at our local section 855 launch.

Wright Flyer Project update

Mark Helmick has been working diligently on a test model to glide on the slope. It’s RC and 2 channel with rudder and elevator. He’s learned a lot from previous efforts with test gliders and we hope this one will glide well and have good control.

He did a beautiful job of laser cutting the parts for the various structures and a Bamboo fuselage frame.

It was too windy to fly yesterday and we hope he gets a chance today.

I’ll be back to the Wright Flyer build next week of the kit I’m building so we can test fly that under power indoors in a gym.

New V-2 Rocket Kit begins

This will be a 22.5 inch long BT80 sized Scale V-2. Although there are other flying model rockets being made of the famous V-2 this one is scale and will be scale detailed.

My original small V-2 scale rocket proved to be a great flyer with the scale fins and details. The resin cats nose cone and tail cone proved to be durable after repeated flights. I decided a larger model might be more popular.

Mark Helmick an incredibly talented engineer and maker offered to help with this project by using Solid Works and a 3D printer. So far I have the tail cone and one fin. They are perfect and only need to be filled and detailed with scribe lines, hatches and rivets I’d do by hand. Once this is done I’ll make silicone molds and and cast the production parts out of two part resin. This was you get the scale details and you don’t have to sand off the ripples from the 3D printing. Just clean, primer, and paint.

I’ll have the nose cone today. This can fly on D’s to G’s and will be reasonably priced.

Starting a Hitler Prosthetic Make -up

We start shooting in a little over a month our next Film, “The Dreamtime”. Our actor Robb Wolford plays the part of Hitler. Beyond wardrobe he needs a nose and eye bags. Also hair pieces.

I am documenting all this and a test make-up all on camera for our in-depth video series. These can only be seen by our subscribers to Patreon.

It starts with a life mask and from there the different sections of the face needed for the individual prosthetics.

I start sculpting today now that I have the nose mounted in a back plate with keys. Eye bag blanks get mounted this morning.

Finished!

She’s all finished. Teeth were made by hand with polymer clay and cast in a silicone mold to make resin teeth you add separately. These are for sale finished and signed or as a kit. Just use the menu were it says, “Steve Neill career Items Store” to purchase. Up next? Laser Blast figure.

Crater Lake Monster nears completion

She’s almost done. The mold opened well and is good to go. I couldn’t wait to cast one up and I hallow cast a TC-808 two part resin piece from it. It came out of the mold perfectly.

I started painting it and putting the teeth in but ran out of time to finish it completely. Today it will be finished. The base in Clear Cast Epoxy also came out of the mold perfectly.

These are on the website store now and we are taking pre-orders. The first kits go out next week.

Here are some pictures of the nearly completed first casting. Also the opened two piece mold. I do plan to use a bit of Woodland Scenics water fall around the neck of the monster.

Spock Bust

I made this resin bust to represent Spock as he first appeared on the bridge in “Star Trek the motion Picture”. It was the first large movie I worked on early in my career when Fred Philips gave me the job to make his ears. Being a Spock fan and my favorite character I was in heaven. One of my favorite moments in my career.

This bust is available in our store.

Back to the mold

After a weekend of being in the desert launching rockets I’m back at the mold for the Crater Lake Monster and I finished it yesterday. It gets opened today, cleaned up and the first casting made all on video for our in-depth video series.

I also cast a base using epoxy Clear Cast Epoxy tinted with alcohol inks.

We will have a build next on video of the model kit.